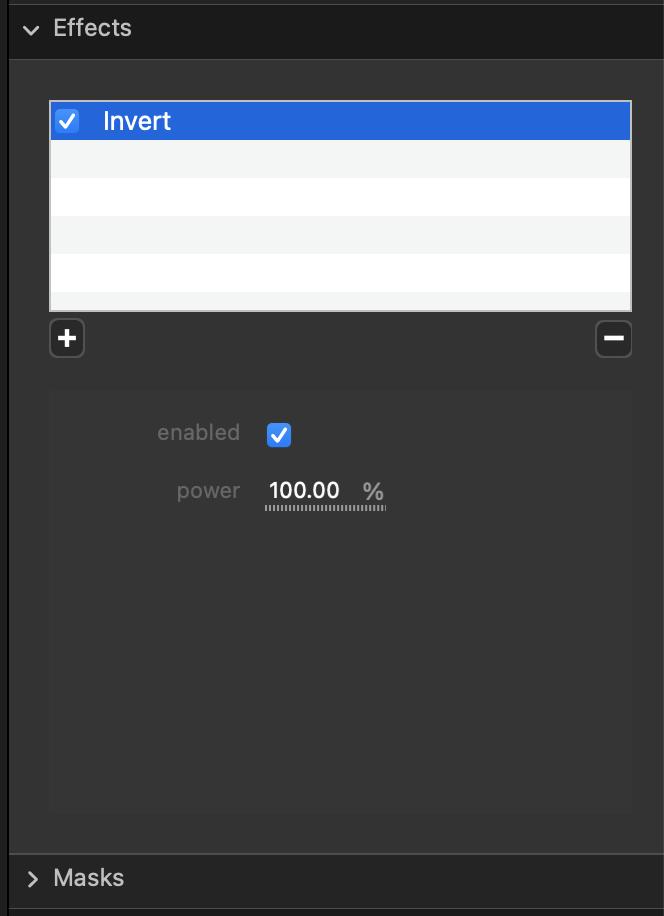
Effects
Effects can be applied to a layer or a media to modify its appearance.

Managing the Effects
Effects can be found in the Effects tab of the properties-view of a layer:
Or in the Current Media tab of the for a media:
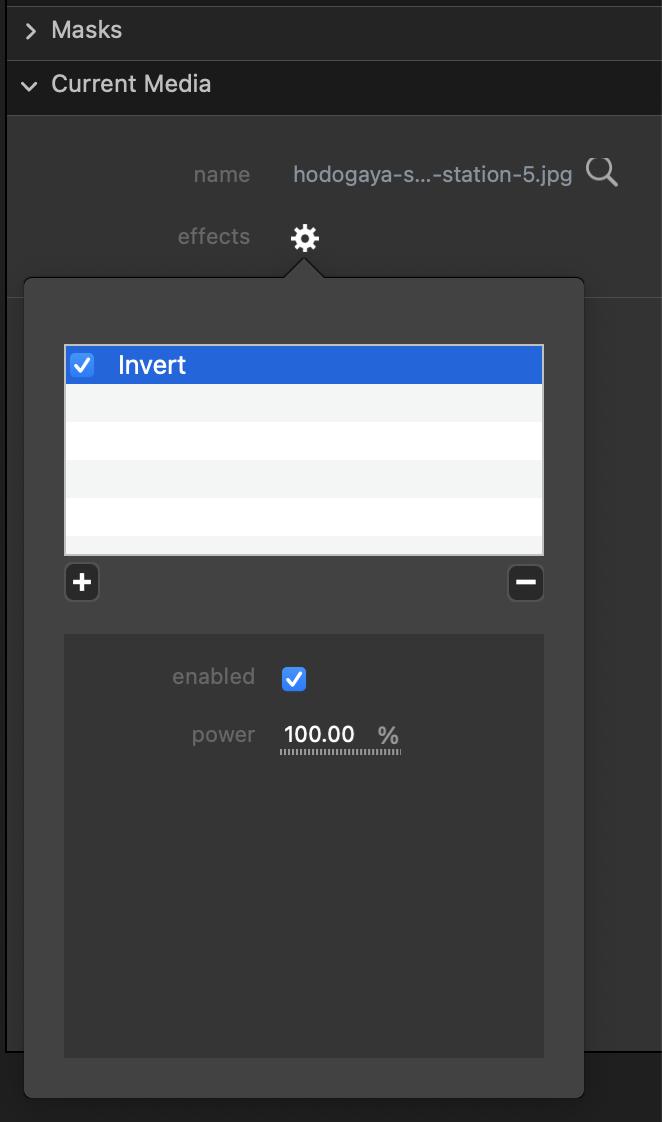
The effect interface is composed by :
- the effects list : all the effects applied to the layer or the media by their compositing order. They can be reordered by drag-and-drop. Each effect can be disabled via the
enabledcheckbox. - the + button : to add a new effect to the list. It opens a list with available effects, organized in 4 categories : coloring, standard, special and various.
- the - button : to delete the selected effect
- the properties : all the effect’s properties. The first being always the
enabledoption, so you can activate the effect on some columns of your show, see this article : Animate
For info, effects can be copy/pasted from a layer to another. First select layer and click on Copy Effects Only from the Edit menubar. Then, select another layer and press CMD+V.
Coloring
These effects will affect the colorimetry of the layer or the media.
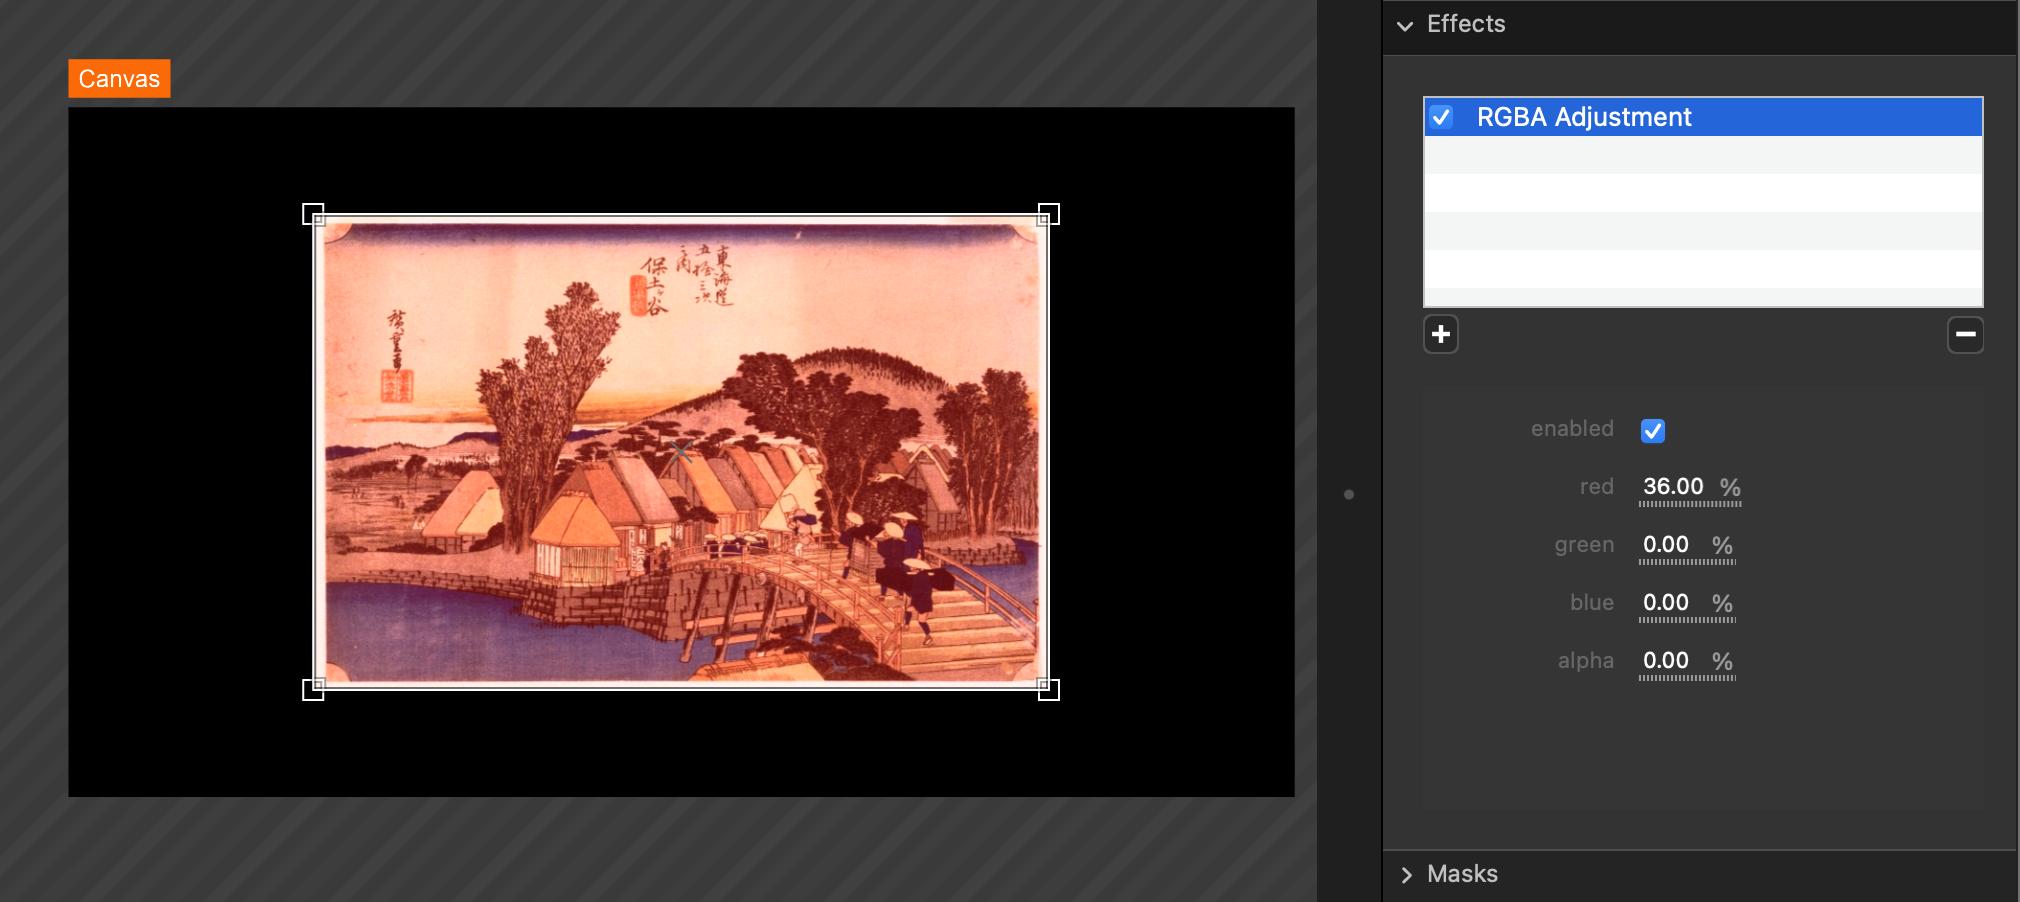
RGBA Adjustement
Affect the red, green, blue and alpha channel.
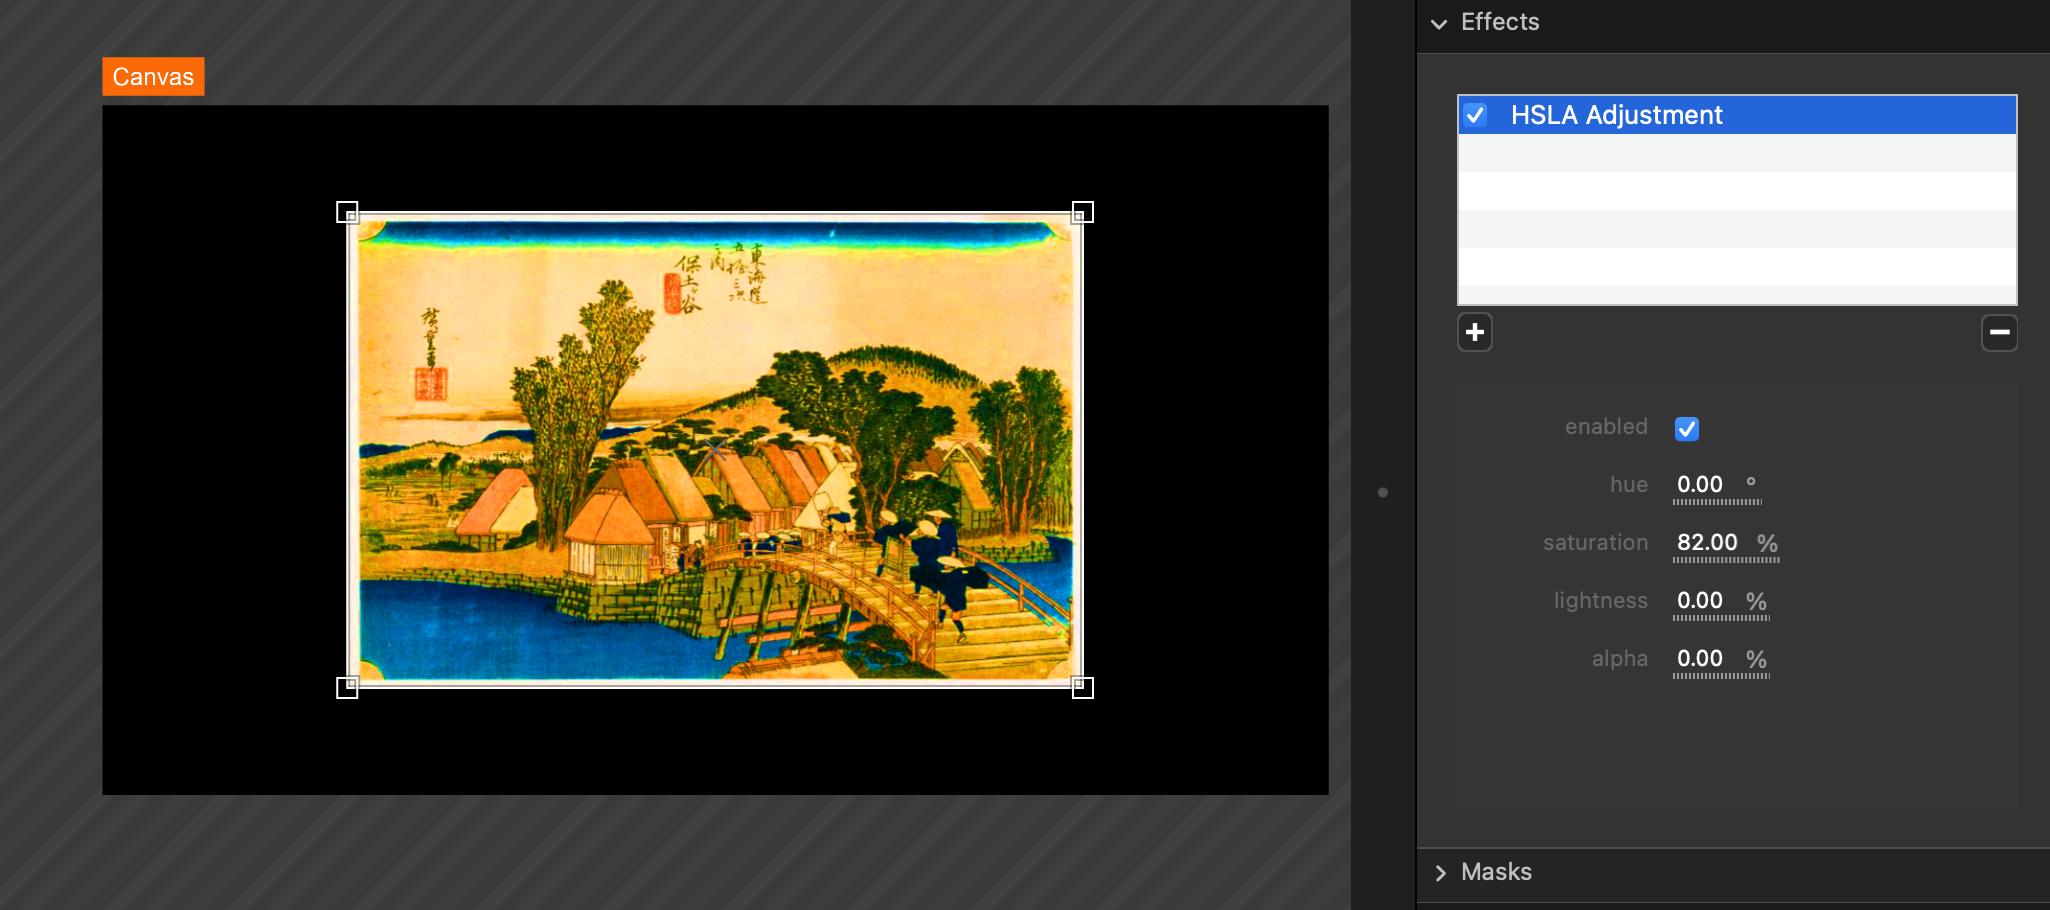
HSLA Adjustment
Affect the color by adjusting the hue, saturation, lightness and alpha.
Invert
Invert the colors.
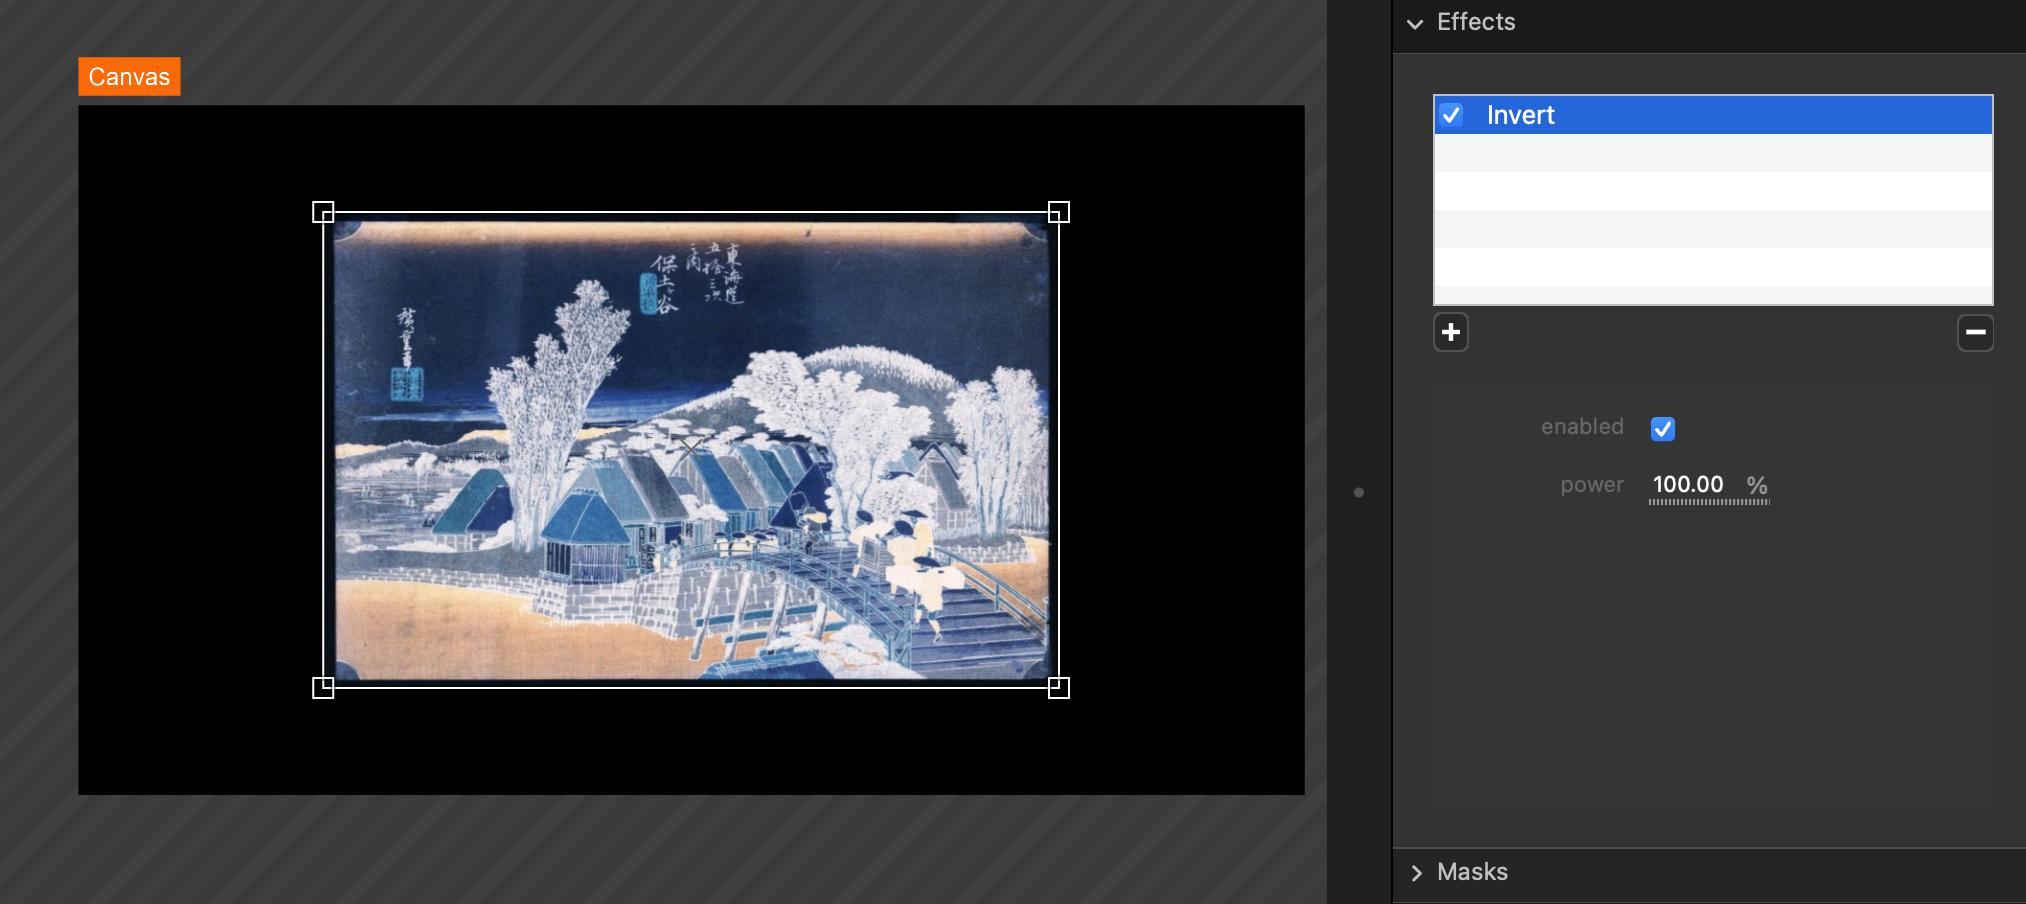
- intensity: the mix with the original image.
Levels
Adjusts the levels.

- mode: define the channel to work on. Could be :
- RGB: works on all channels.
- Red: only works on red channel.
- Green: only works on green channel.
- Blue: only works on blue channel.
- Alpha: only works on alpha channel.
- shadow: adjust the shadow.
- gamma: adjust the gamma.
- highlight: adjust the highlight.
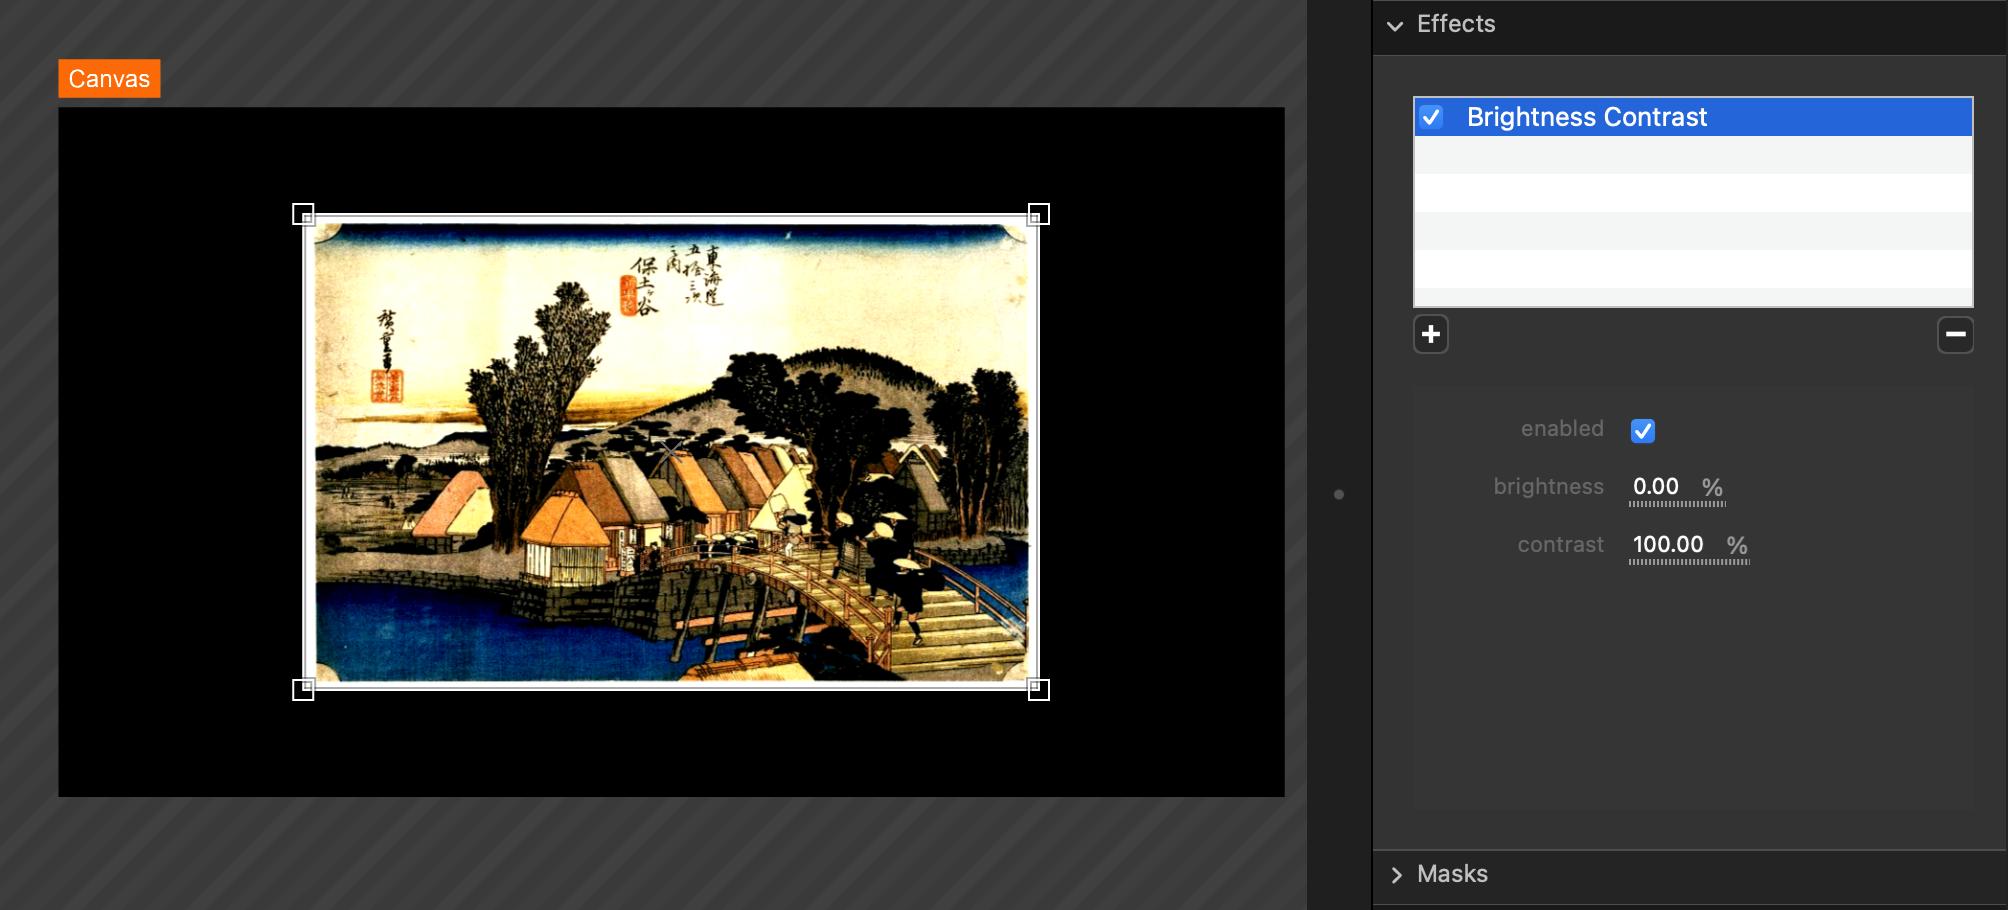
Brightness Contrast
Adjust brightness and contrast.
LUT
Modify the color rendering with a Look Up Table.
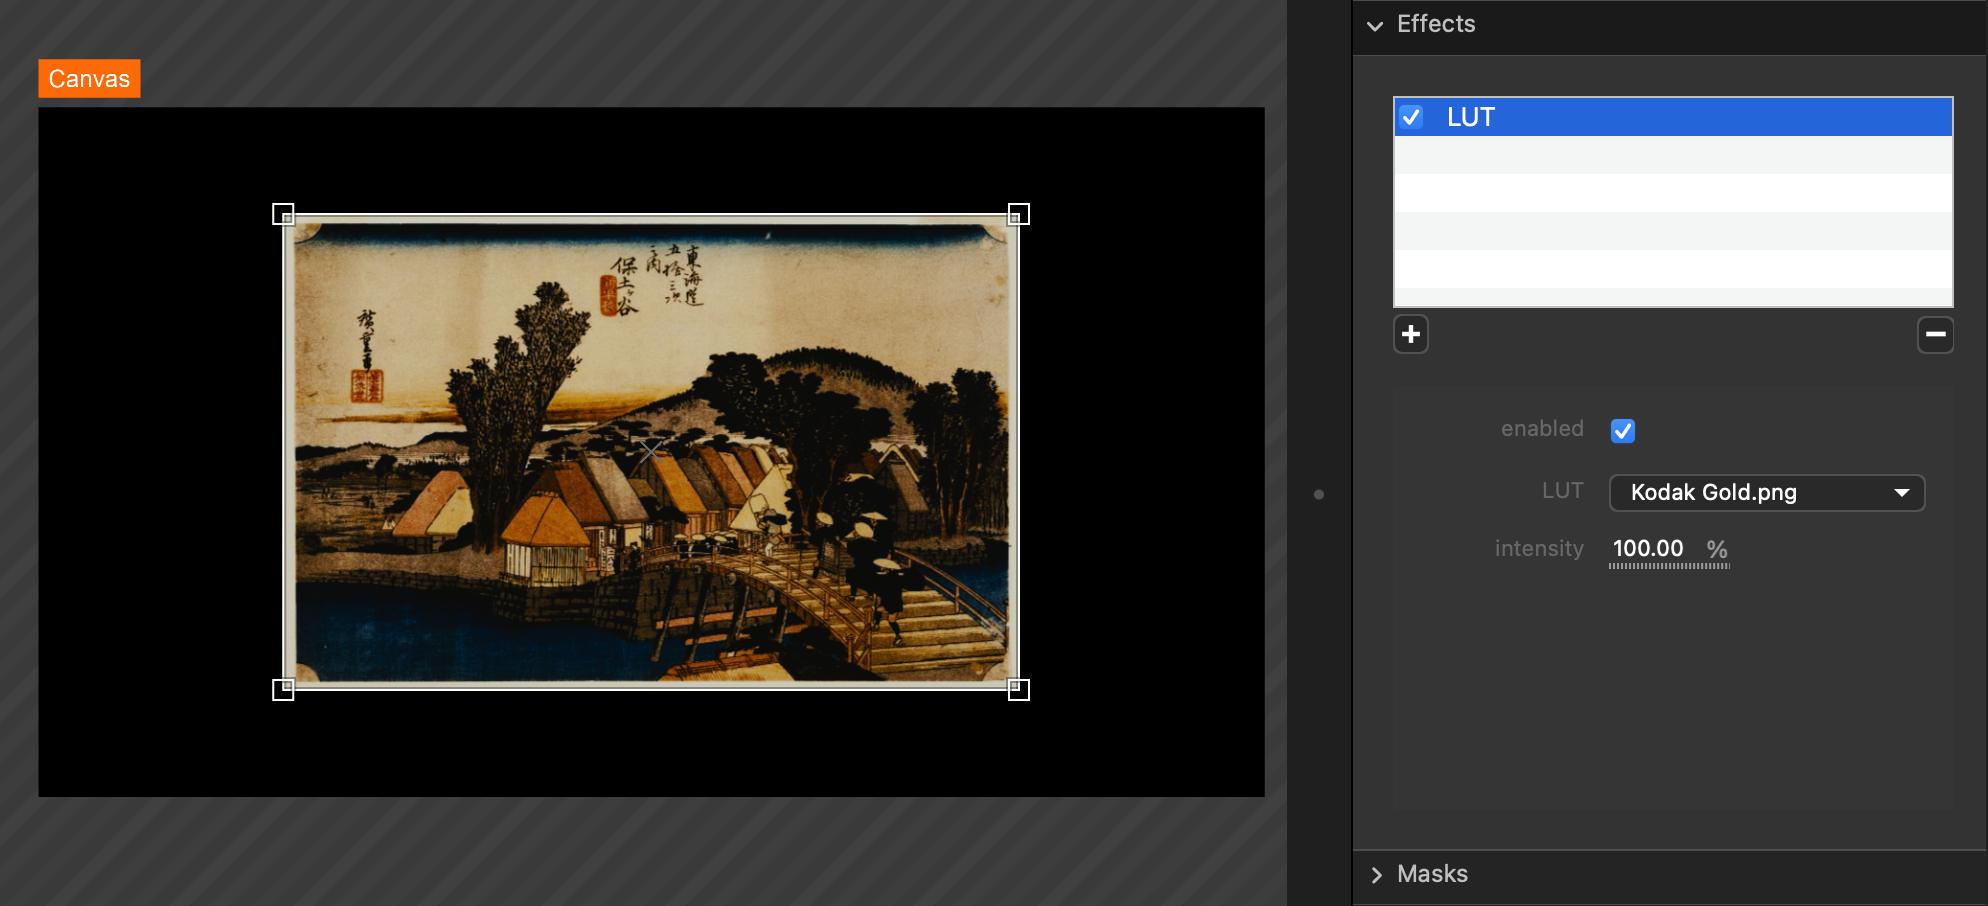
- LUT: choose the LUT to apply from all the LUT install in Millumin. The
Open folder…option open a folder where to install new to the LUT files.
Such files can bePNG,cubeor1dlutfiles. Millumin must be restart after a new LUT has been installed. - intensity: the mix with the original image.
Threshold
Create a black-and-white image depending on the luminosity of the pixels.

- threshold: darker pixel than this value will be black, and lighter pixel be white.
- white limit: lighter pixel than this value will be black.
- invert: invert white and black pixel.
Standard
These effects will alter the whole rendering of the layer or the media.
Mirror
Mirror the rendering.
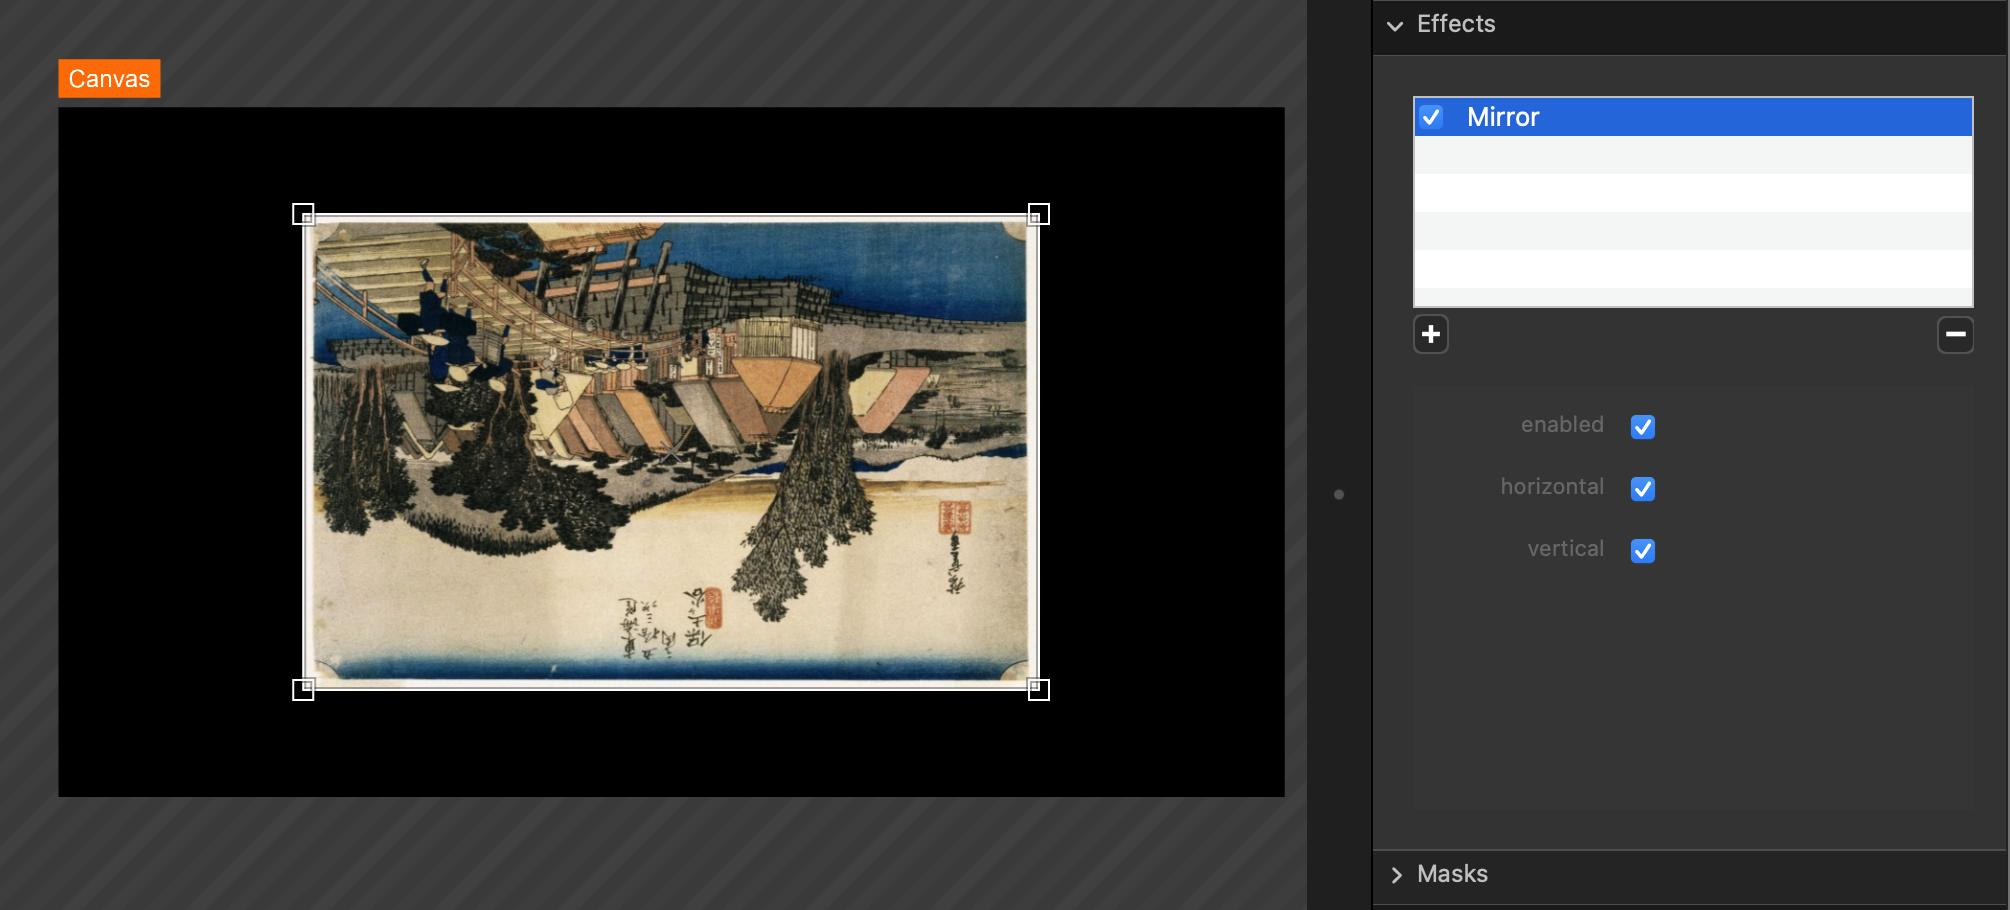
- horizontal: mirror on the y axis, inverting left and right.
- vertical: mirror on the x axis, inverting top and bottom.
Border
Draw a border around the rendering image.
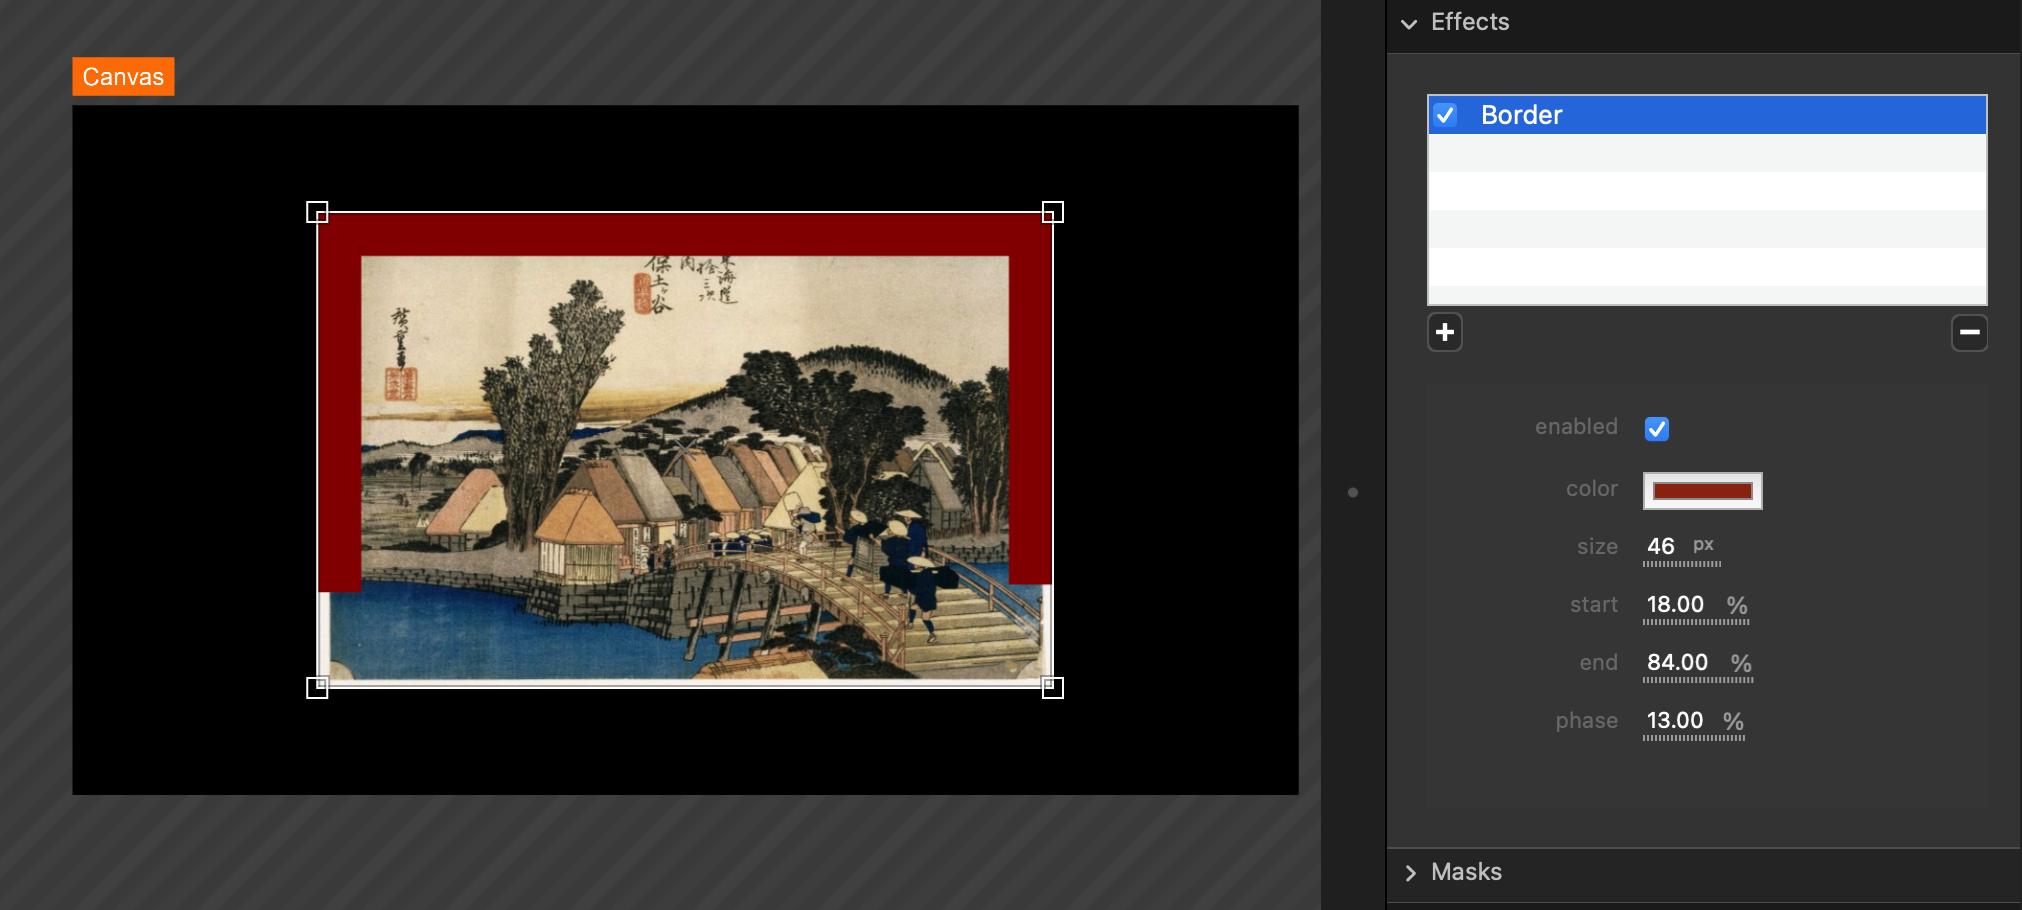
- color: the border’s color.
- size: the border’s thickness in pixel?
- start: where to start to draw the border. 0% is the beginning and 100% the end.
- end: where to end the draw of the border. 0% is the beginning and 100% the end.
- phase: rotate the position of the beginning and the end of the border.
Chroma Key
Make part of the rendering image transparent based on a chosen color.
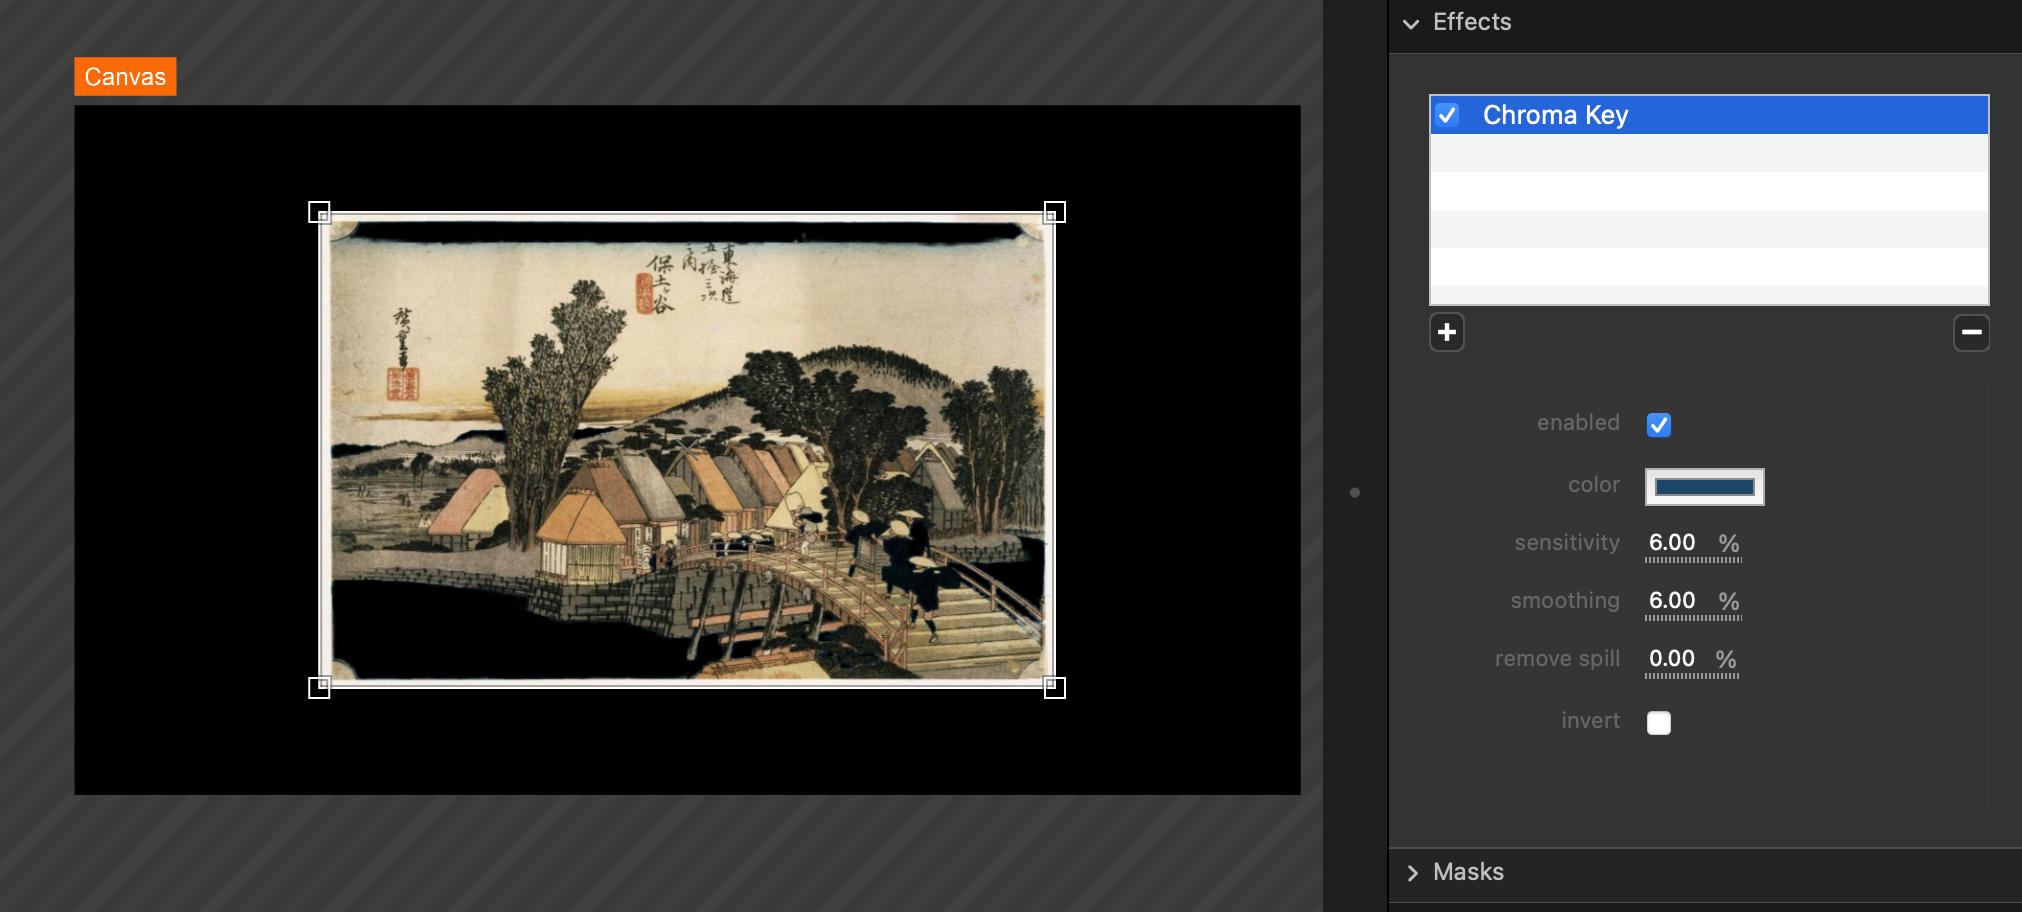
- color: the chosen color to make transparency.
- sensitivity: the percentage of difference accepted for pixel’s color with the chosen color.
- smoothing: to avoid rough border, a smooth can be applied.
- remove spill: grey the pixel on the border of the removed pixel.
- invert: invert the transparent and the no-transparent part.
Soft Crop
Crop border of the rendering image and soften them.
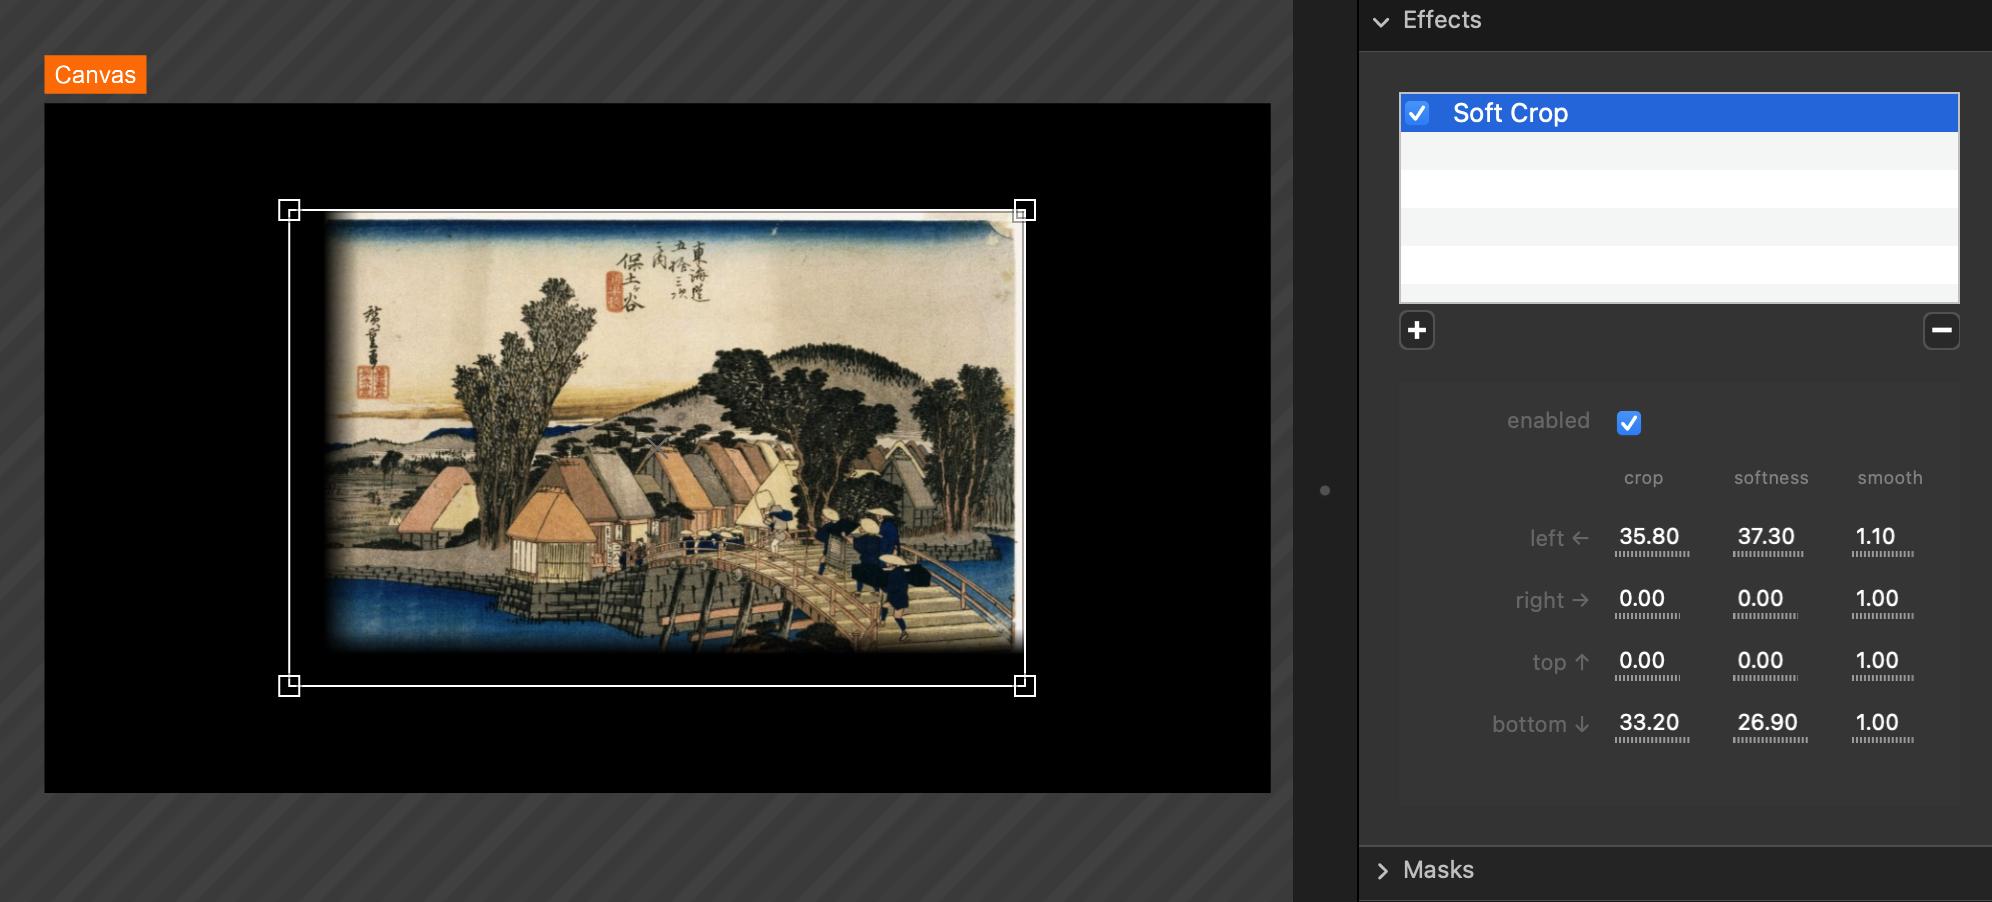
- crop: the number of pixel to crop on the border.
- softness: the number of pixel to soften.
- smooth: adjust the curve of the softness.
Blur
Apply a gaussian blur to the image.
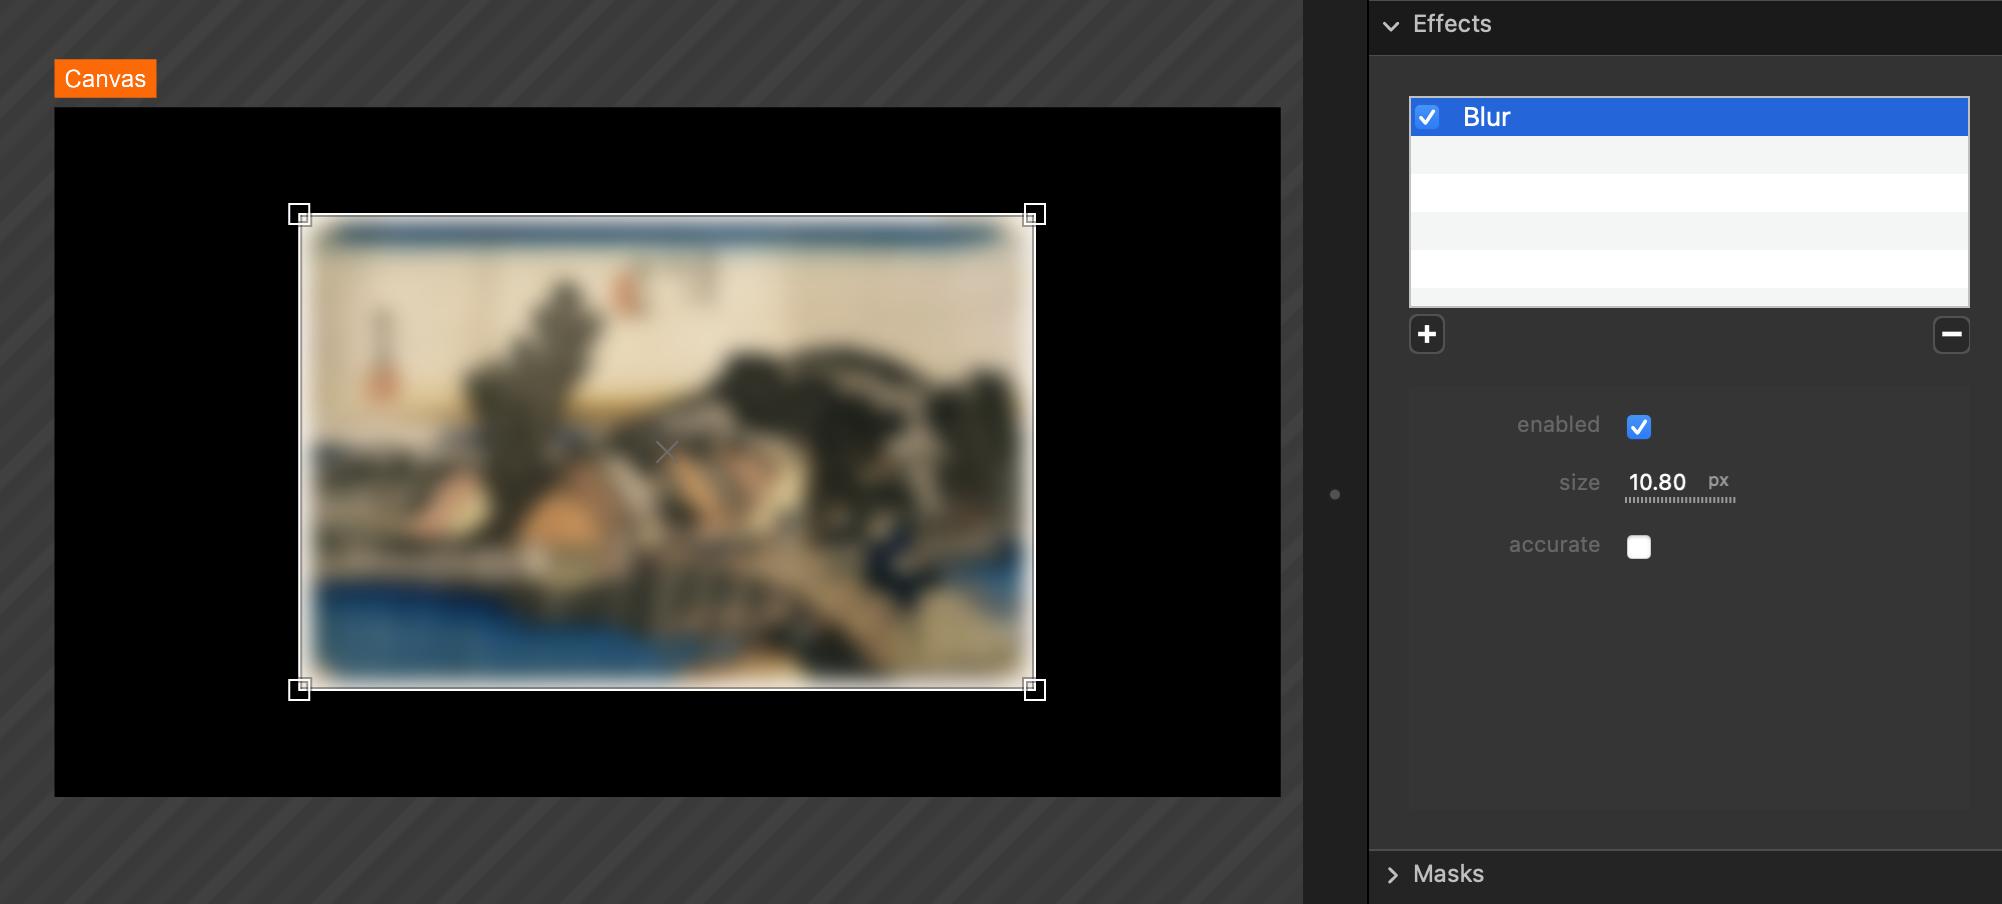
- size: size of the blur.
- accurate: quality of the blur. A better quality is at the cost of performances.
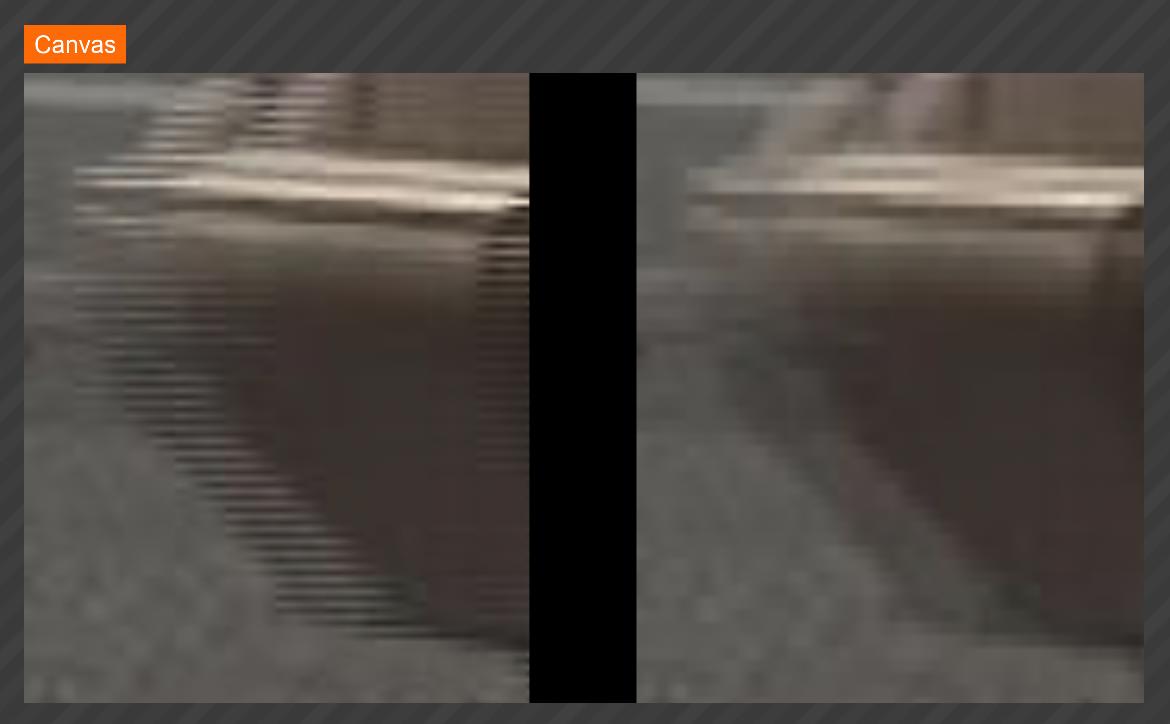
Deinterlace
Deinterlace an image with odd an even fields.
Special
These effects will produce data from an image.
Those data can the be used to create interaction in Millumin for example. More info about interaction here : Interactions
Blob Tracker
Track the position and size of blobs in the image.
Learn more in this tutorial : Track objects with live video
- downsize: downsize the resolution of the image for better performance.
- view: the view to display in the canvas:
- Threshold: the thresholded picture.
- Blobs: only draw the detected blops.
- Tracking: draw blobs, with their id, and the track of their movement.
- Tracking + original: draw the original picture in black and white and the tracking informations above.
- threshold: the value of the threshold applied to the picture.
- only one blob: just track the bigger blob, or track all the blobs.
- radius min: minimal radius of tracked blobs.
- radius max: maximal radius of tracked blobs.
- merge at: distant when two blobs are handle as one.
- stabilization: stabilization the value of the position and size of blob, but at cost of latency.
Barcodes Reader
Track the position of one of more barcode or QRCode in the image.
This effect is only available on Apple Silicon computers.

Skeleton Tracker
Tracks people directly in the image.
This effect is only available on Apple Silicon computers.
Person Detector
Detects peoples directly in the image.
This effect is only available on Apple Silicon computers.
Various (ISF)
These effects are all ISF effects. It stands for Interactive Shader Format : this is a format of editable and programmable effects supported by various softwares.
You can use the ones built-in with Millumin, install new ones or code your own.
More info in this tutorial : Create Images and Effects with Shaders