Video Routing
Principle
The goal of the video-routing to help you to separate your content (in canvases) and how it is displayed (in video-routings), while allowing you to create complex video projections. It can also be used to copy outputs, to get a NDI preview for example.
It uses one or more canvases, and map a portion or the whole image on one or more video outputs. Video-routings are not rendered in the workspace, so it also helps you to save space to edit your content.
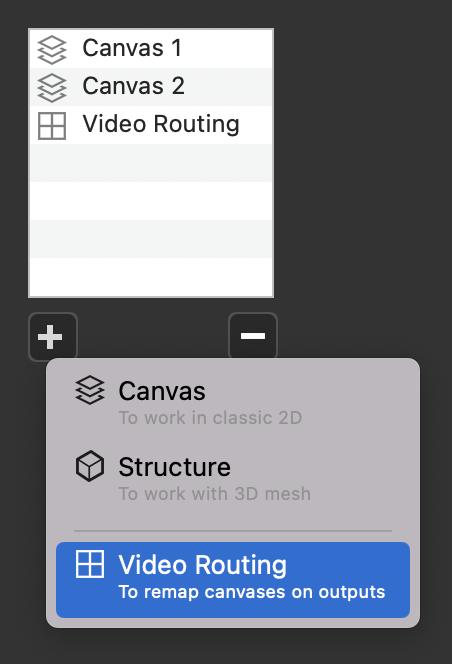
To create a video-routing, click the + button in the Output popup :
Then, depending on your use case, you need to choose between two modes (see next section) :
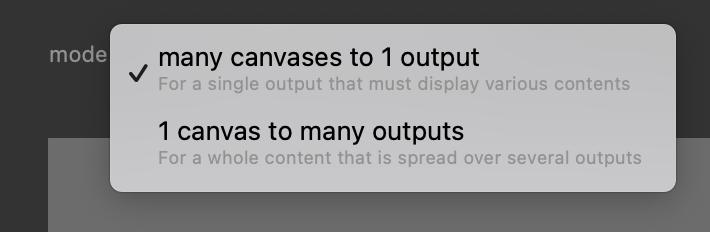
Many Canvases to 1 Output
In this mode, you can use several canvases to display them in a single output.
Typical use case :
You are working with some LED panels controlled by one processor.
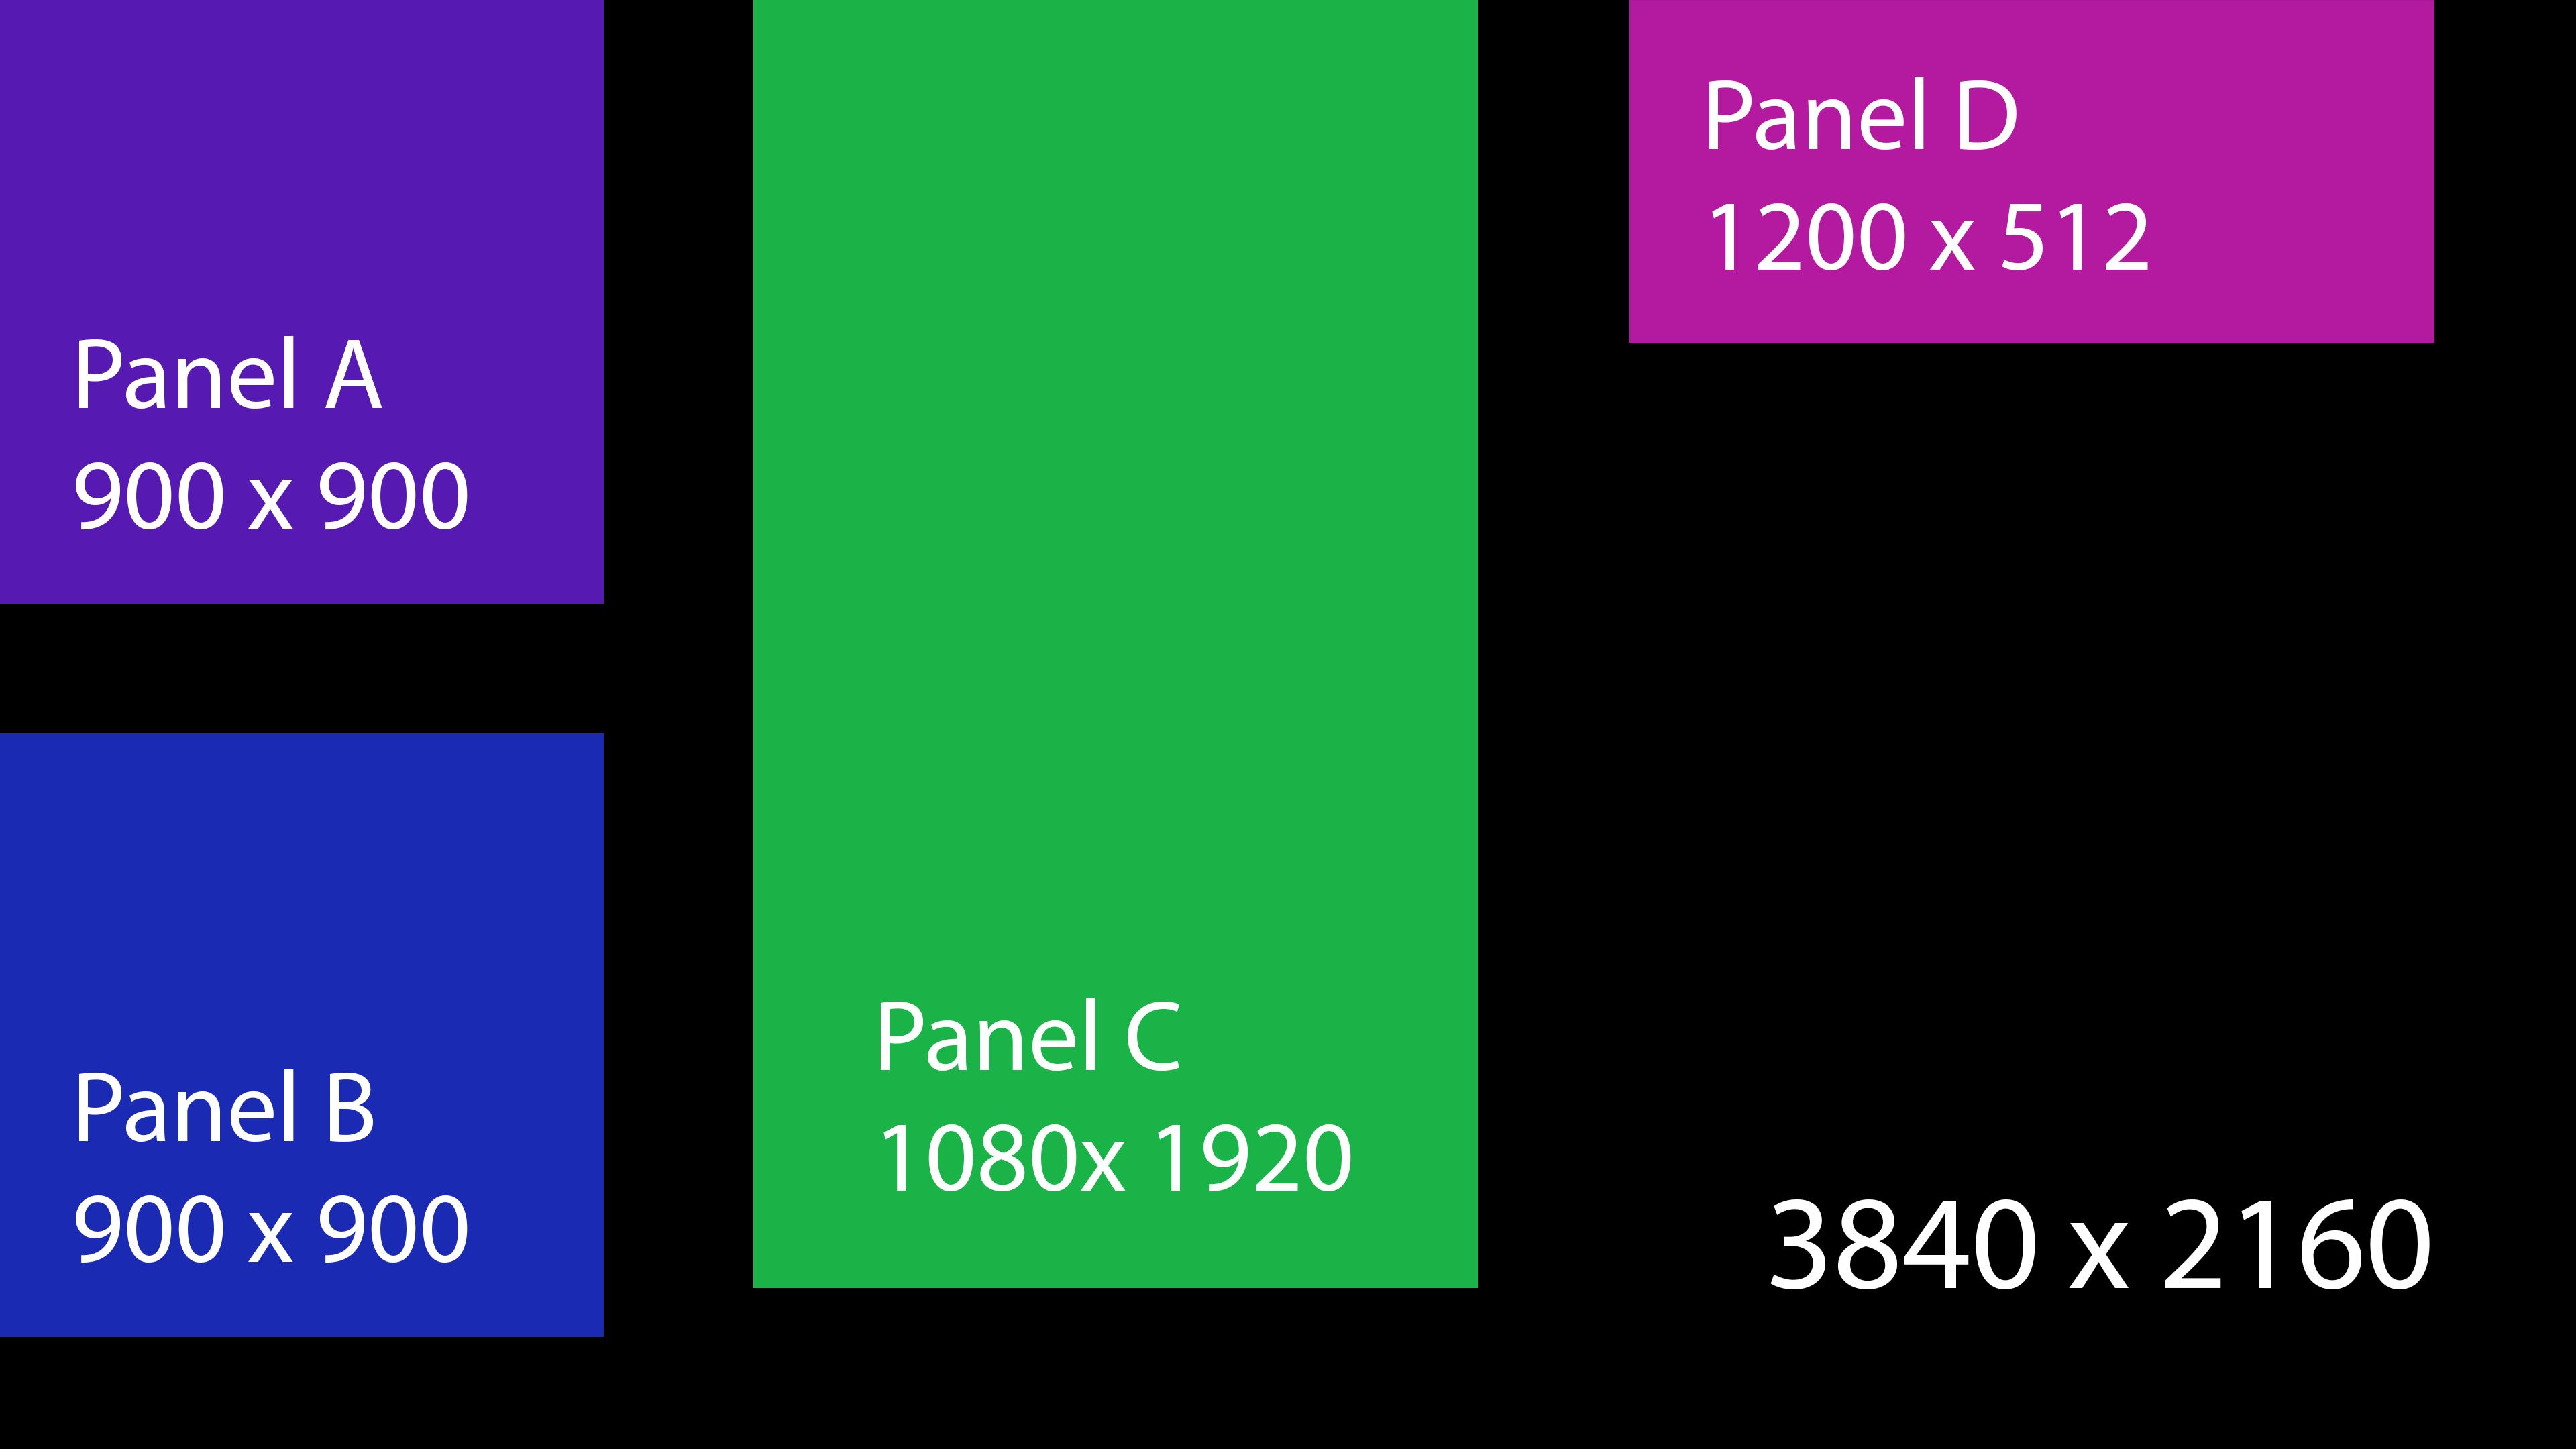
This processor requires you to send a single 4K output, then it will slice this big image and spread it to each LED display. A map like this one :
It would not be convenient to create a single canvas, organized like this map, especially if every LED panel has its own content.
In the contrary, you can create a separate canvas for each LED panel, and the video-routing will map them all as expected by the LED processor.
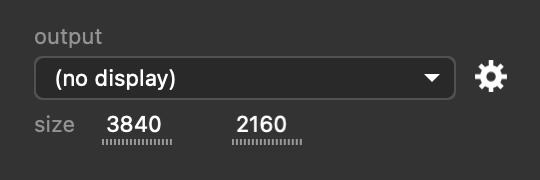
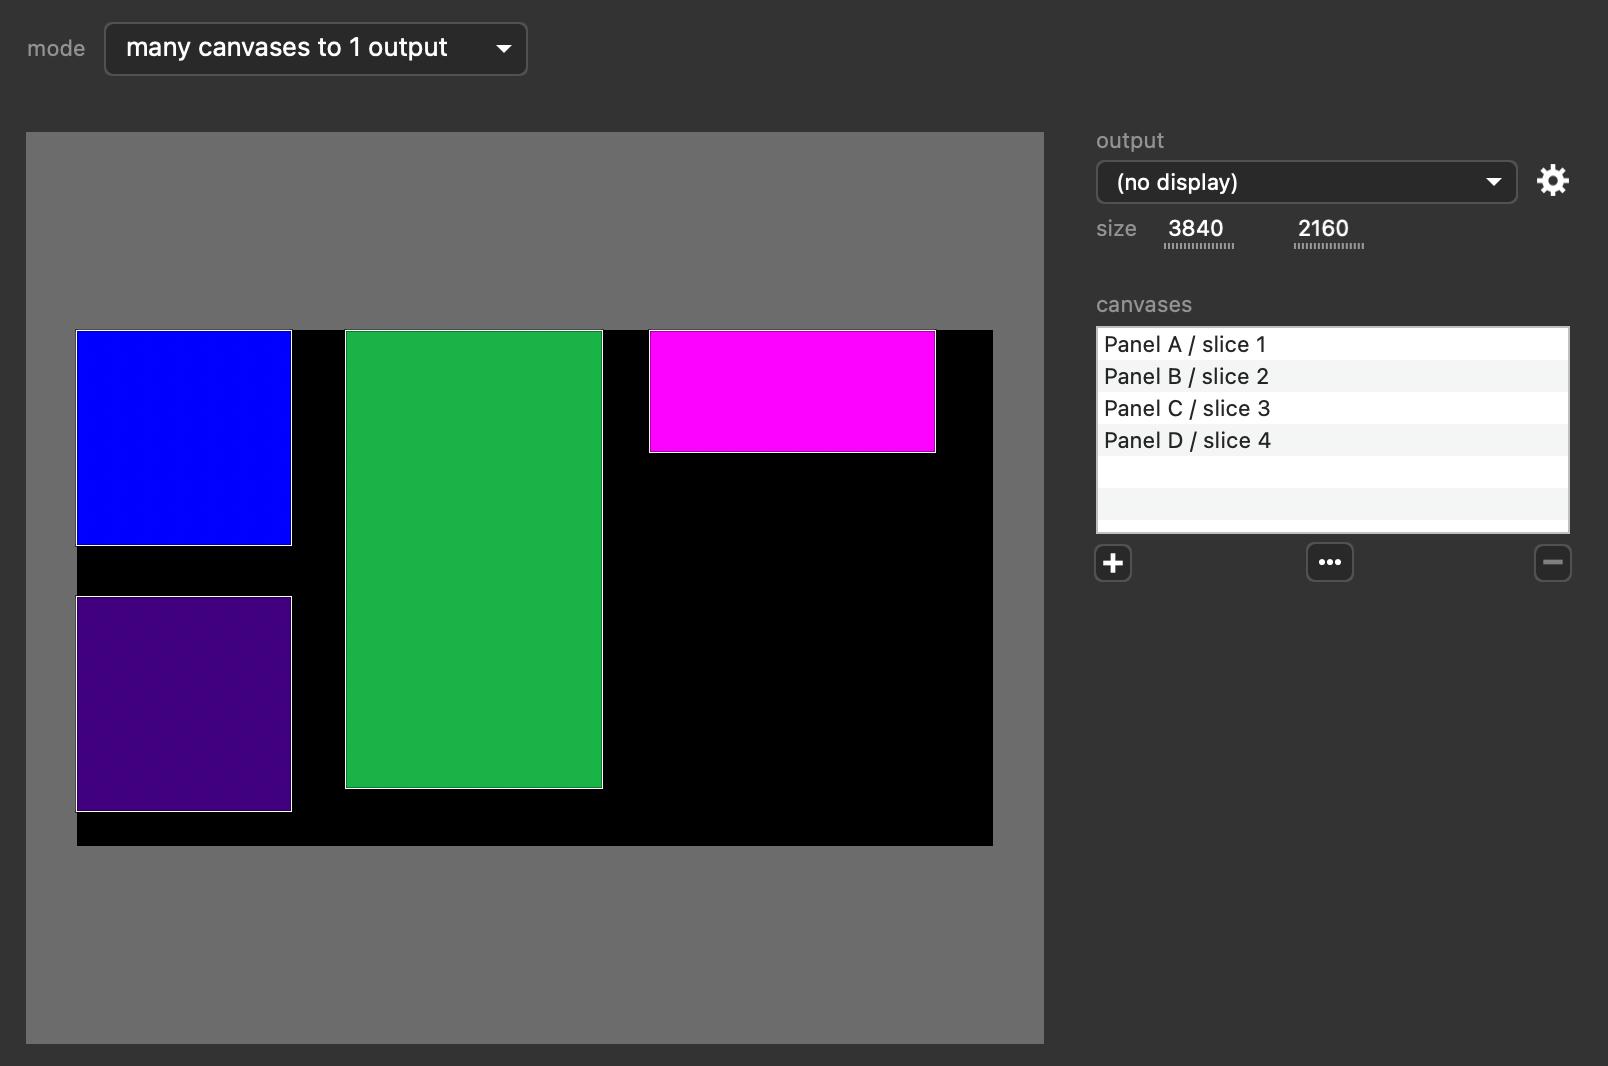
To do so, first create your video-routing then select the output. If your computer is not yet connected to the final output (because you are preparing the show for example), you can leave it at (no display) but be sure to set the size :
Then add your 4 canvases with the + button, and place the create slices in your output :
To help you to place every slice at the right location, you can use the properties below :
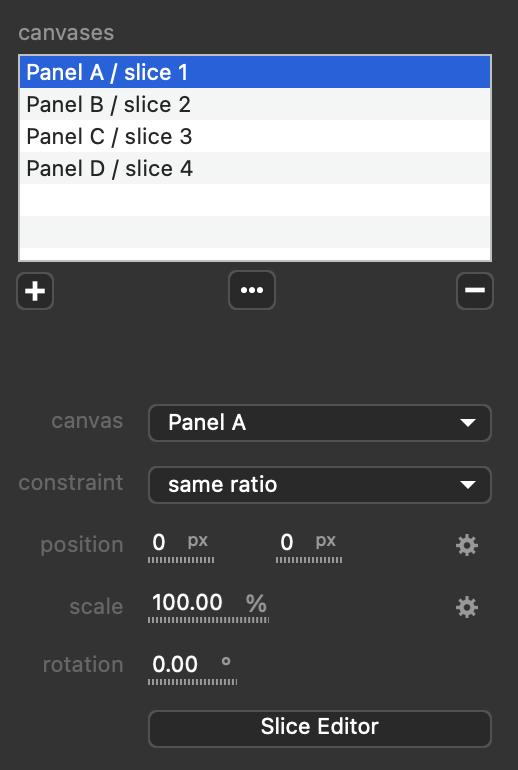
While these properties are very similar to the ones of the layers, the constraint property allows you to :
- adjust your slice as a rectangle if same ratio is selected
- map your slice if free is selected
Of course, you can use only a portion of your canvas by clicking the slice editor button, just as you do with layers. You can even create several slices for the same canvas.
Lastly, the video-routing can be exported or imported by clicking the … button.
1 Canvas to Many Outputs
Typical use case :
You content is a big canvas displayed on several surfaces on stage, each surfaces being covered by a single projector.
Since every projector has to display a portion of your canvas, you need to accurately manage slicing as below :
And of course, each projector needs to be mapping correctly on its surface on stage.
Instead of using intermediate canvases to do so, video-routing will ease your job. Also, every time you change the venue, the surfaces will not be always at the exact same position on stage. But thank to video-routing, you will only need to re-adjust the video-routing, not your content.
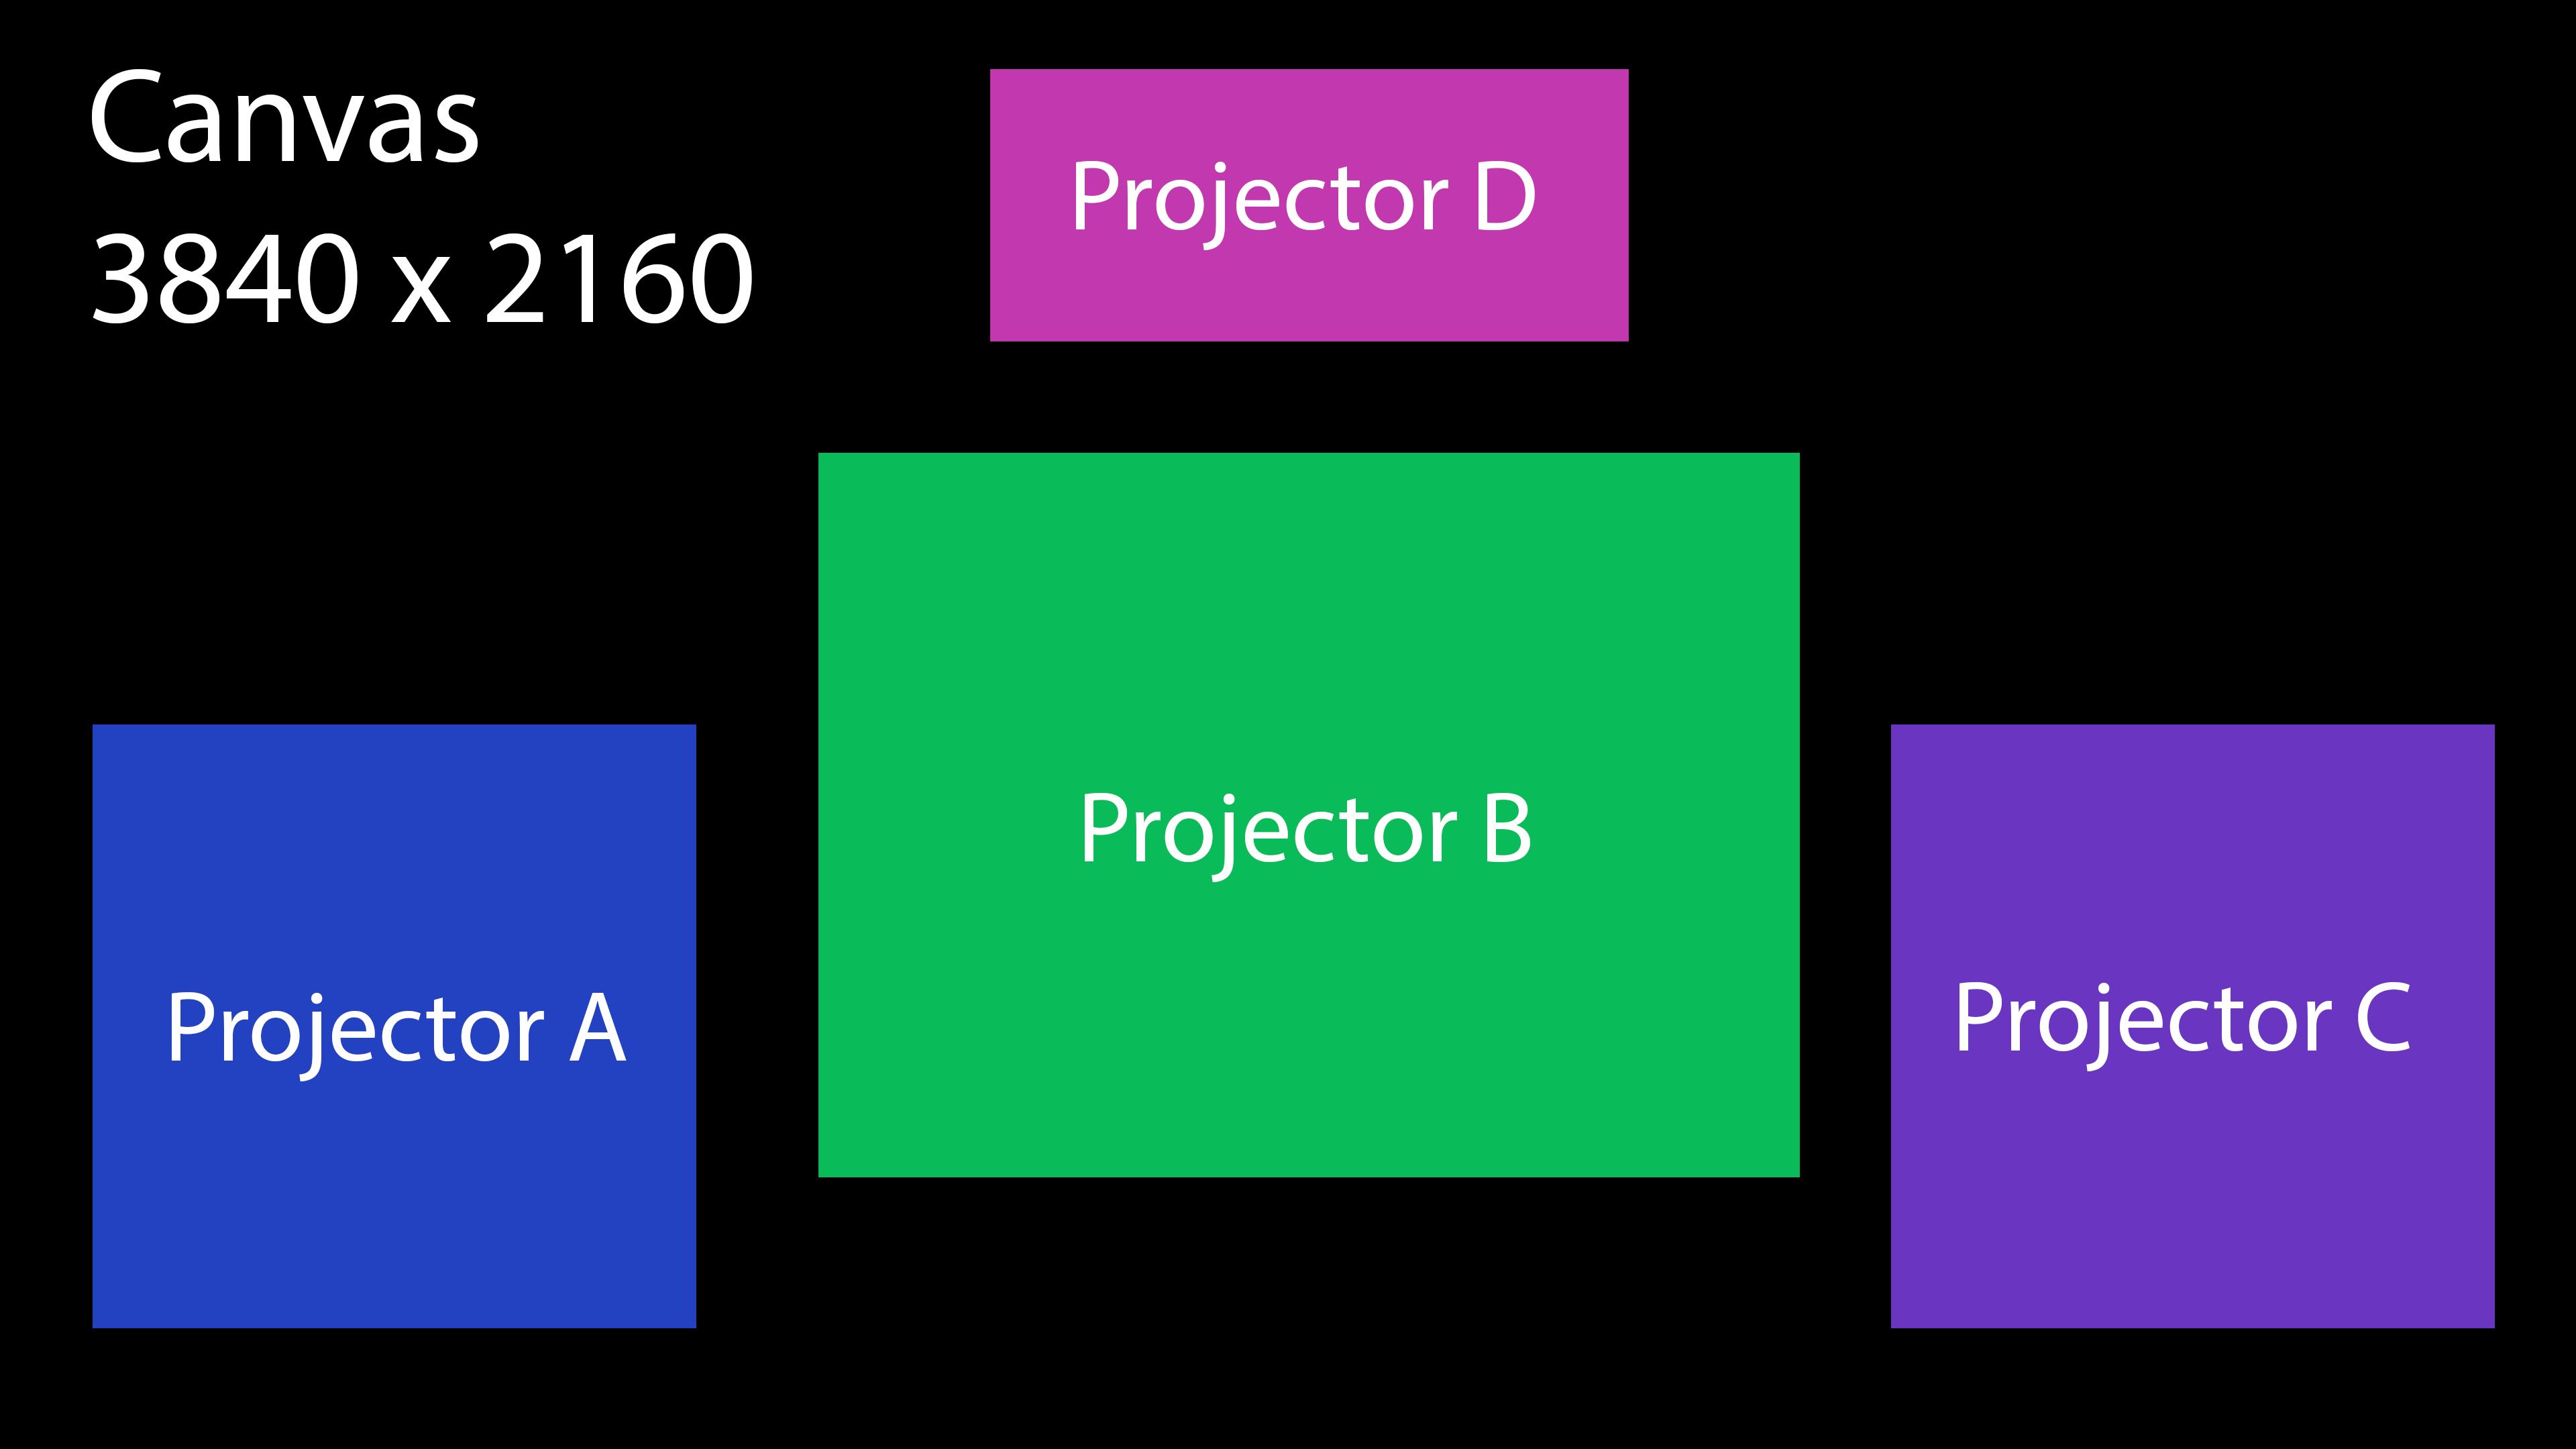
To do so, first create your video-routing then select your canvas, then add your 4 projector with the + button and place the slices in your canvas :

If the projectors are not yet connected to your computer, you can the display as (no display) but be sure to set the size.
To help you to place every slice at the right location, you can use the properties below :
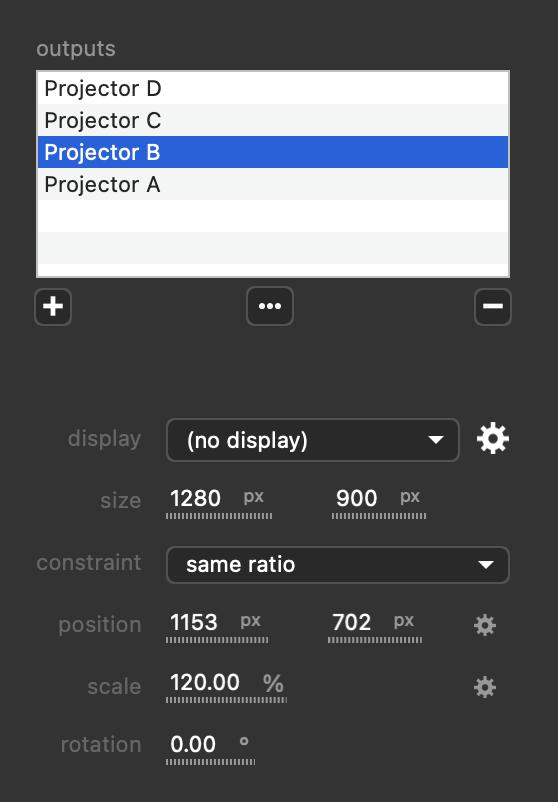
While these properties are very similar to the ones of the layers, the constraint property allows you to :
- adjust your slice as a rectangle if same ratio is selected
- map your slice if free is selected
Of course, you can click the gear icon to map every slice on the output.
In this mode, you can also setup a soft-edge between two or more slices :

Lastly, the video-routing can be exported or imported by clicking the … button.