Laser
ILDA lasers are special devices that can be controlled by Millumin to draw anything.
To use this feature, be sure to activate it in Preferences, see Addons
Safety Notice
Laser are dangerous and you should never look into the beam or have reflecting material that can direct the beam to anyone eye.
Safety training is highly recommended, and even required in many countries.
General
An "ILDA" laser is very different than a "DMX only" laser. Indeed, such lasers can draw any shape at any moment, so you have total control on the content. Of course, a laser is very different than video medium, especially because it produces a very bright light but they are only able to draw lines (not filled shapes nor textures).
Technically, such a laser will work with two small mirrors that move very quickly, and allow the laser beam to projected in various locations. This is very different than video projectors because the laser is projecting a single point that is moving so quickly, than the human eye sees it as a whole and big drawing.
You can watch this video to learn more about how a laser works.
There are 2 kinds of lasers : with TTL modulation or analog modulation. The TTL lasers can only display up to 7 colors while analog ones can display a broad spectrum of colors.
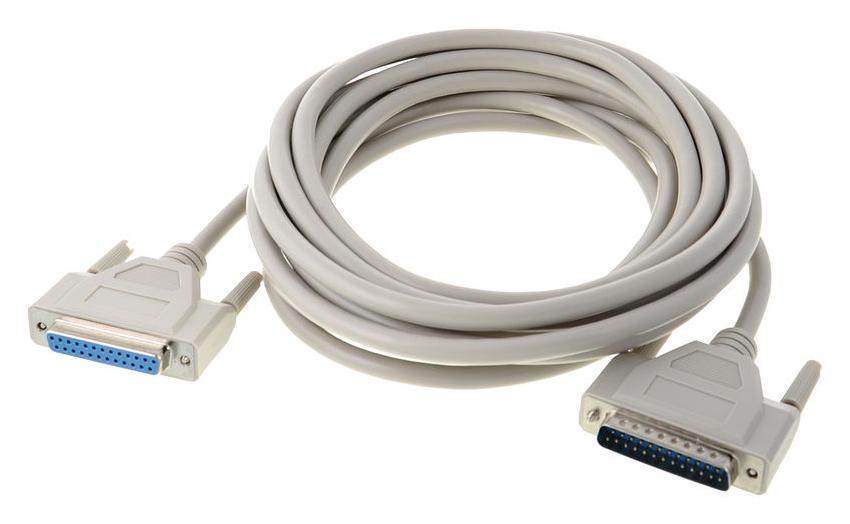
Such lasers are controlled via a specific protocol : ILDA. This connector looks like the image below :
A device called "DAC" (digital analog converter) is required to send ILDA from a computer, such as the EtherDream DAC. There are other protocols but they are vendor specific.
Lastly, you can find explanations about other laser specifications on this nice glossary by Laserworld.
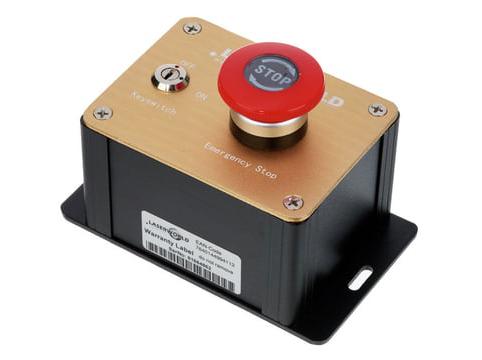
For instance, the LaserCube or the Laserworld CS-1000RGB are affordable options to begin with. Be aware that some of these lasers require an emergency button for safety reasons, see image below:
Principle
If you want to use ILDA lasers in Millumin, you need first to create a laser layer and choose an output to display its content. You can define your laser outputs in the Laser Setup window.
Of course, multiple laser layers can target the same output, so it is possible to stack drawings on the same laser.
You can use several kind of media with a laser layer :
laser drawing, where you can freely draw.ILDAfiles, that are raw ILDA data (see this website for examples)- Any pixel-based media (images, movies, …) : the
laser layerwill automatically be convert them into paths for your laser.
Of course, the laser projection will follow the translation/scale/rotation/mapping of the laser layer as well as its opacity and transitions.
The limit of the canvas matches the limit of the laser : as the ratio of a laser is usually a square, you may want to have the same ratio for your canvas.
Setup
As mentioned earlier, you will need a DAC to control the laser from your computer. The Etherdream, Helios, ShowNET, LaserCube (USB/Wifi) and any other DACs that conform to the IDN protocol are supported.
And do not forget to buy an ILDA cable, in case it is not provided with the laser !
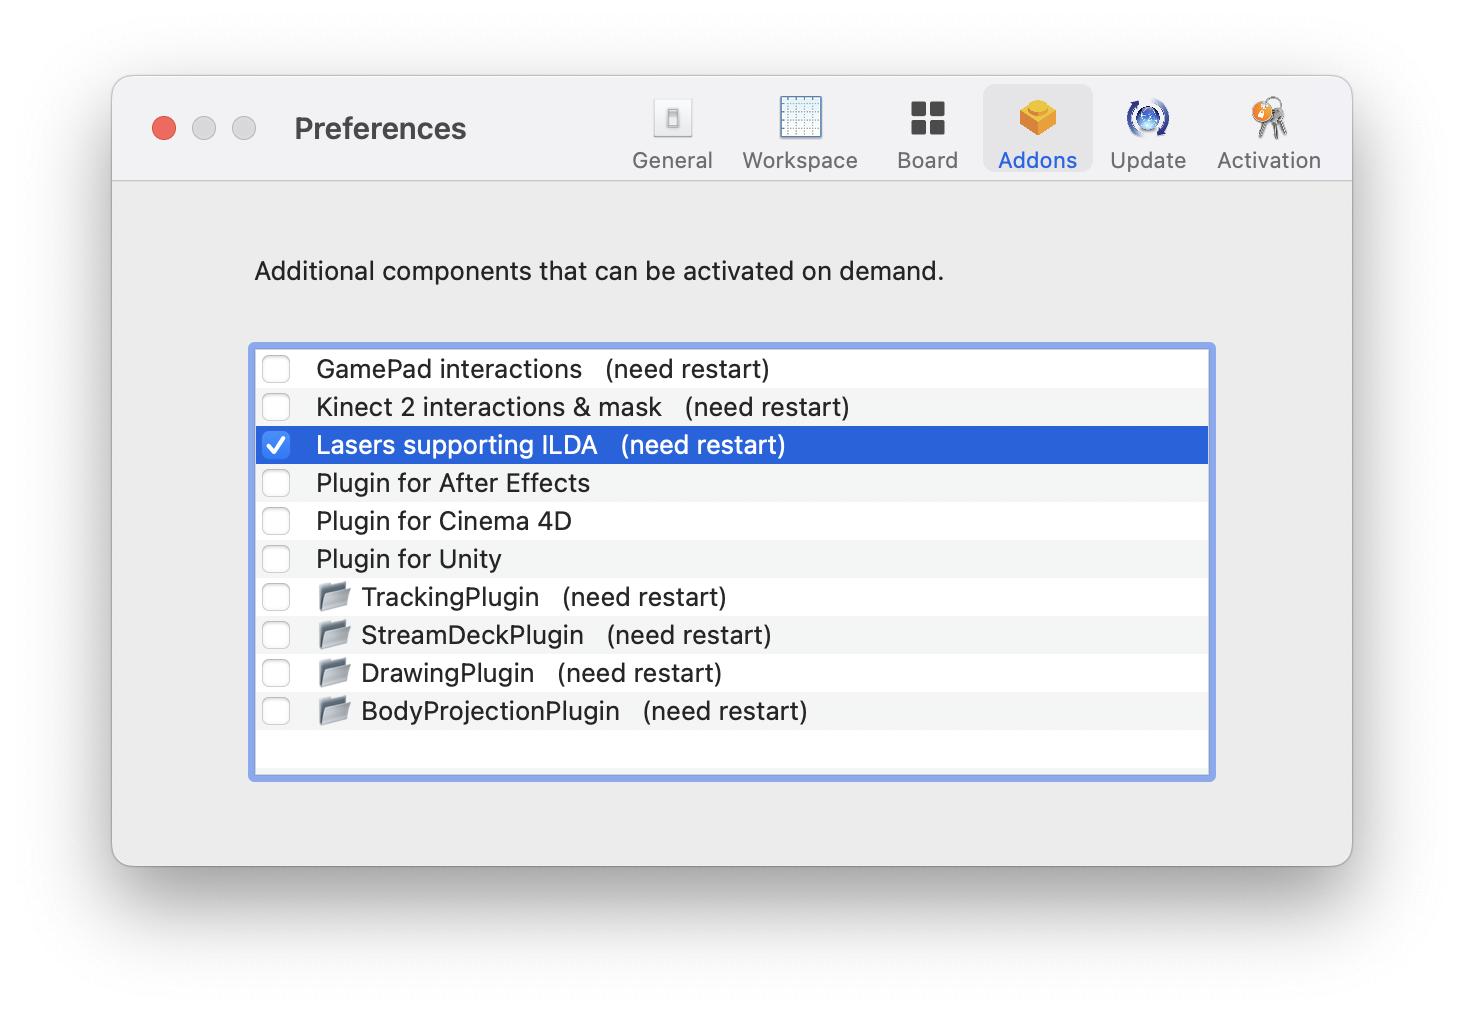
Also, be sure the Lasers addon is activated :
Once everything is plugged in, run Millumin and create a laser layer. A first output should be already created and assigned, as shown in the image below :
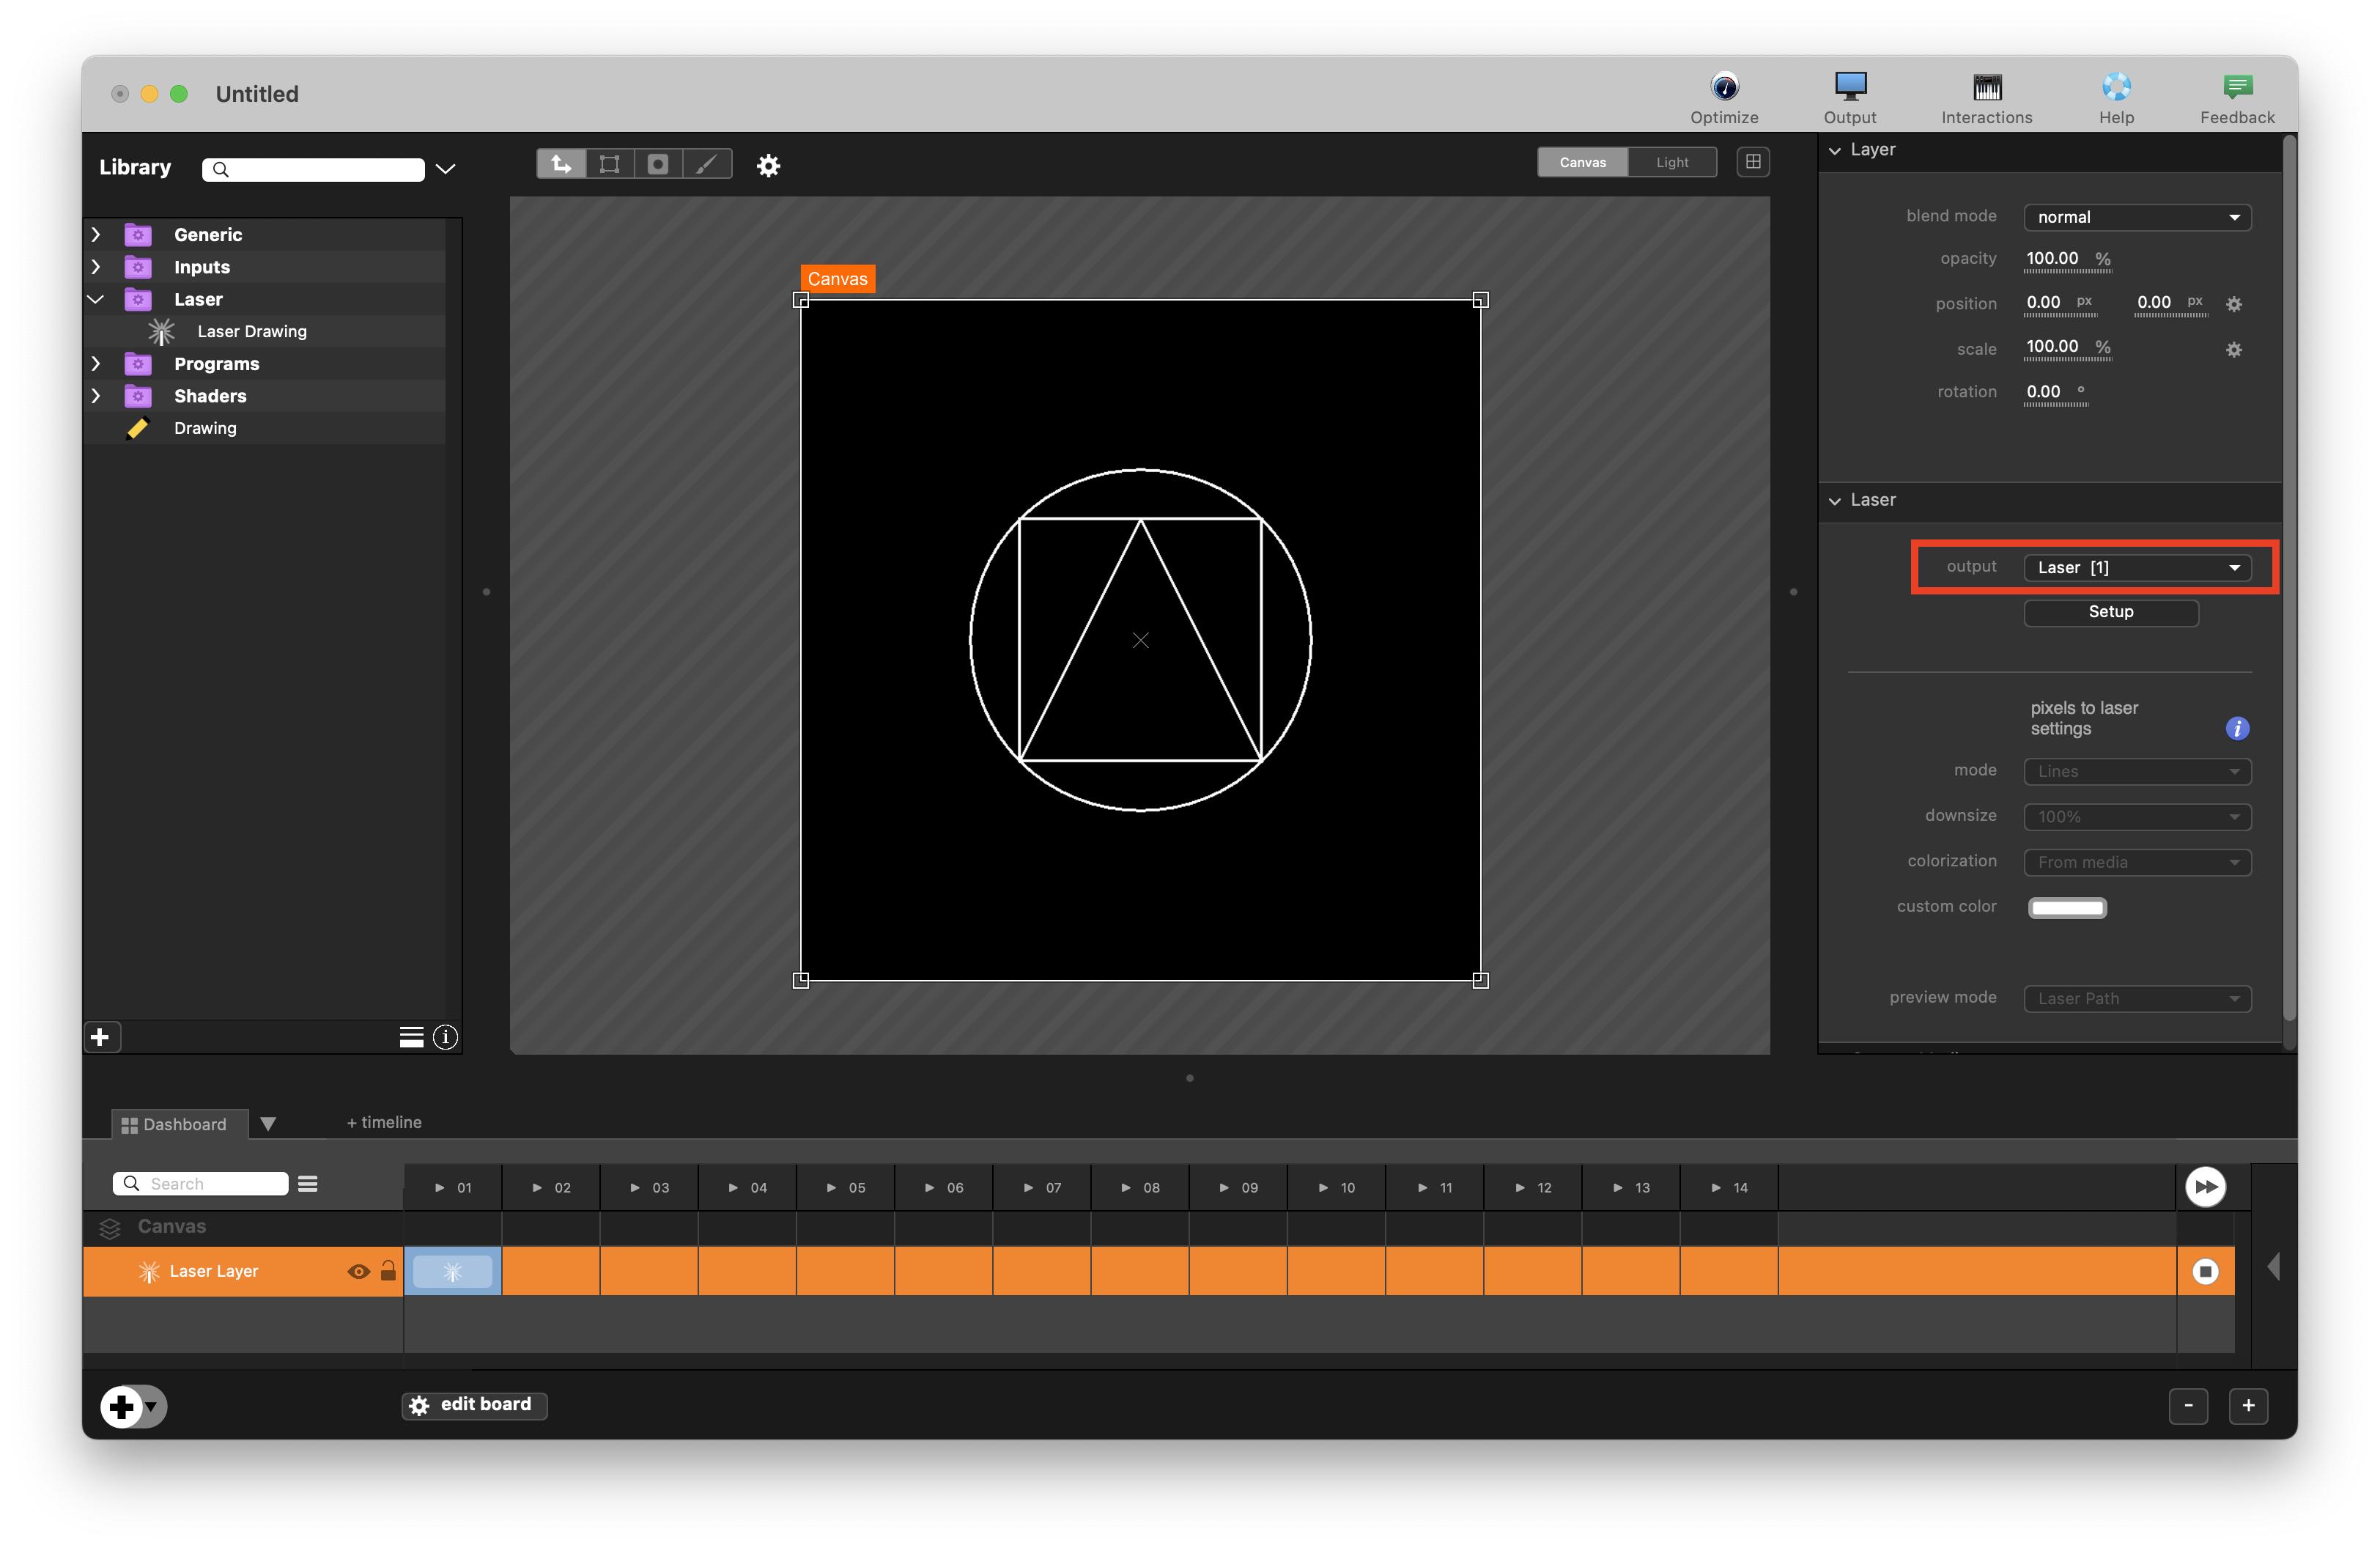
Now you can open Laser Setup popup from Window menubar, or from the Setup button in the properties-view. You can check there that your laser DAC is correctly setup :
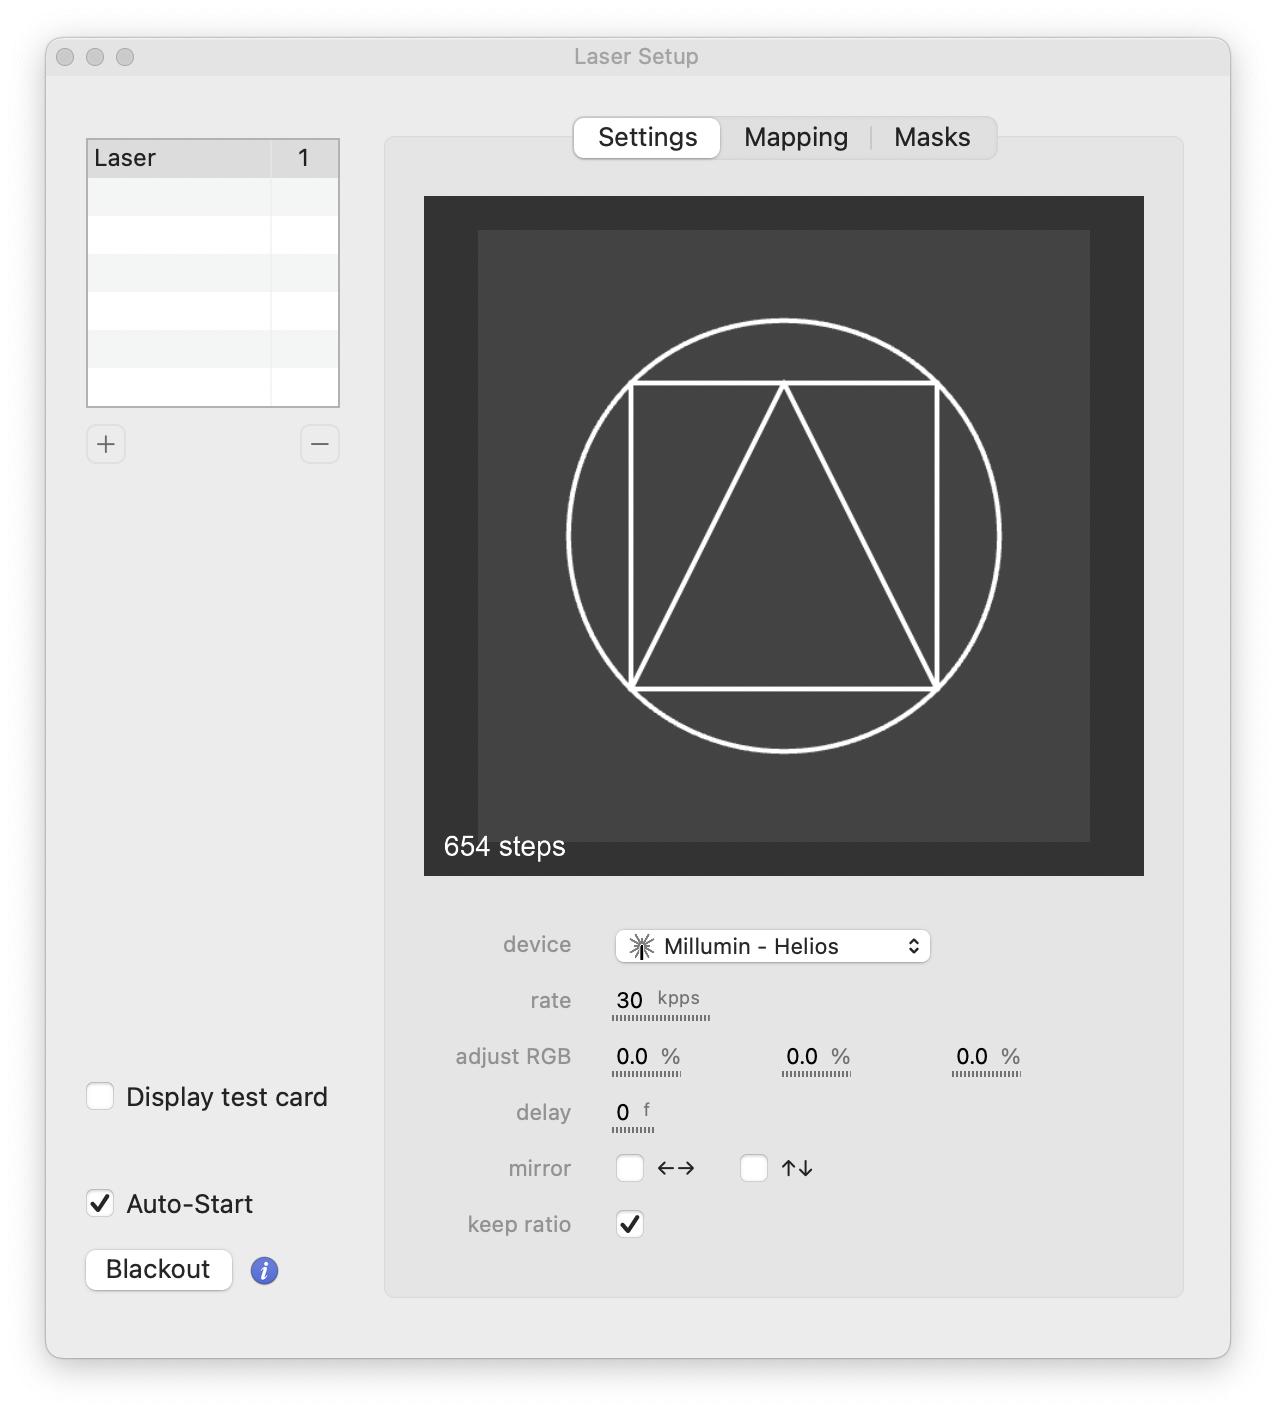
You can control multiple lasers at once. Add a laser output then set its properties :
- The
ratedescribes the speed of laser scanning systems in “Points Per Second”. The higher it is, the smoother animation you will get, but the drawing precision will decrease. We encourage you to set a value that matches the specifications of your laser (usually 30 kpps) to ensure the best ratio between smoothness and precision. - You may want to affect the colors of your laser by using
adjust RGBsetting. This is especially useful to match colors between different lasers. - You can add a
delayto synchronize a laser with another one or with a videoprojector. - The
mirrorsetting allows you to flip horizontally/vertically your output to match your laser orientation. - If your canvas does not have a square ratio, you may need to use
keep ratioto fit it inside the laser output and prevent your drawing from being distorted.
You can check Auto-Start to switch on your lasers at project startup. Be careful with this, lasers can be dangerous, make sure your installation is safe before activating this option.
Of course, as any output, you can display a test card on your laser for setup and testing.
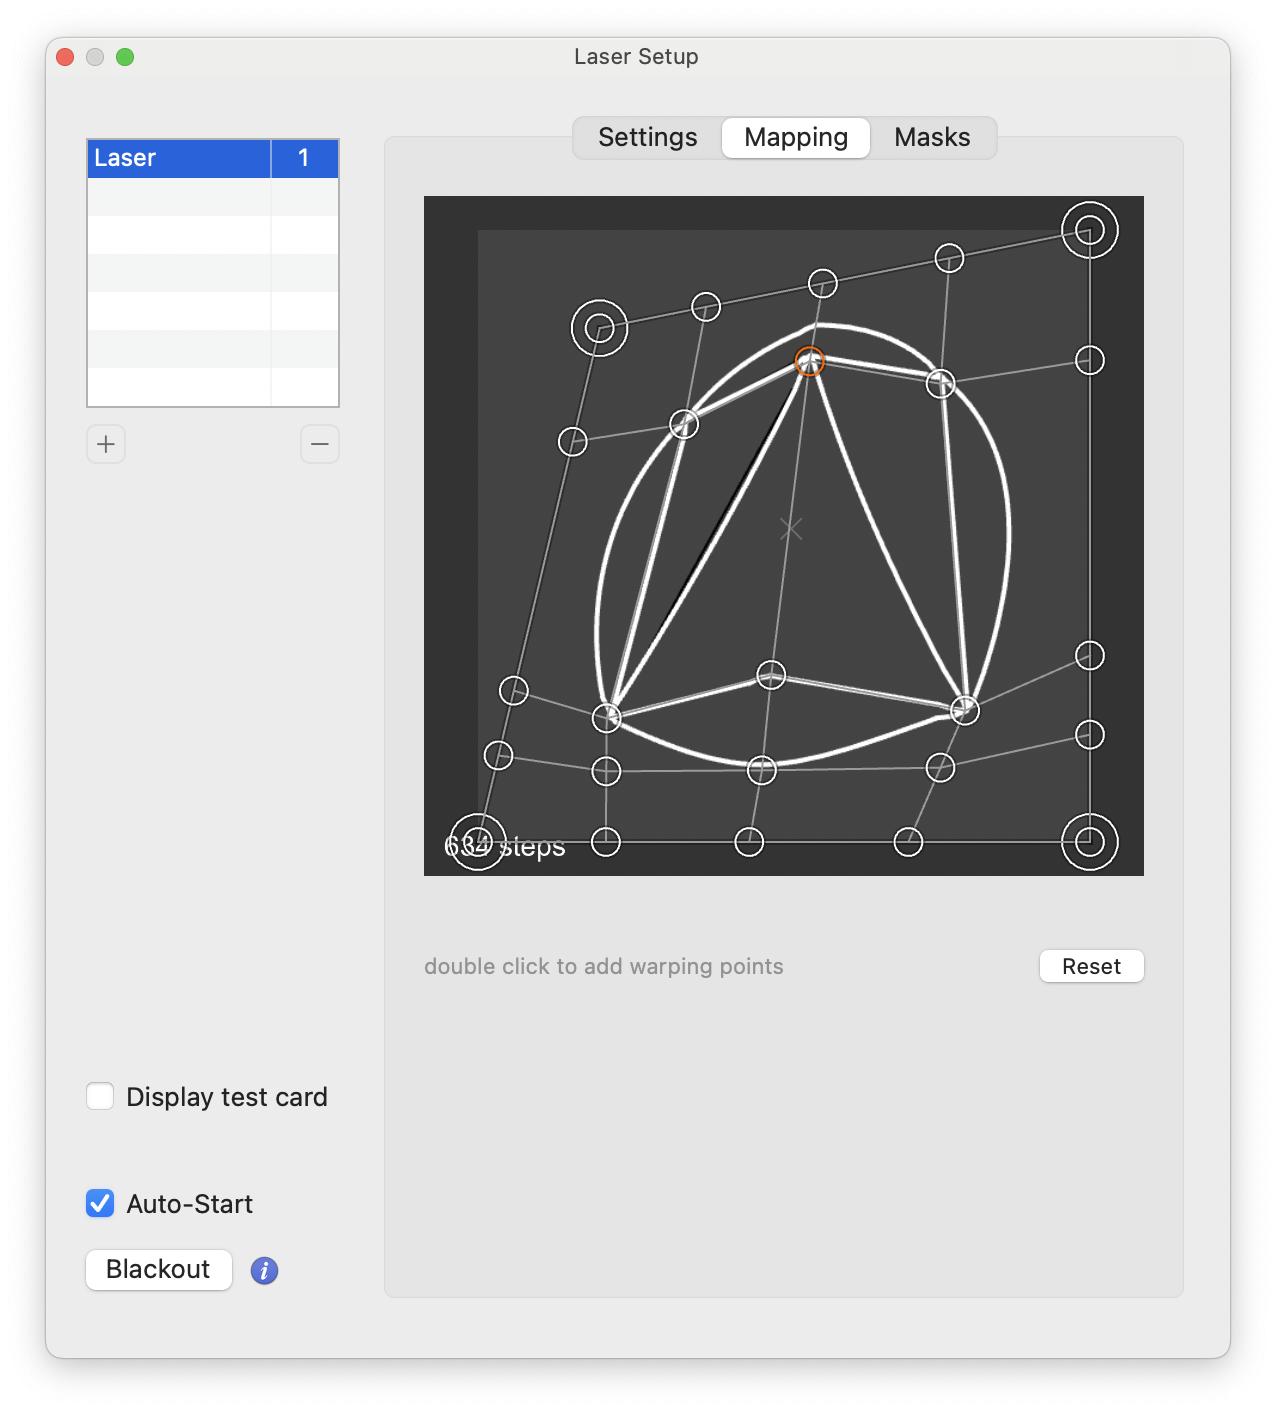
If you need to map or warp your laser output on a surface, you can move to the Mapping tab where you will be able to correct the perspective. Double click in the view to add warping points to adjust the shape of the drawings by adding control points as shown below :
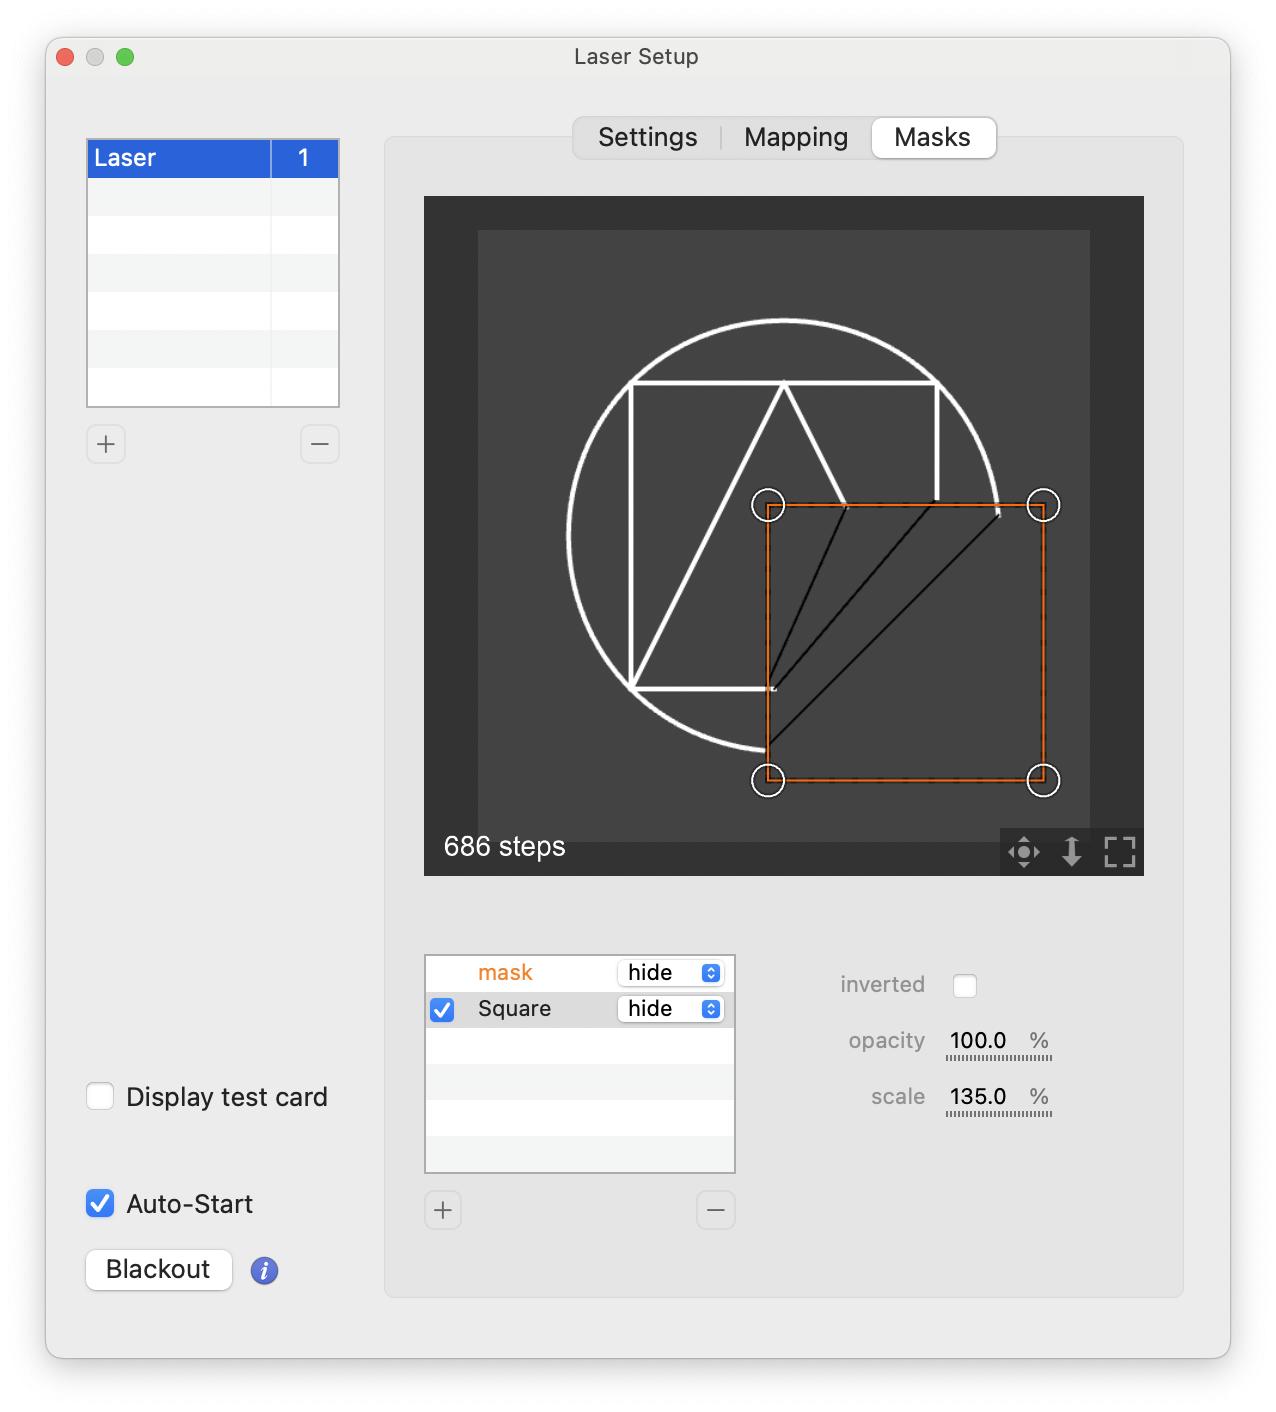
The Masks tab allows you to create and manage masks to hide certain areas of the projected drawings. You can add multiple masks and adjust their opacity, scale, and mode :
Tips : if you do not have a laser yet, you can still preview the result in this window.
Content Creation
Laser Layer
Just like any layer, you can create a laser layer from + button located on the bottom-left corner of Millumin’s window. This special layer is exclusively made to display laser content :
Any media placed in this layer will not be rendered on your video output. Instead, it will be sent to a laser output as mentioned earlier. But you can still see the result in the workspace.
A laser layer features standard layer properties as well as a Laser tab with exclusive settings, such as the output target and pixel to laser effect (see below).
Laser Drawing Media
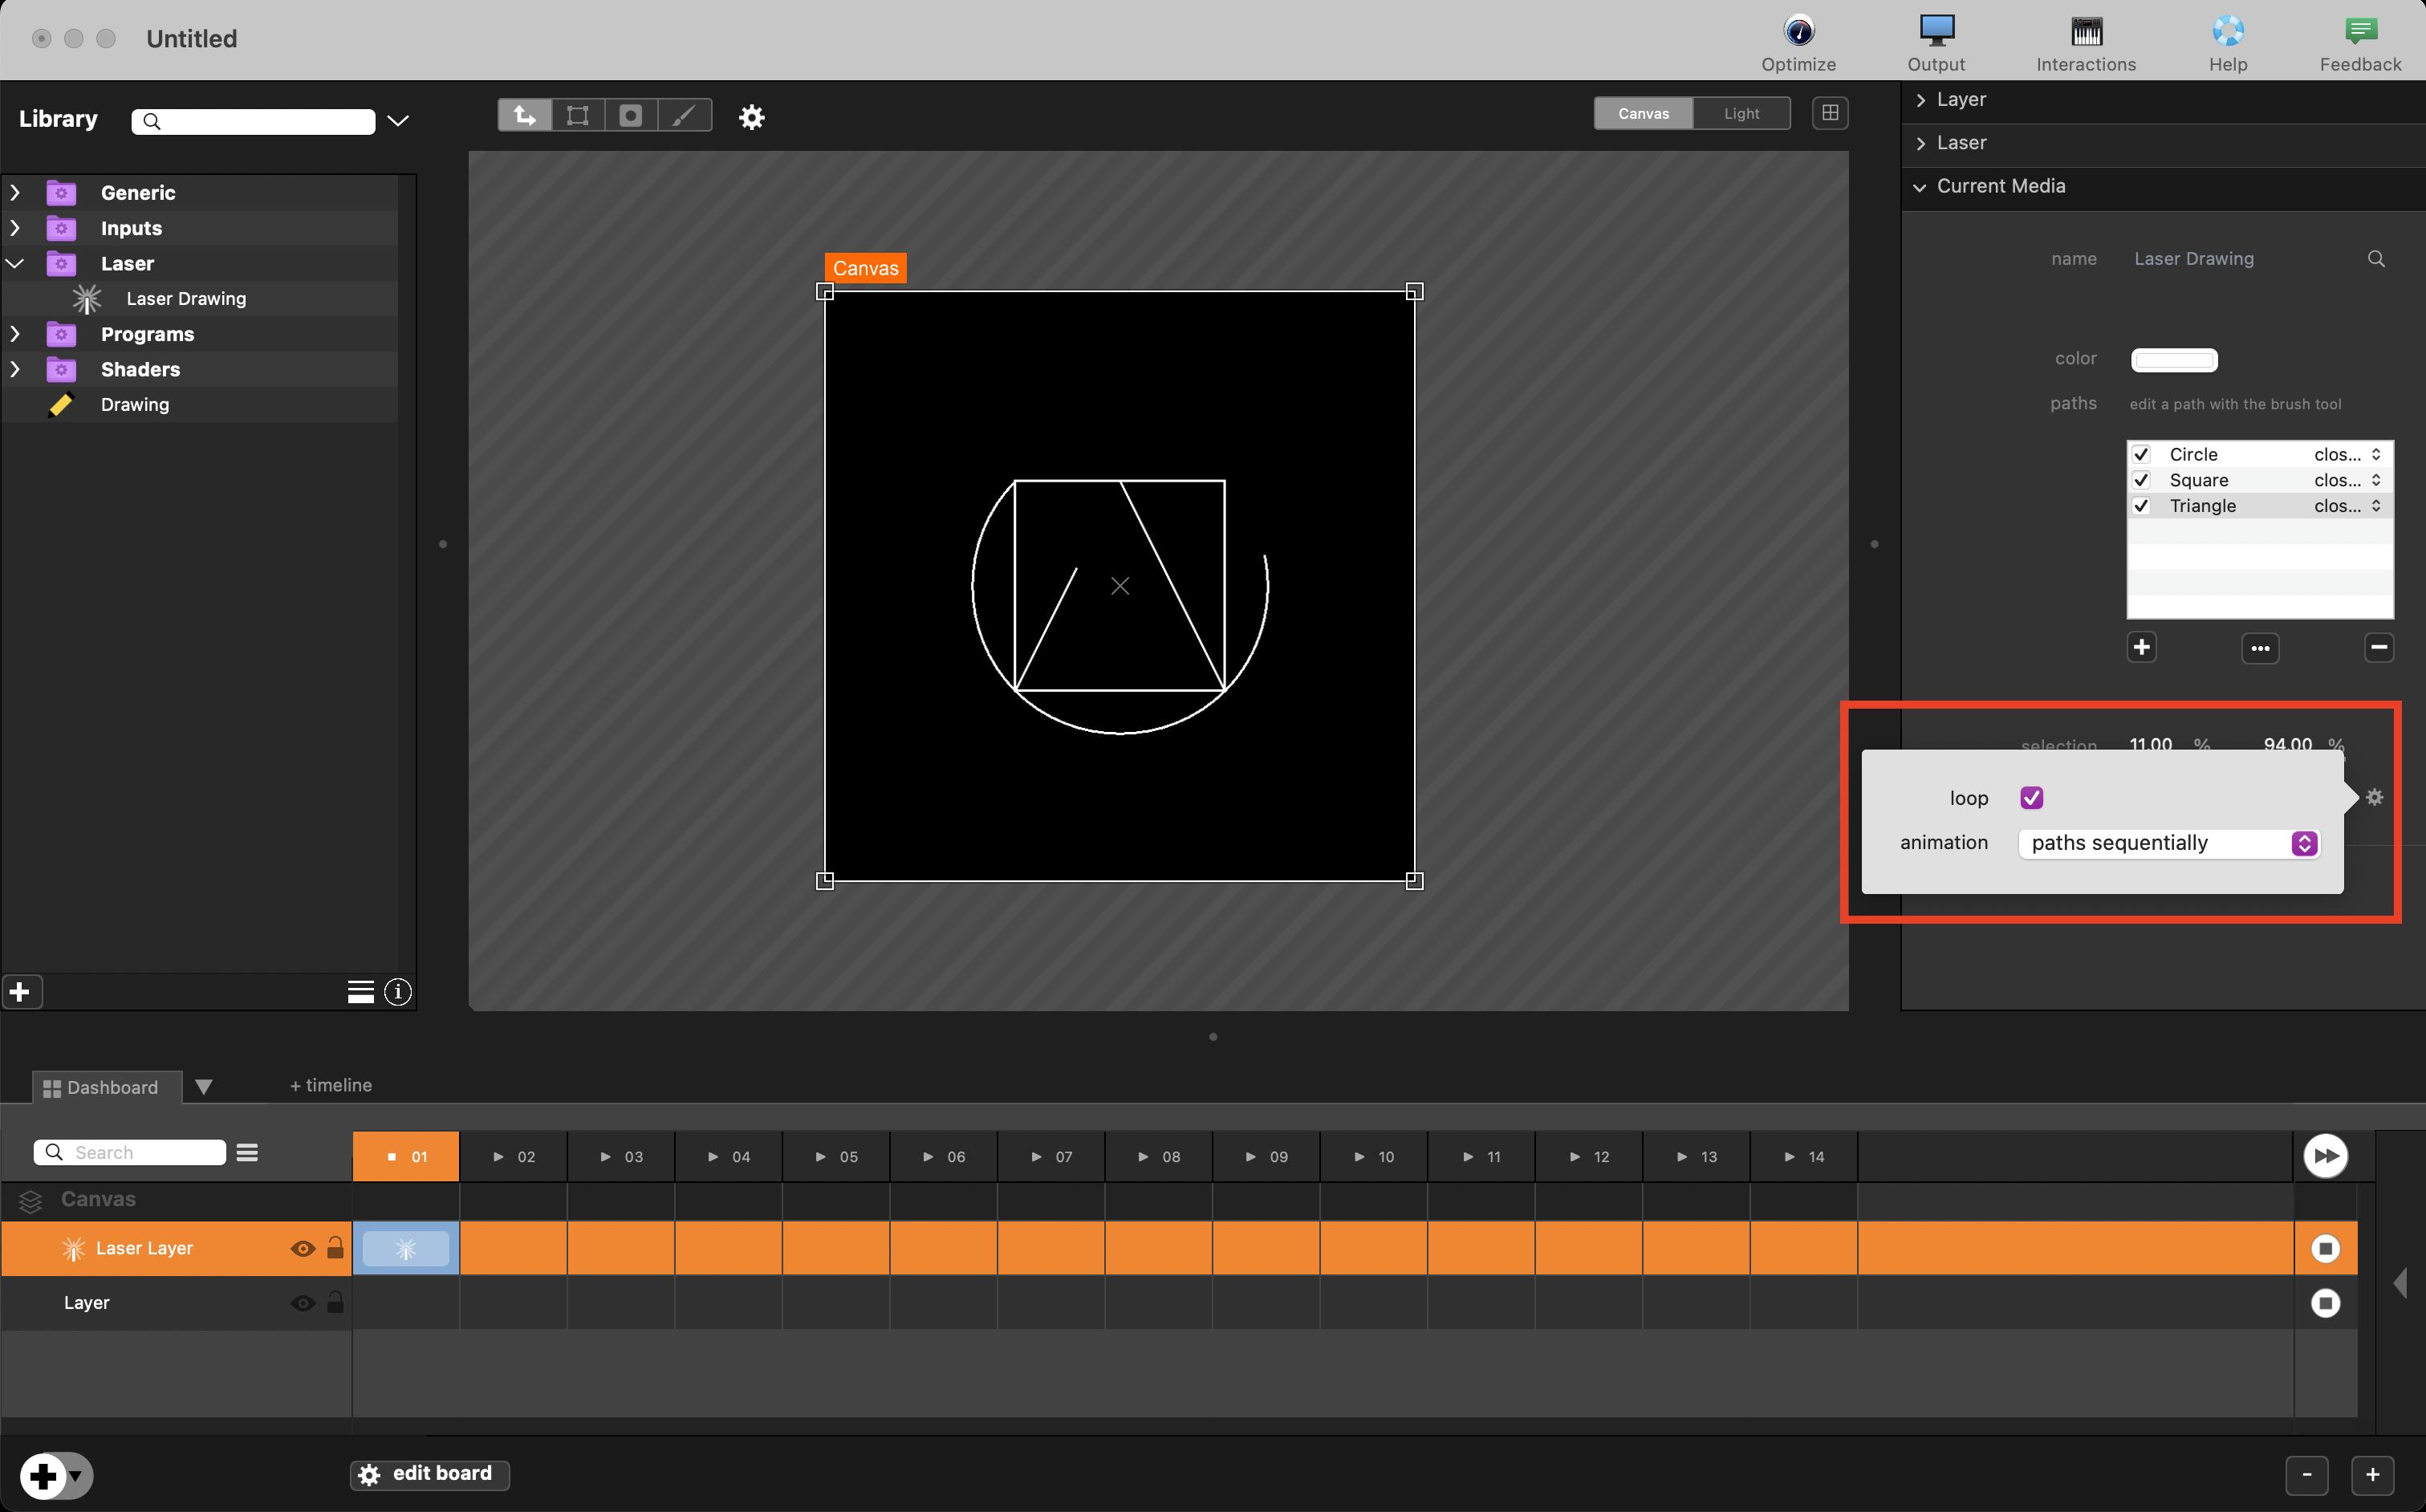
The laser drawing media is located in the library. You can use it just like any other media. Once started, add paths and edit them with the brush tool.
You can animate drawn paths using selection and phase parameters. If you want to know more about animating parameters in Millumin check Animate
page. You can modify animation behaviour under phase submenu, as shown below :
ILDA Media
You can import ILDA files (with an .ild extension) like any media by dragging-and-dropping them in the Library. Note that such files will be grouped in the Laser group of the library.
These files can contain a simple image or a full images sequence. If Millumin detects the file as a sequence, it will automatically play the animation from start to end and use the following parameters :
fps, this is the speed of images sequence playback (only available for ILDA files with multiple images)selectionis similar to start/end points for movies. You can select a smaller portion of the animation (only available for ILDA files with multiple images)loop modewill change the behaviour of the media when it reaches the end of the animation (only available for ILDA files with multiple images)paths precisionis a parameter to improve ILDA drawings. The higher it is, the more it will recreate geometry to improve laser precision but of course it can affect performances.
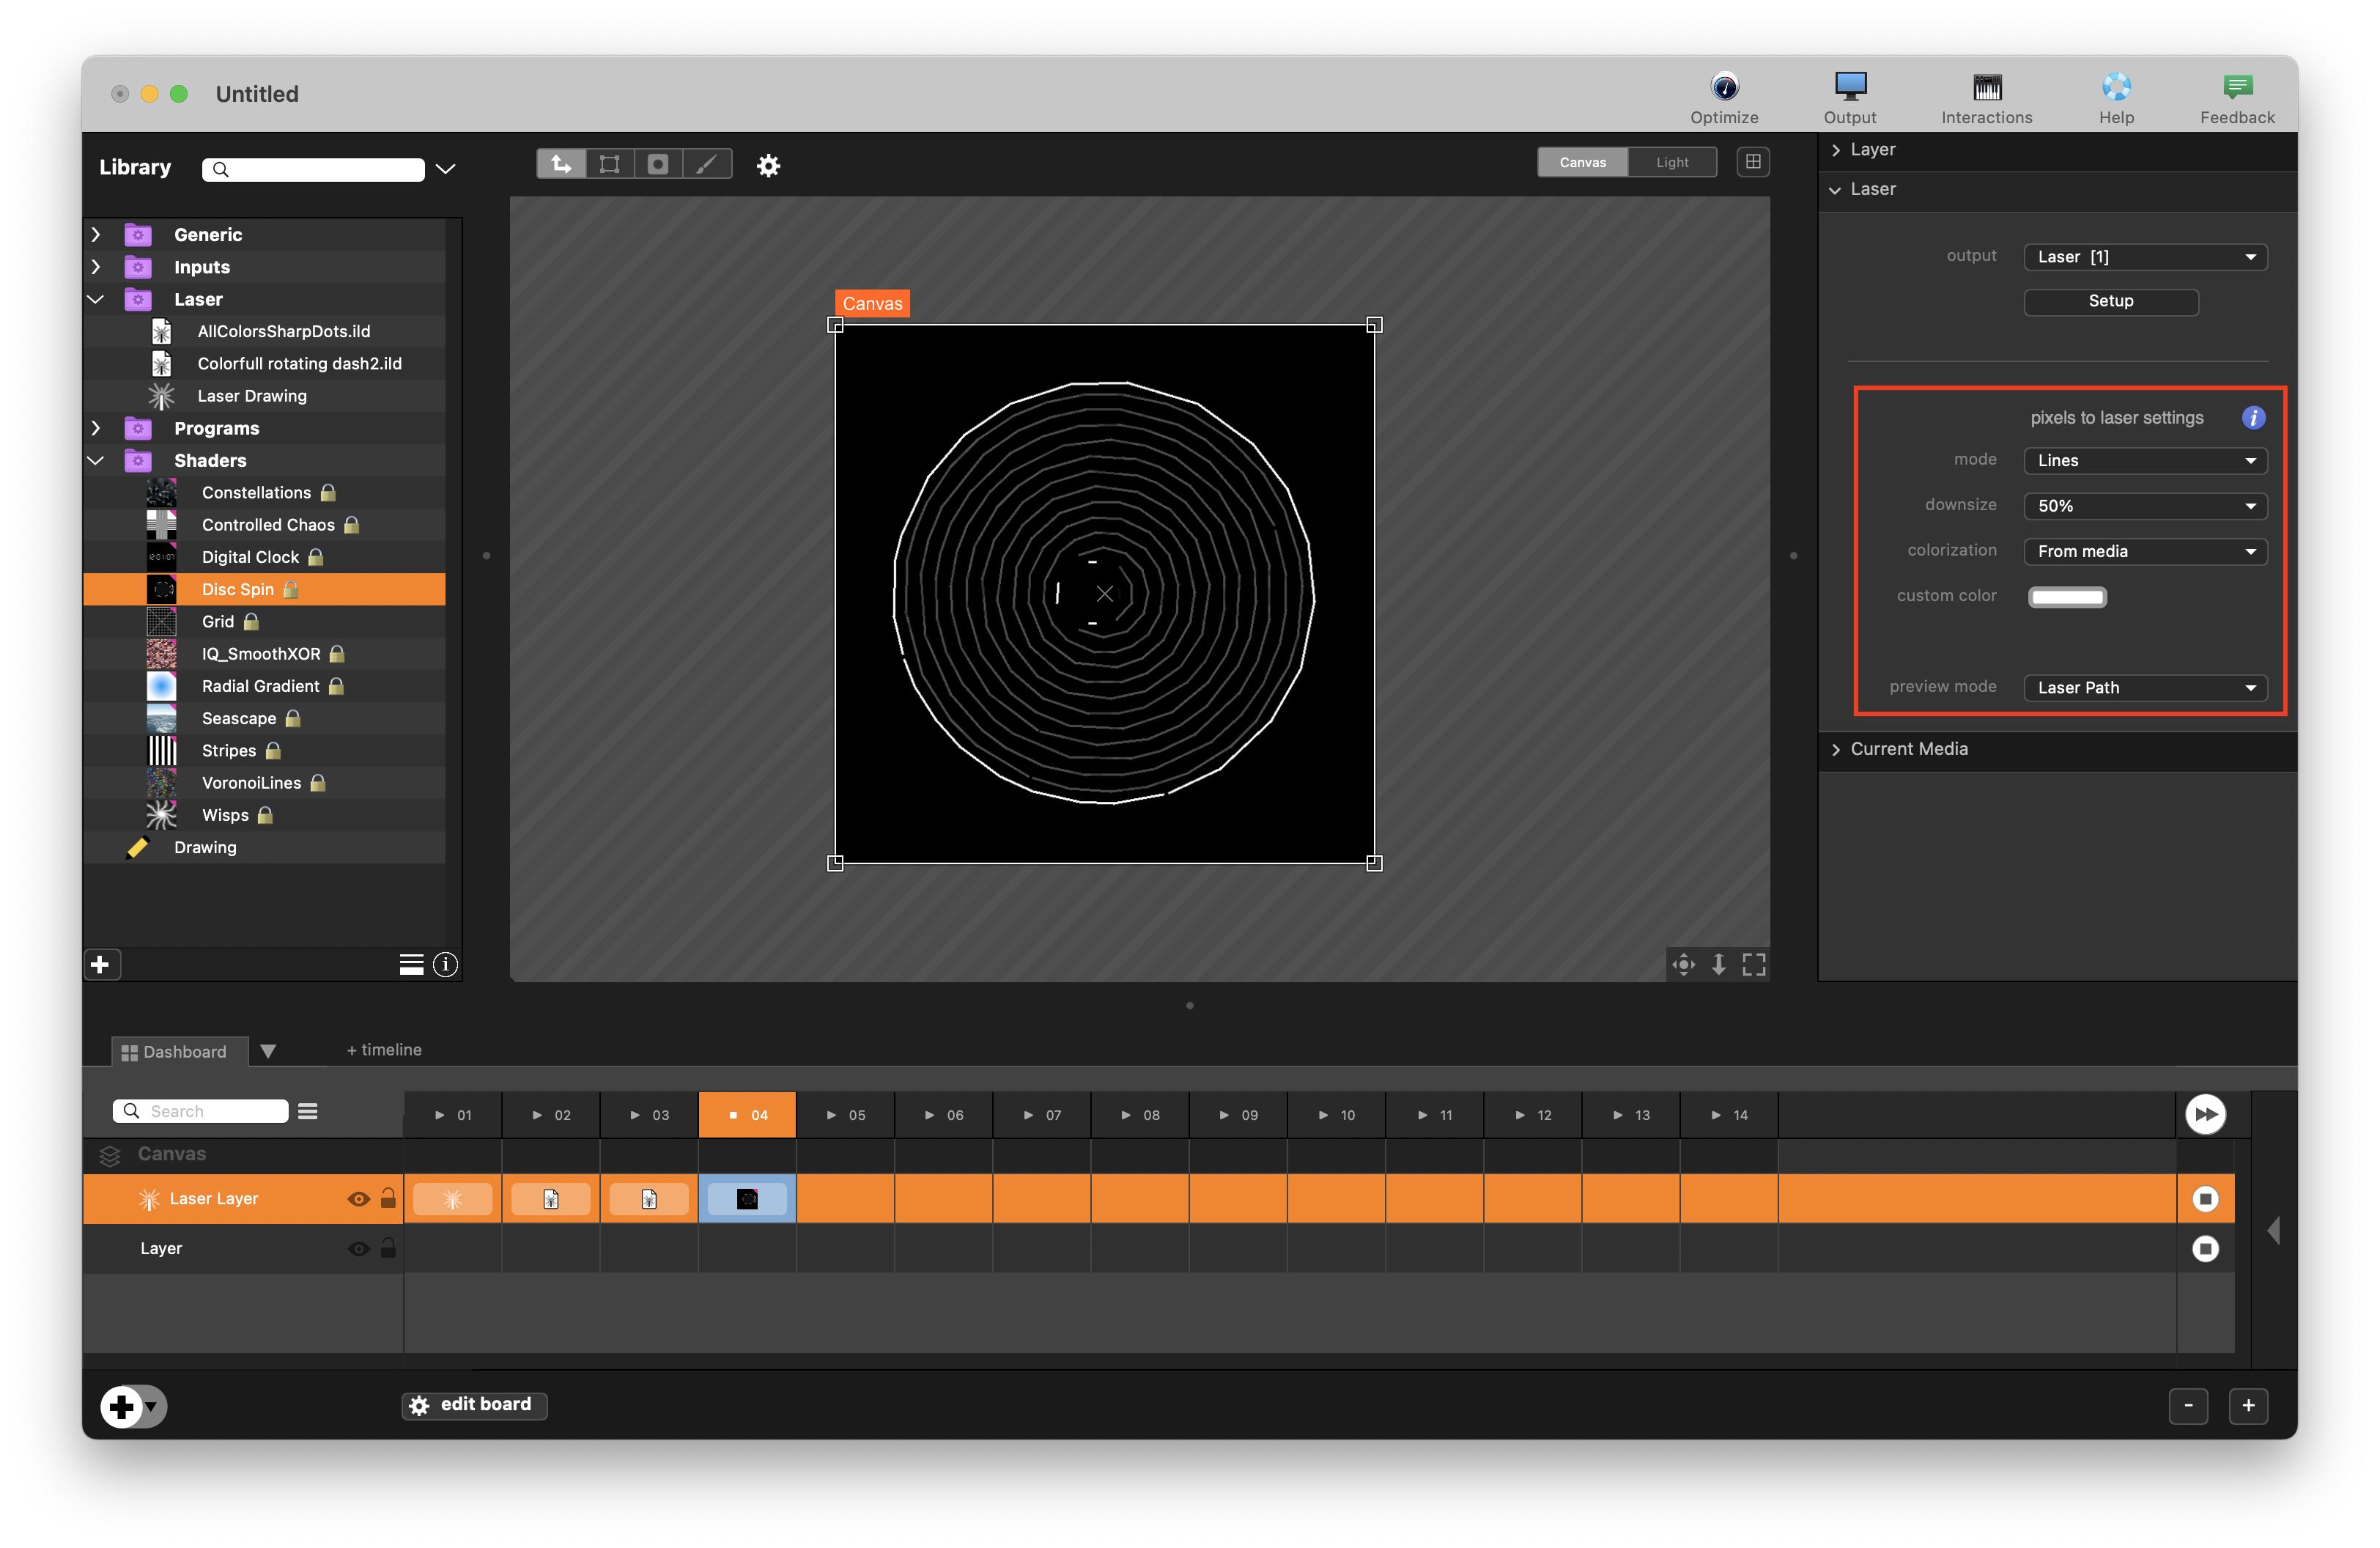
Pixels to Laser Effect
The pixels to laser effect automatically runs when you put a pixel-based media (images, movies, …). It can detect points or lines/curves.
Several settings are available in the Laser tab of your laser layer to improve this detection :
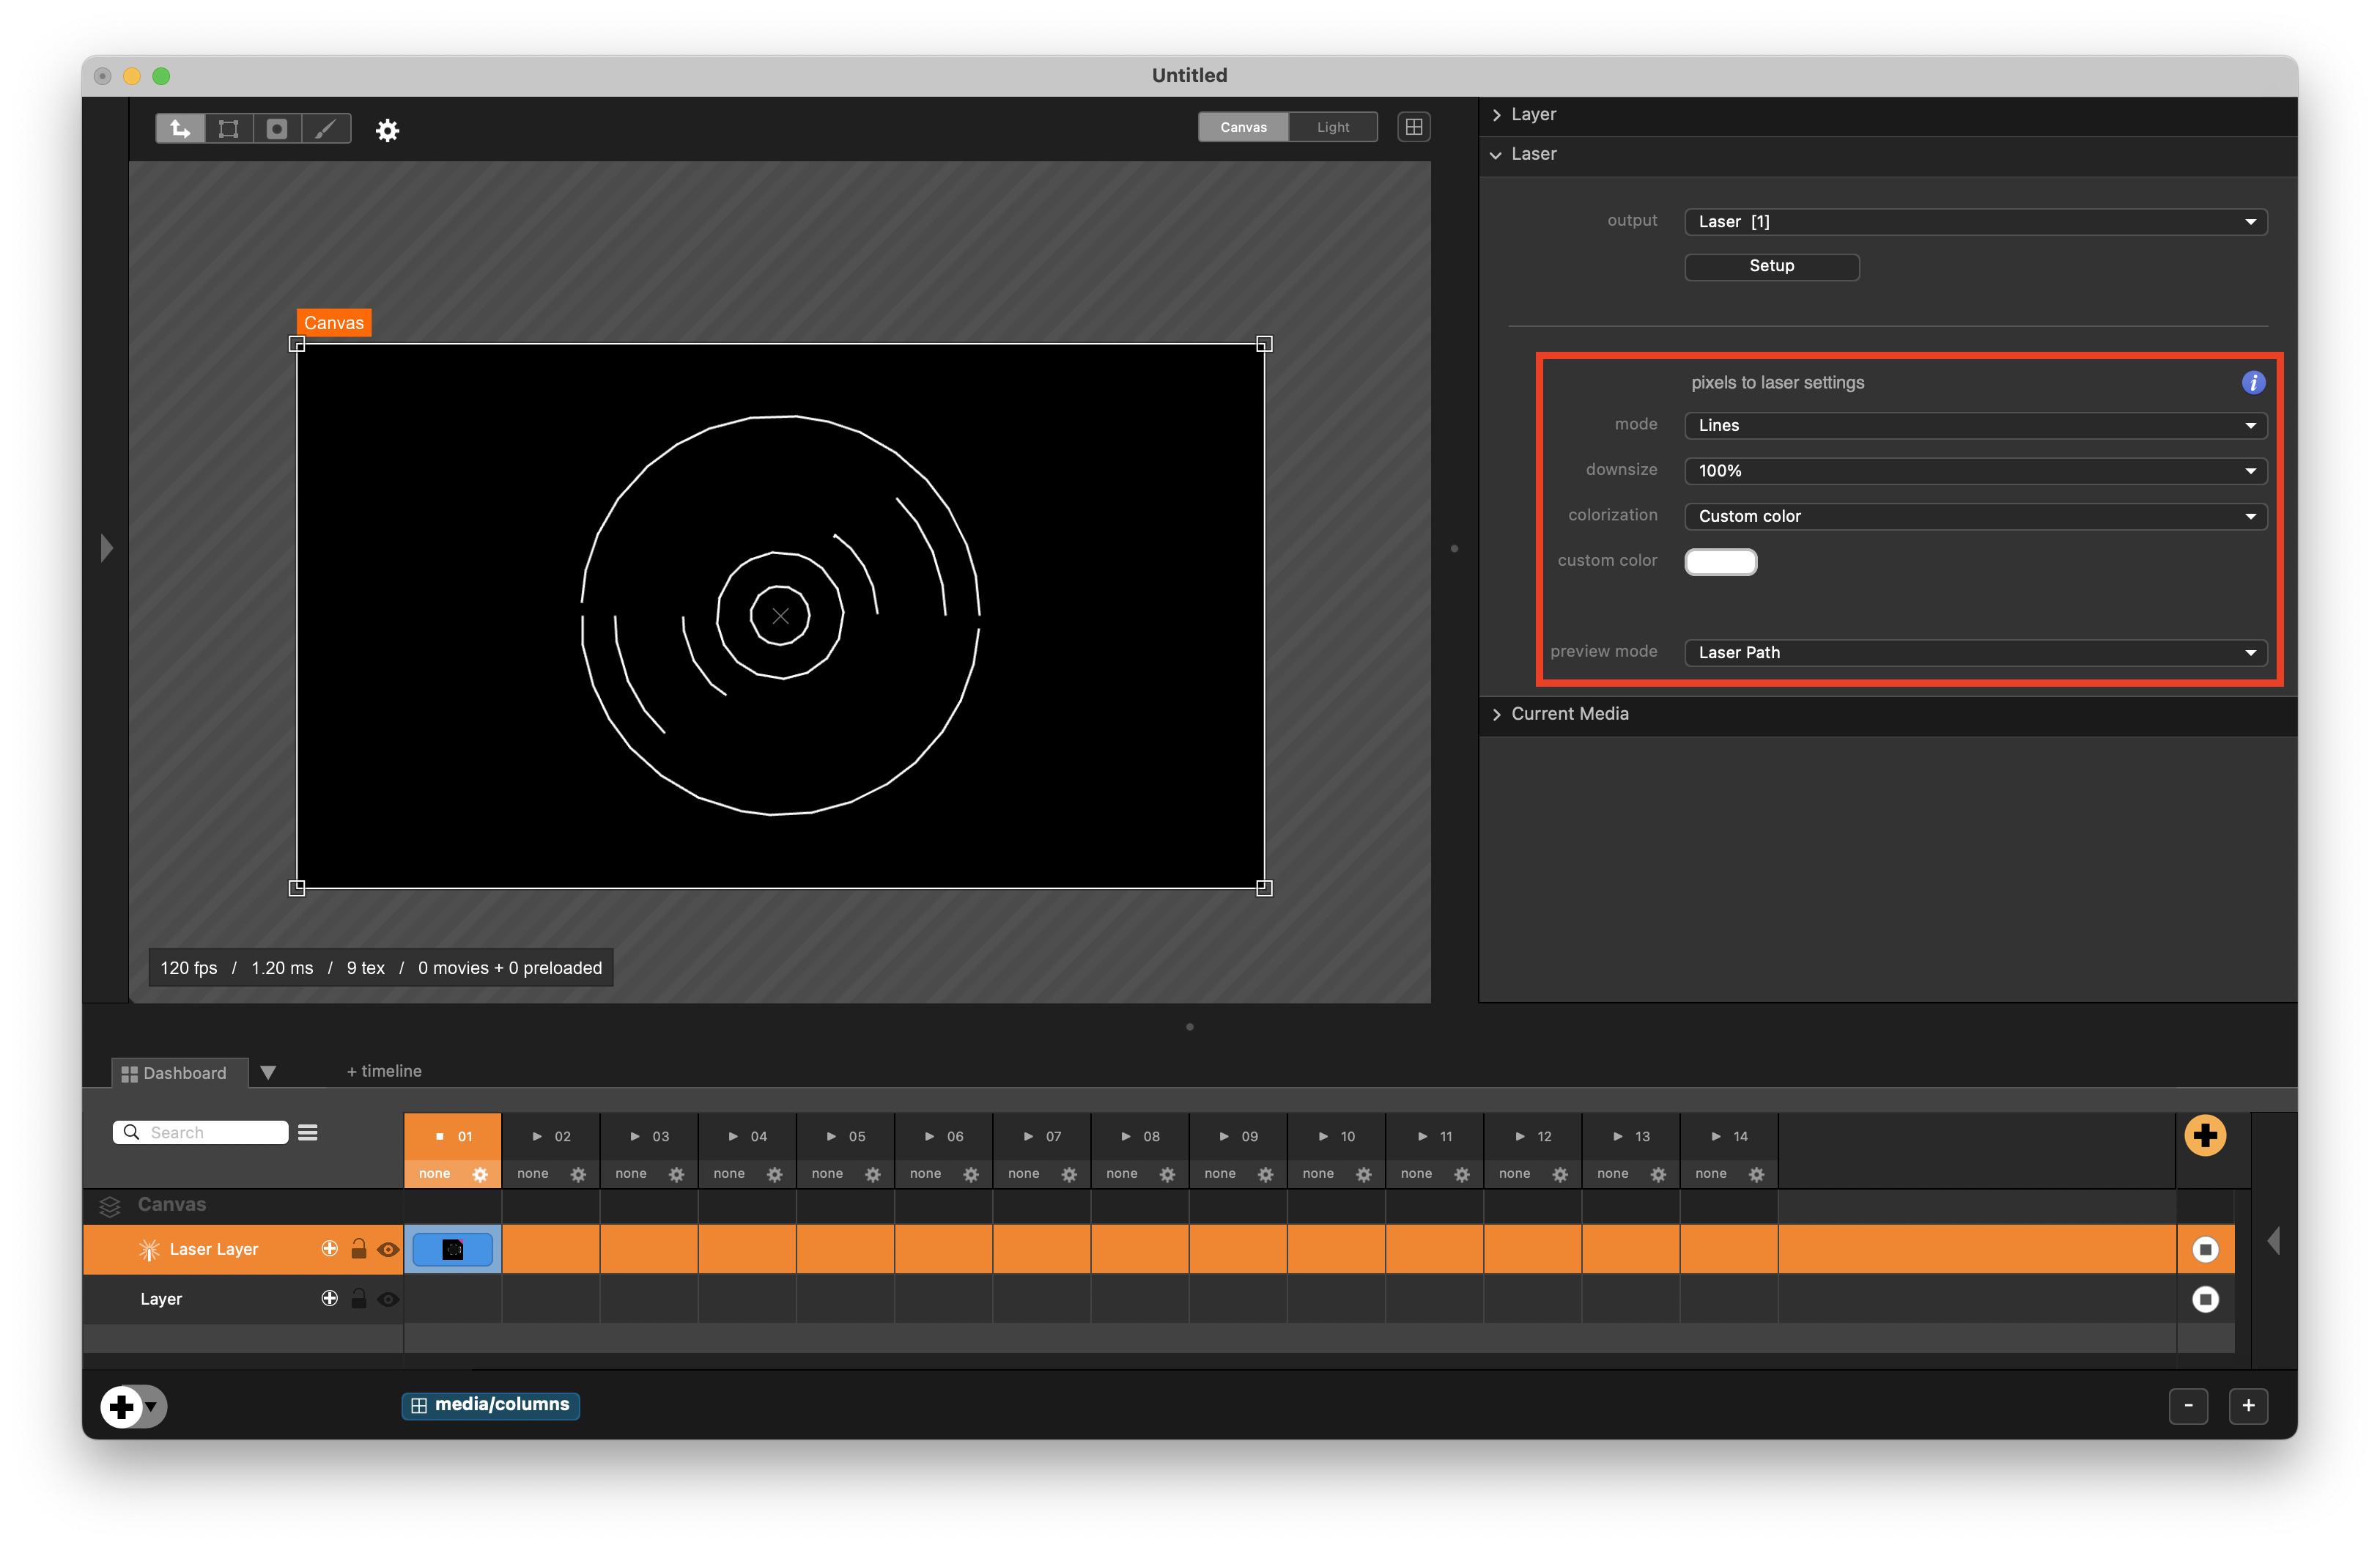
- The
modeallows you to change what Millumin should detect : lines, contours or points - The
downsizesetting is downscaling the original image to improve detection speed and quality - You can choose to colorize your paths from the original media colors, or simply apply a
custom colorto all detected paths - The
preview modesetting is only targeting the preview in the workspace. You can choose to see the original image or the detected laser paths.