Medias
Medias represent the content displayed by Millumin layers. There is many kinds of media, such as videos, images, inputs, … And all can be found in the Library.
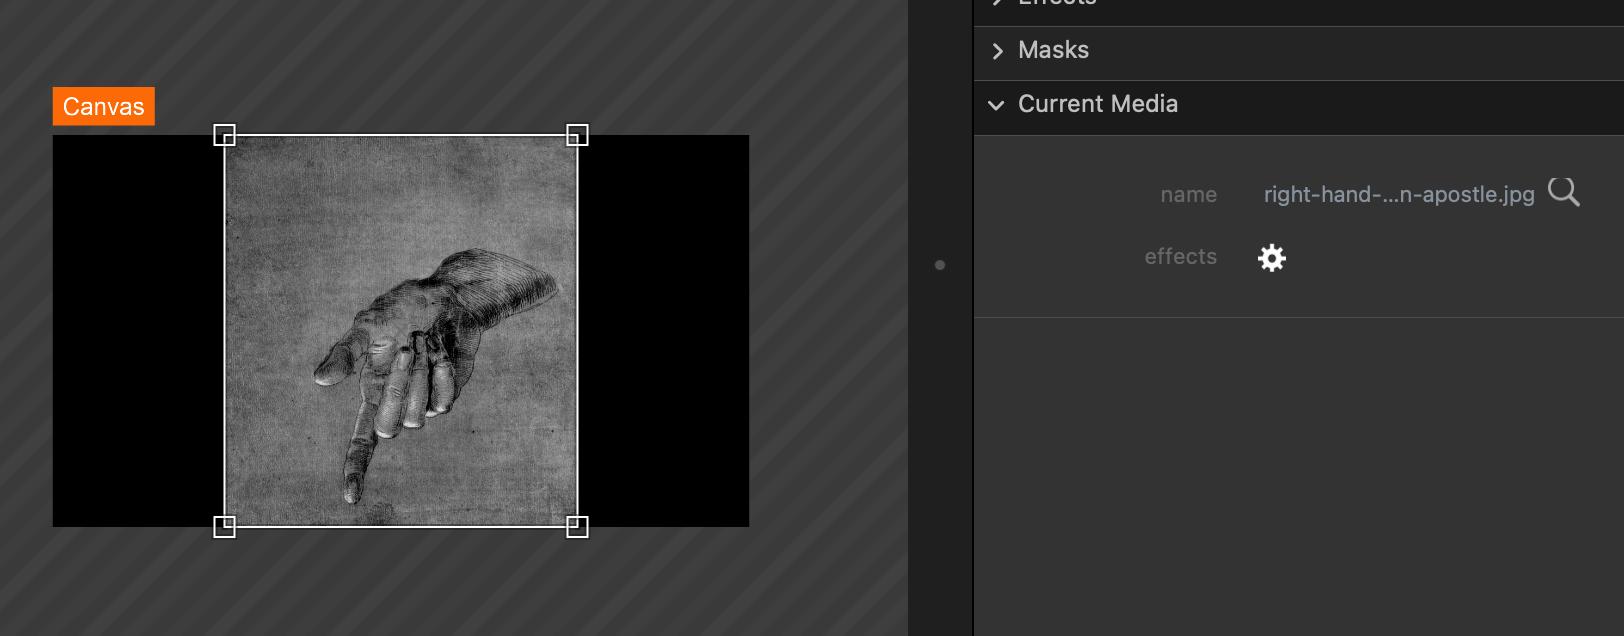
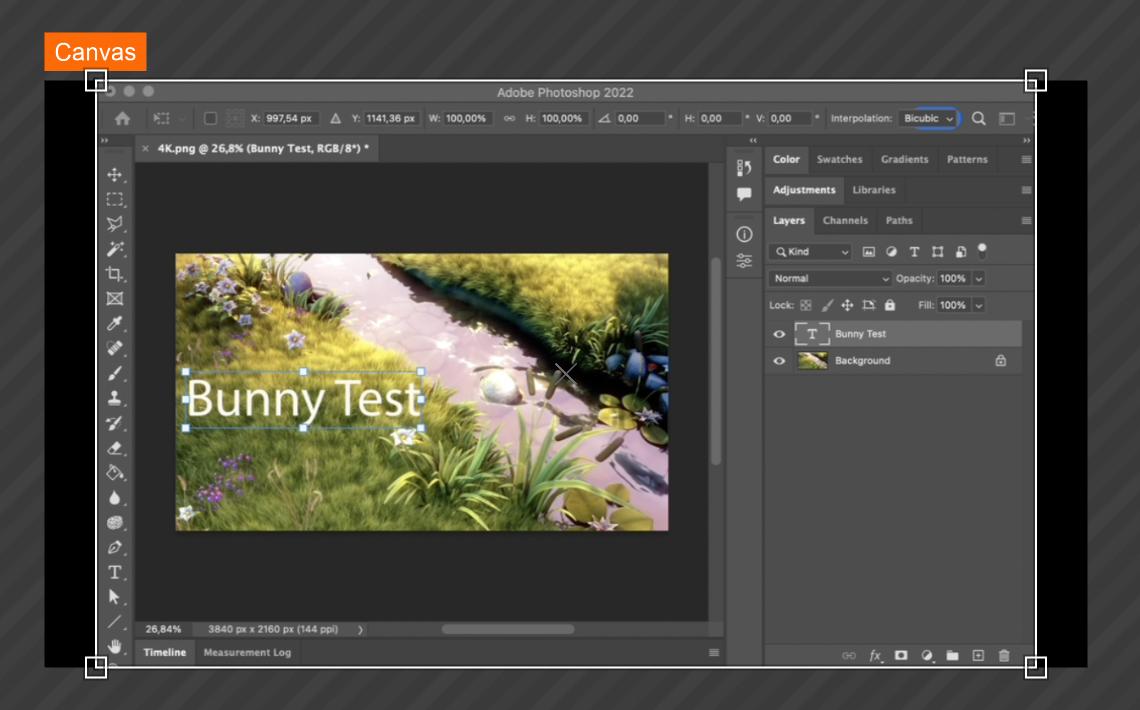
Please note that you can add effects to a particular media by clicking the gear icon in the properties-view. More info in the dedicated article : Effects
Library
These is where Millumin will store the sources of all medias. One file from your computer can be dragged-and-dropped into Millumin library, and it will be added as a new media source.
Then those media can be picked from the library to be added to a layer and displayed in the canvas. If a file is directly dragged and dropped from the computer to a layer as a media, it will also be automatically be added to the library.
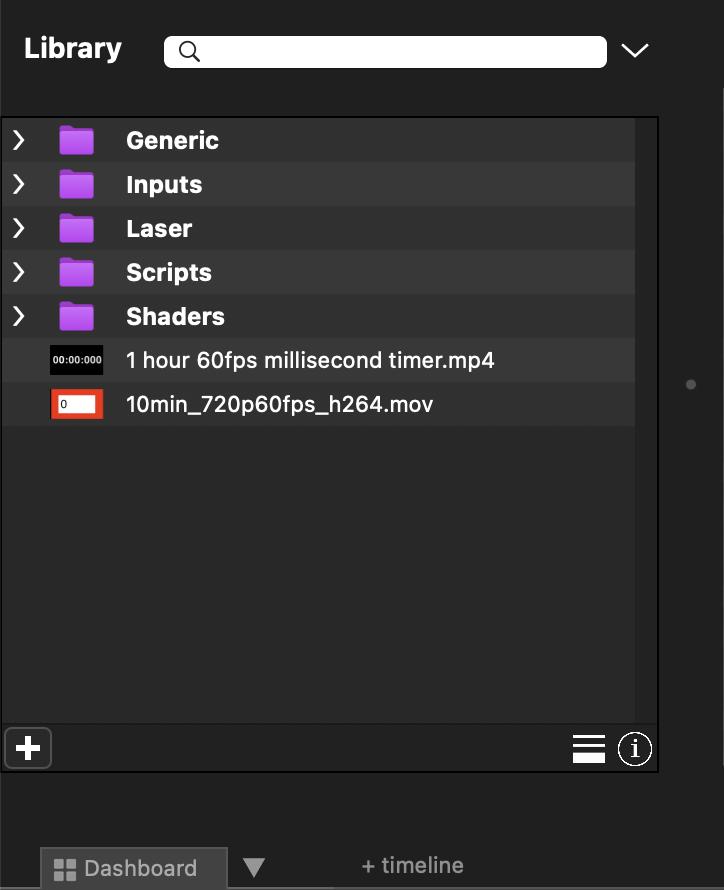
To show more information about media, you can click on the button on bottom-right corner of the library. The medias will become bigger and information such as resolution and duration will be displayed :

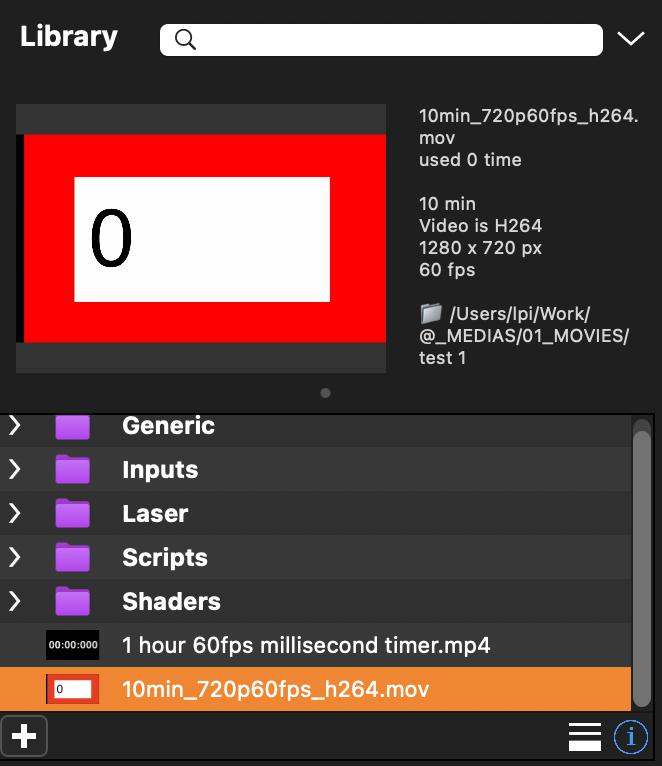
Also, the selected media in the library can be previewed by clicking on the i button on the bottom-right corner of the library. A little player will popup above the library with information on the side such as video codec, resolution, duration, and media path :
Medias in the library can be right-clicked to open a menu with more actions :
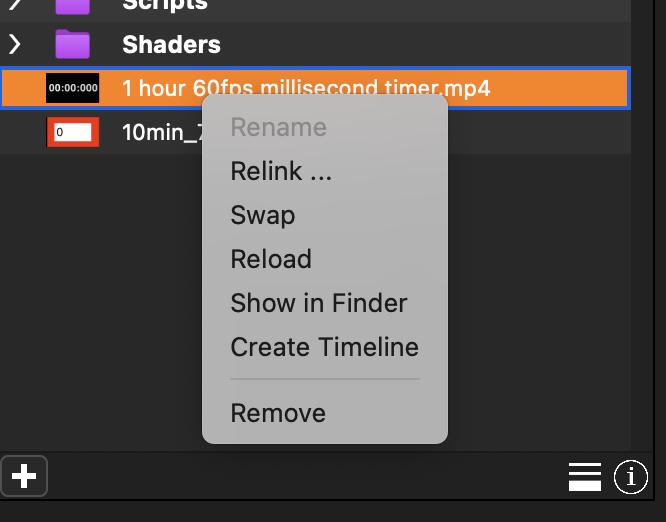
Renameif it is allowedRelink ...with another file of the computerSwapevery occurence of a source with a new one in your projectReloadif the file changedShow in Finderif it is a fileCreate Timelinefrom the selected media with the corresponding duration and size.Removefrom the project
Please note that if a media cannot be found any more, a red cross will appear in the library to notify you about this issue :

Groups can be added to the library to help to arrange the medias. Click on the + button to do so :

The group can be renamed of course. Drag-and-drop some medias inside a group to organize them :

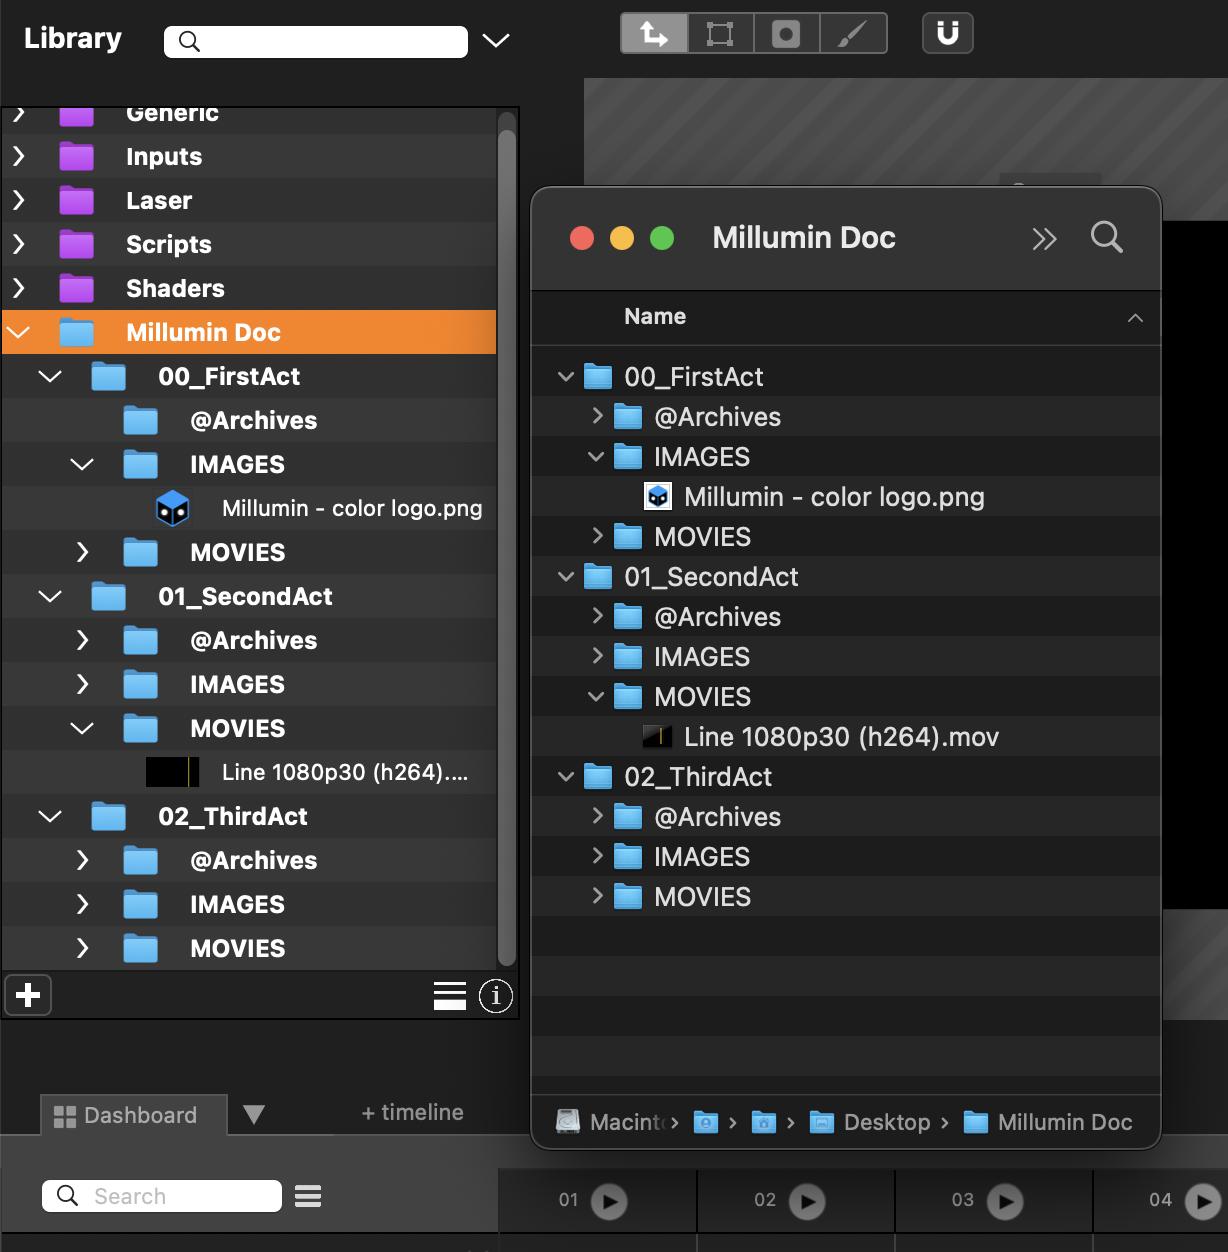
Millumin also supports Finder Folder : you can drag and drop a directory from your filesystem and the library will import every sources and subfolders contained while maintaining the original hierarchy. Every modifications made in Finder will be automatically updated in Millumin to keep everything synchronized.
Of course, you still can import directories as before and create a group instead :
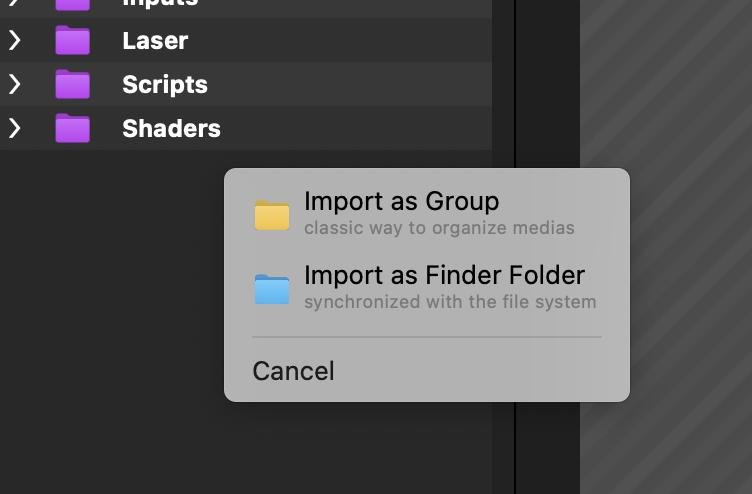
You can also import a Finder Folder at the beginning of your project and convert it to a static Group later in the process. You can do so by right-clicking on it and select Convert to Group.

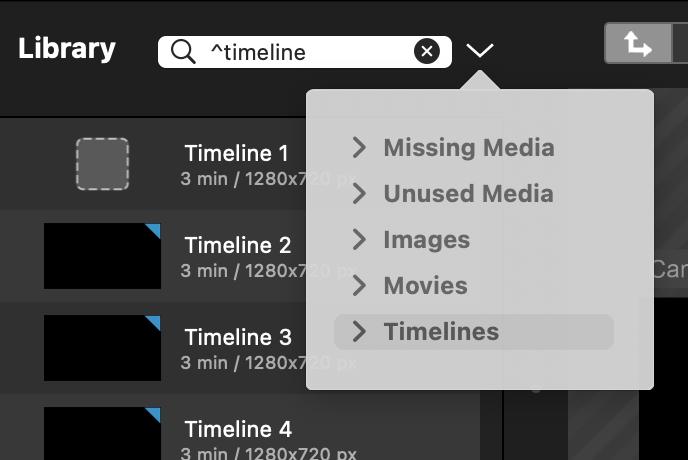
Lastly, it is possible to filter the library via the search-field at the top. Or click the drop-down icon to filter by type :
Quick-Find
To edit your project faster and more easily, you can use this fast research tool. Just like you would with Spotlight in macOS, open the Quick-Find from anywhere in Millumin’s interface by pressing: CMD+ENTER.
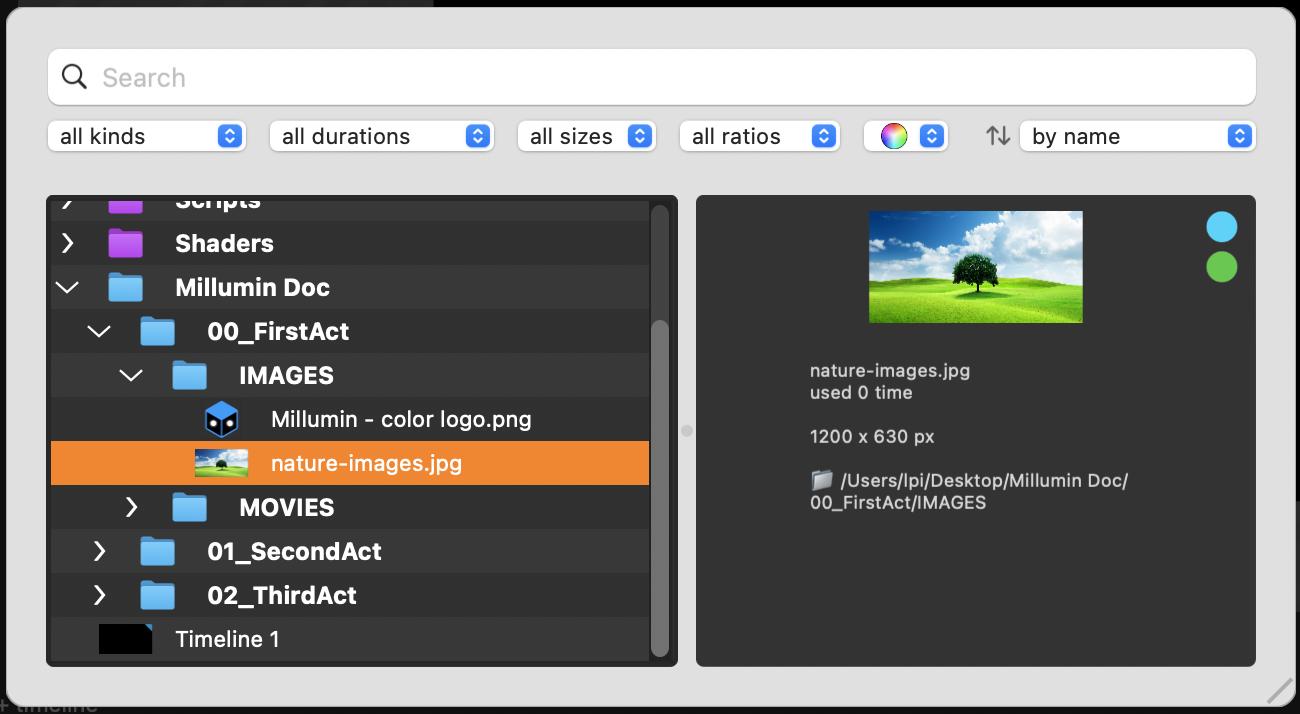
From there, you'll be able to use various filtering and sorting methods to find the right media you're looking for in Millumin’s library.

You can filter by :
kind of media(images, movies, audios, timelines, shaders)durations(less than 1 min, more than 1 minute, more than 5 minutes)sizes(SD, HD, FullHD, UHD+)ratio(landscape, portrait, square, panorama)colors– Millumin analyzes images and movies to extract up to 3 main colors, which are used to filter results. You can also filter media containingtransparencyor being purelyblack & white.
After filtering, you can sort the results by:
nameimportation datein your projectmodification datein your projectnumber of usein your project
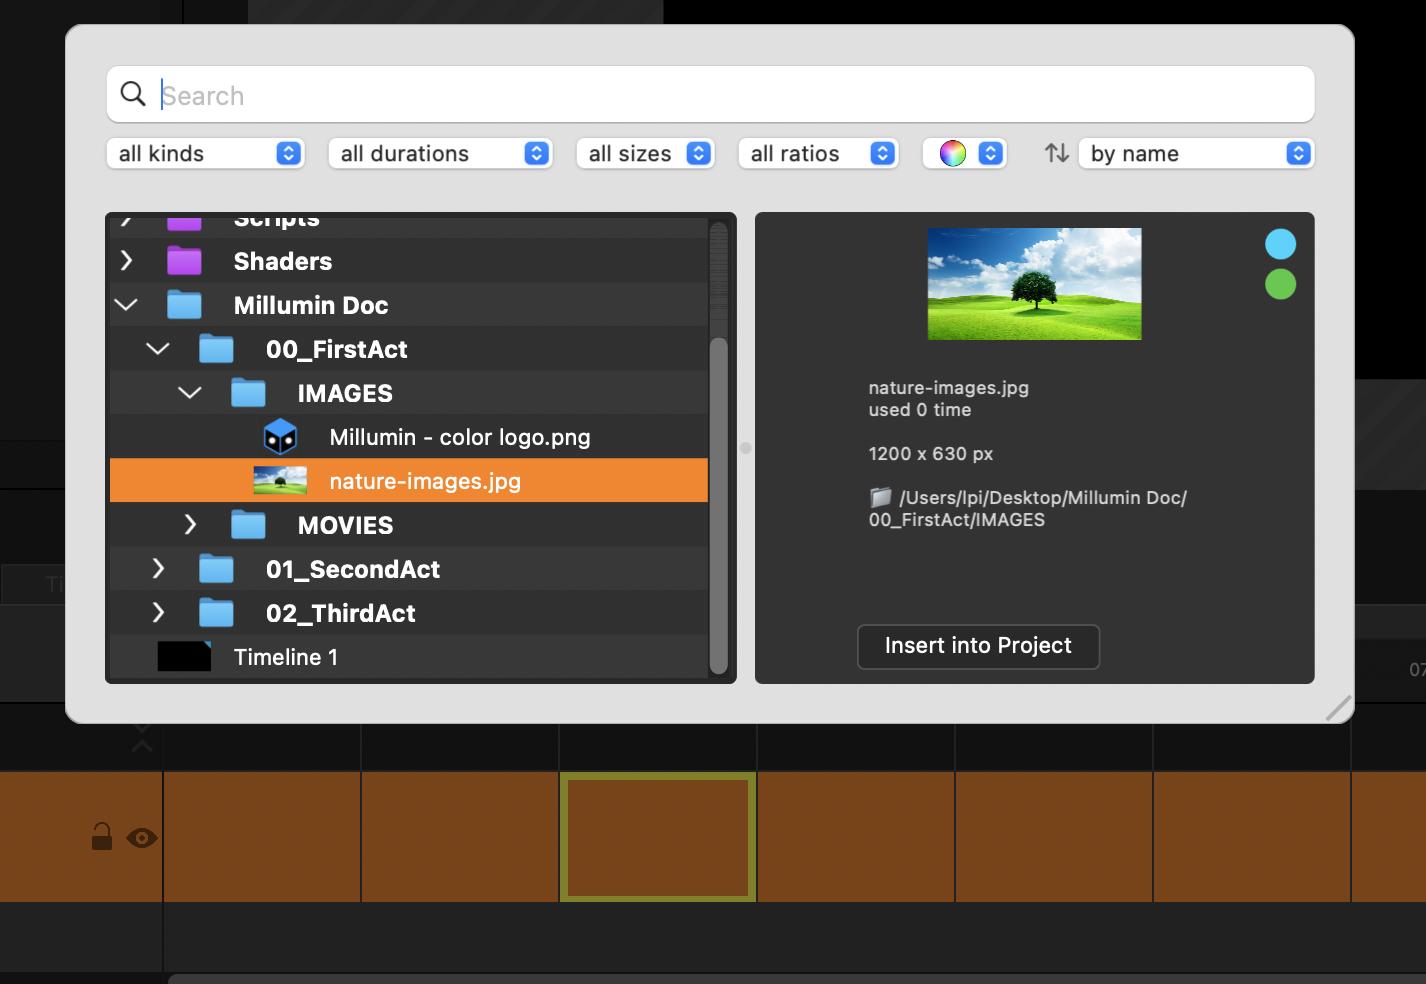
When you have found the media you were looking for, simply drag and drop it from the Quick-Find to your Dashboard or Timeline to add it, the window will close automatically once the media is grabbed.
You can also access the Quick-Find by double-clicking in a cell of the dashboard or directly in a timelie. In this case, dragging-and-dropping the media is not necessary, simply click on Insert into project and it will be added at the selected location.
Files
Millumin supports many kinds of media files. They can be dragged directly in the library, in a board or in a timeline.
Please note that you can also drag a folder : Millumin will automatically create a group with all files/medias inside.
Images
Most formats are supported : PNG, JPEG, TIFF, GIF, BMP, SVG, PSD, DNG or EXR for example. With or without alpha. Premultiplied or unpremultiplied.
Movies
Most of the movie codecs are supported. More info in this article : Recommendations
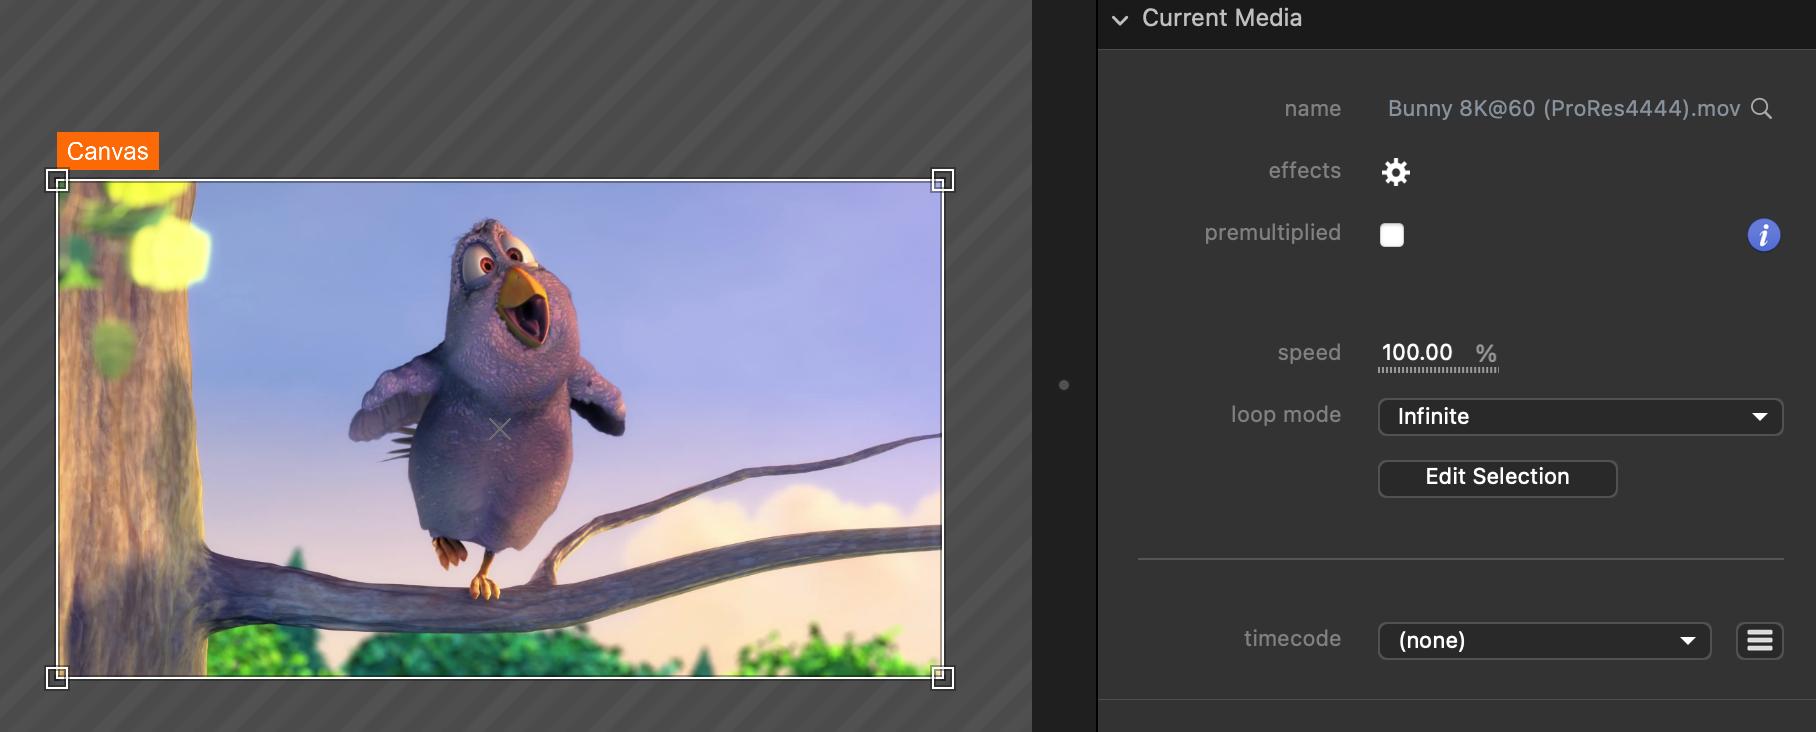
Movie have a lot of properties to manage its playback :
- premultiplied, if this movie has an alpha channel
- speed, to obviously edit the speed of the movie.
- loop mode, with 4 different modes :
- Infinite : the movie will indefinitely loops on himself
- Once (freeze) : the movie will play once and freeze on its last frame
- Once (stop) : the movie will play once and stop (nothing will be displayed anymore)
- Auto-follow : the movie will play once and when it ends, the next column will be launched
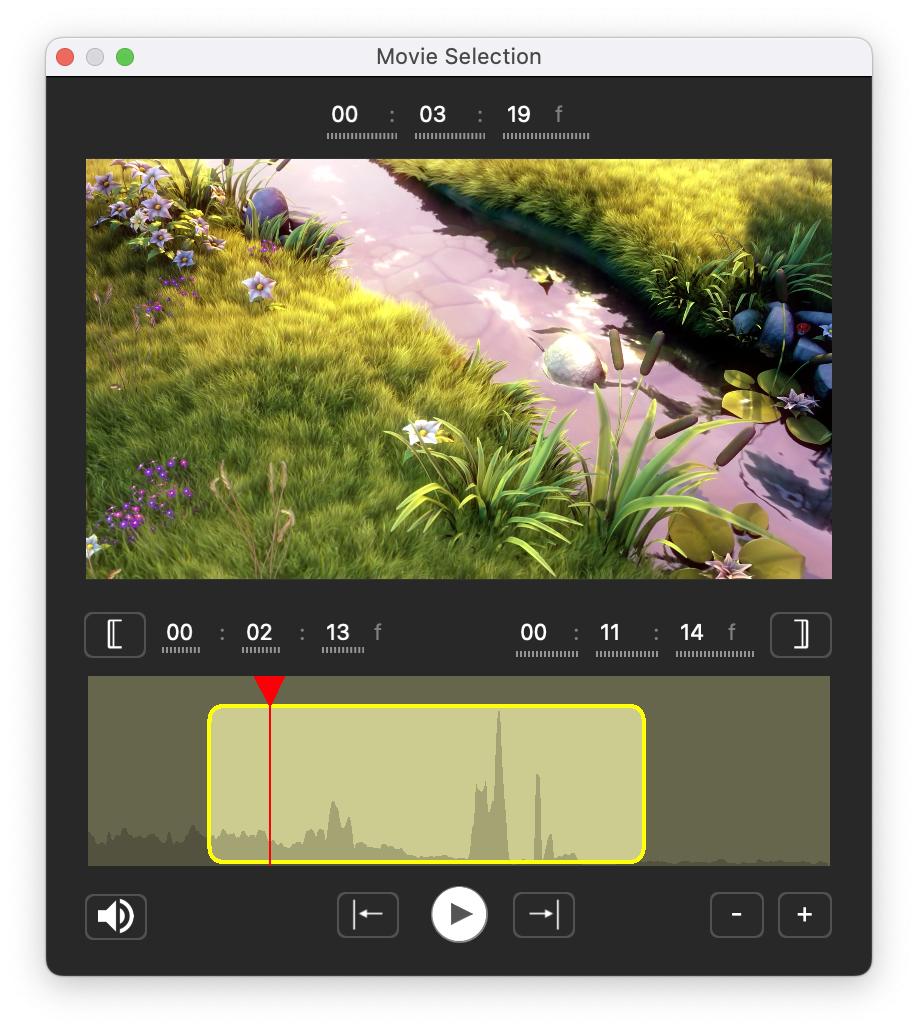
- edit selection, this opens a popup to edit the portion of the movie that will be played back :
![]()
- timecode, to bind the timeline of the movie to a timecode. More information here : Timecodes
Text
A dynamic text can be generated from a .txt file. In this case, Millumin will check every 2 seconds for a change in the file, so it can update the text automatically.
More info in this tutorial : How to use Dynamic Text ?
Such files can also be played :

Here are its properties :
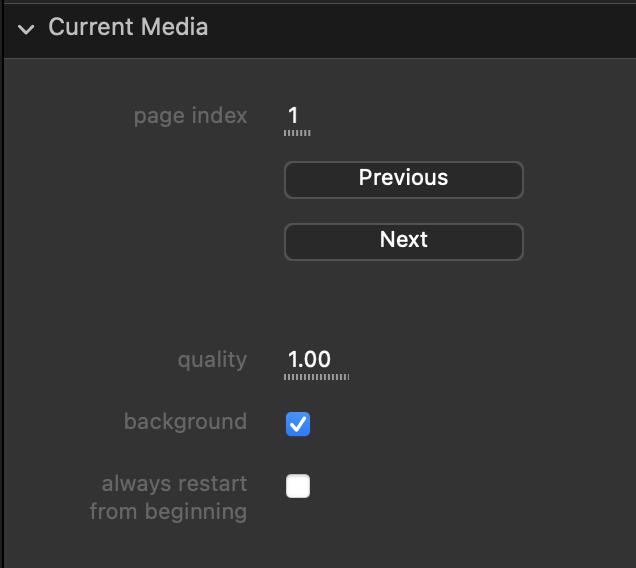
- page index: the index of the current PDF page.
- Previous button: go to the previous page.
- Next button: go to the next page.
- quality: quality of the PDF rendering.
- background: if the PDF has transparency, if the PDF should have its own background or not.
- always restart from the beginning: if the media should, every time it is restarted, stay at the current page or go back to the first page.
TouchDesigner
If you own a commercial license of TouchDesigner, you can load .tox project files.
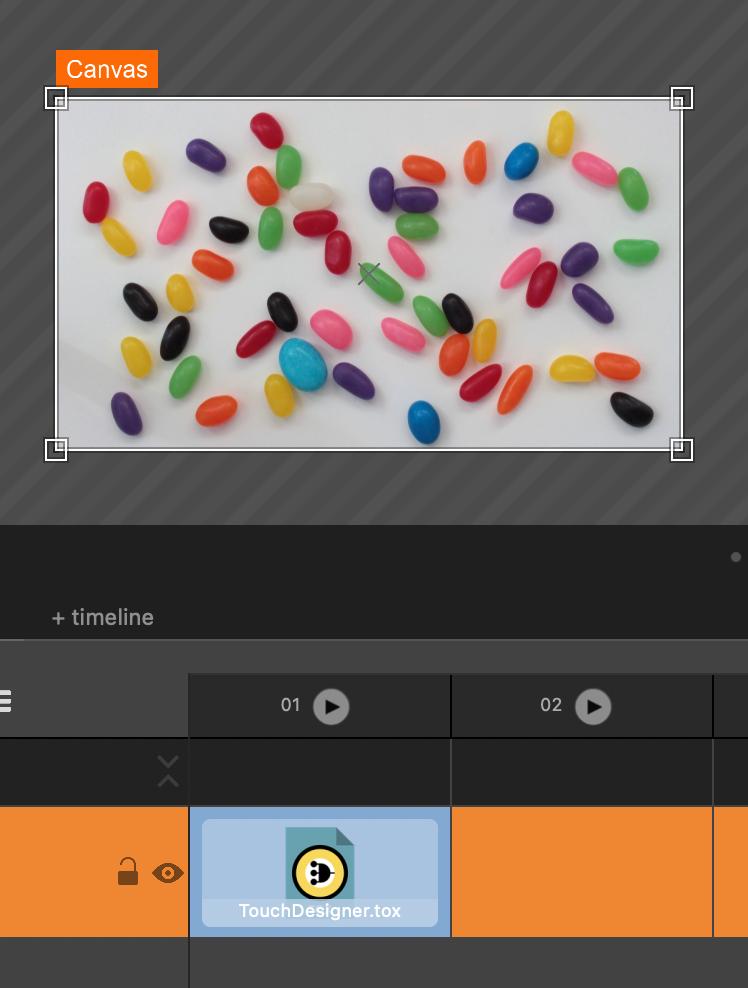
Its properties reflects the parameters you set in your project.
Be sure to use a out component in your TouchDesigner project, so there is an image to render. Please check the following file as an example :
🔗 test.tox
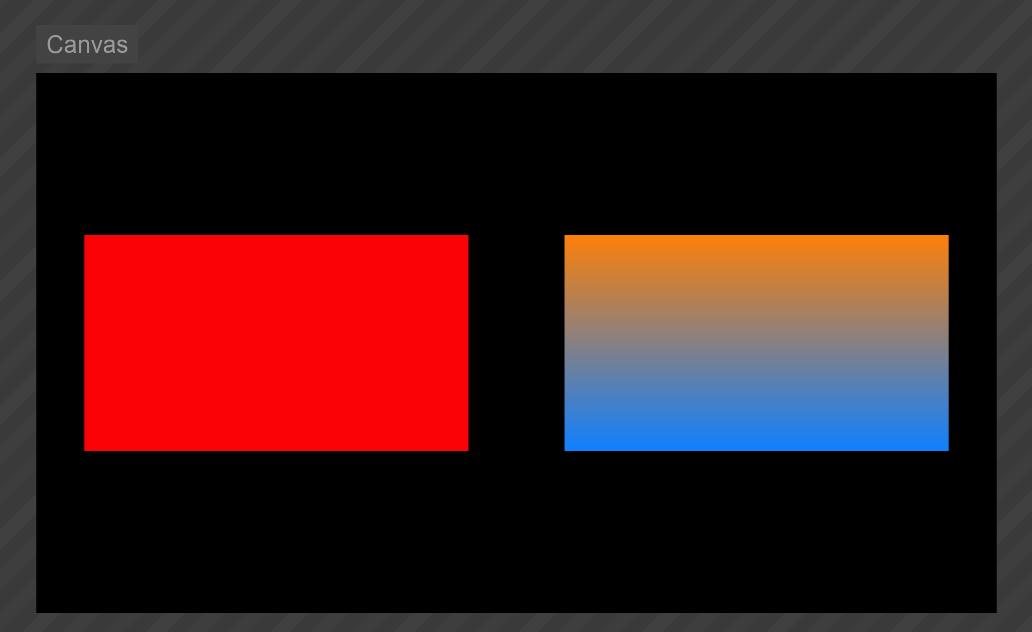
Color-card
Color-card is a simple media that allows to display a rectangle of plain color with or without a horizontal gradient.
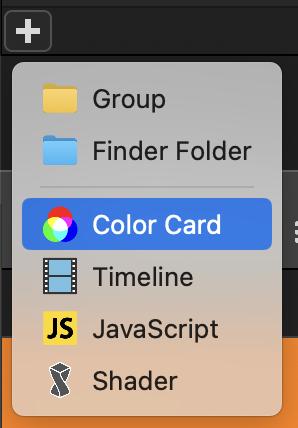
They can be created from the + button at the bottom left of the library:
The color-card can be customized by double-clicking on the media in the library:
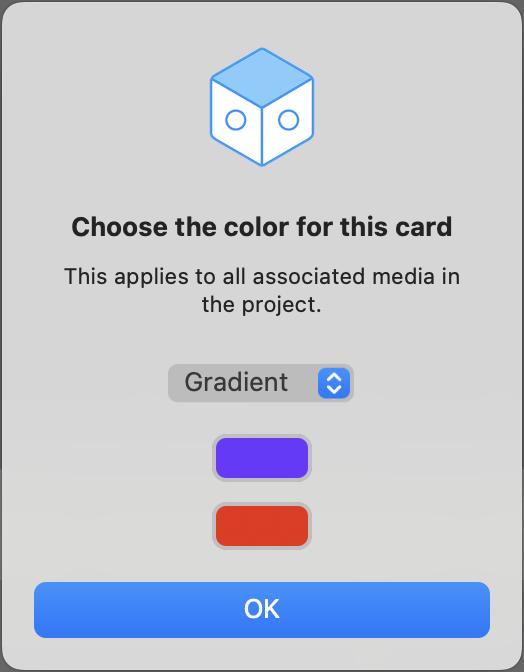
This pop-up allow to edit :
- type: the kind of color-card:
- Solid: the color-card will be plain color.
- Gradient: the color-card will be the gradient between two colors.
- color: choose the color of the color-card. In gradient mode, the first one is for the top color and the second one is for the bottom color.
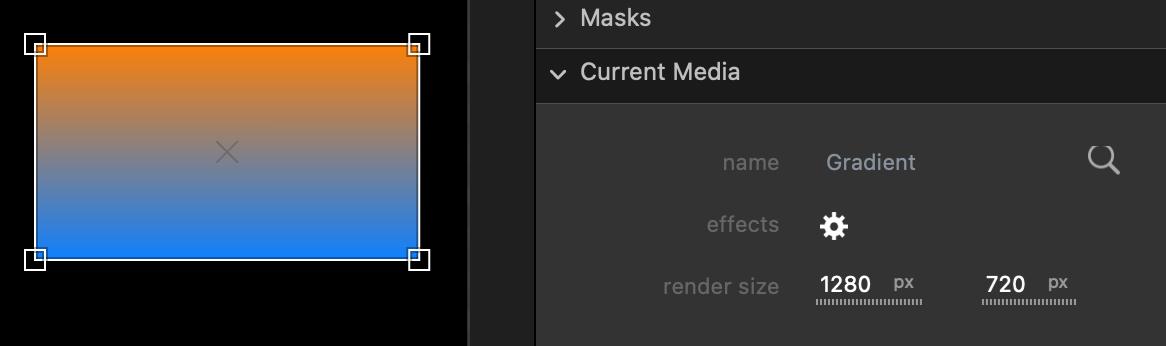
Note that any change on a color-card will impact all boards and timelines using this media.
Color-card media can be found in the properties-view.
Timeline
To know about creating and editing a timeline : Timeline
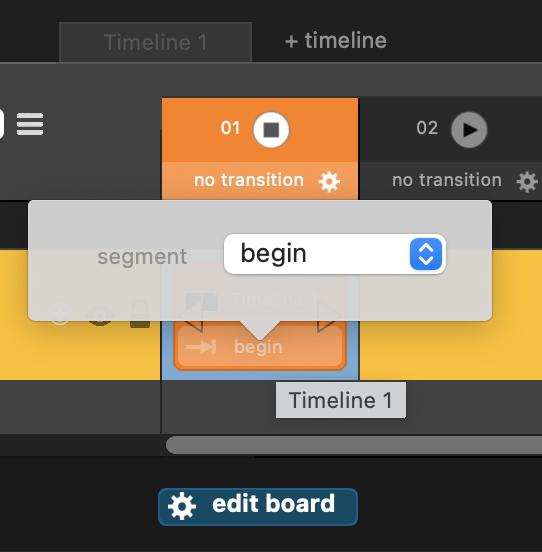
When added to a layer, a timeline will by default play its first segment. The played segment can be changed in edit-mode by clicking on the media in the dashboard:
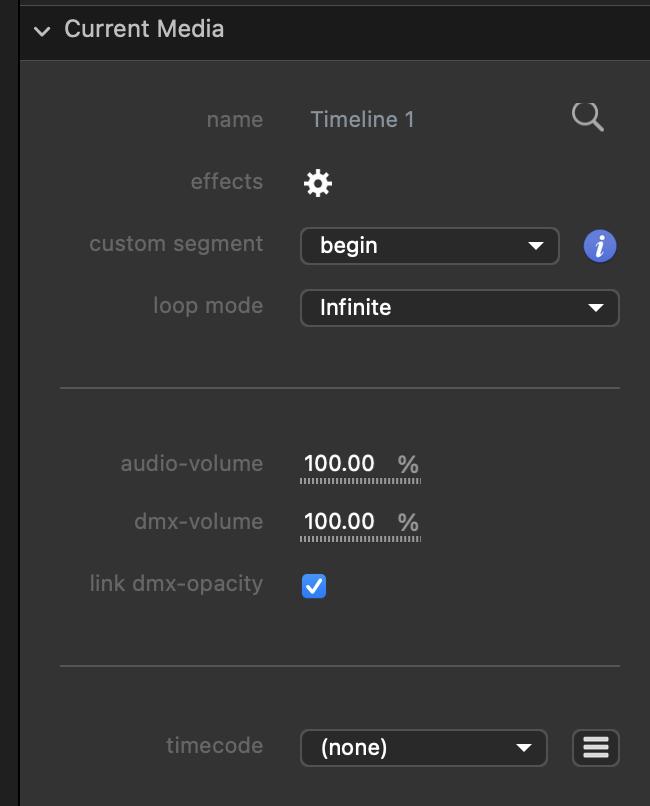
The property of the timeline media can be edited in the properties-view:
- custom segment: allows to override the selected segment to read:
- (none): the default value. The timeline will play the selected segment segment in the dashboard with its loop mode.
- a segment name: the new segment to play.
- (whole timeline): play all the timeline as a segment.
- loop mode: only visible if a custom segment is selected, other than (none).
- Infinite: the segment will indefinitely loops on himself.
- Once (freeze): the segment will play once and freeze on its last frame.
- Once (stop): the segment will play once and stop, nothing will be displayed anymore.
- Auto-follow: the segment will play once and when it ends the next column will be launched.
- audio-volume: edit the audio volume of the timeline.
- dmx-volume: if the timeline have layers or tracks that stream DMX, it adjusts the intensity of the sent data.
- link dmx-opacity: opacity of the dmx layer of the timeline is linked to the timeline’s opacity.
- timecode: bind the timeline to a timecode. More info about timecode here: Timecodes
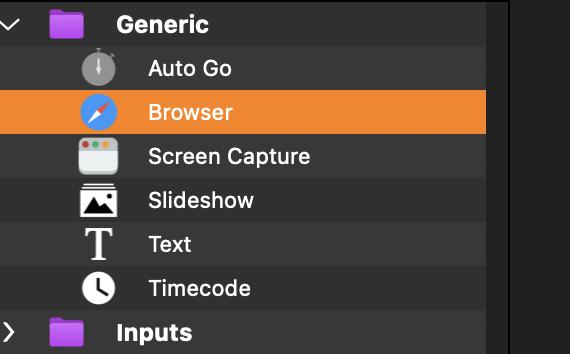
📁 Generic
In the generic group of the library, there are various medias to generate graphic content :
Auto-go
This media launches a specific column after an amount of time. For info, the auto-go medias can be mute with the eye icon in the layer list.
Here are its properties :
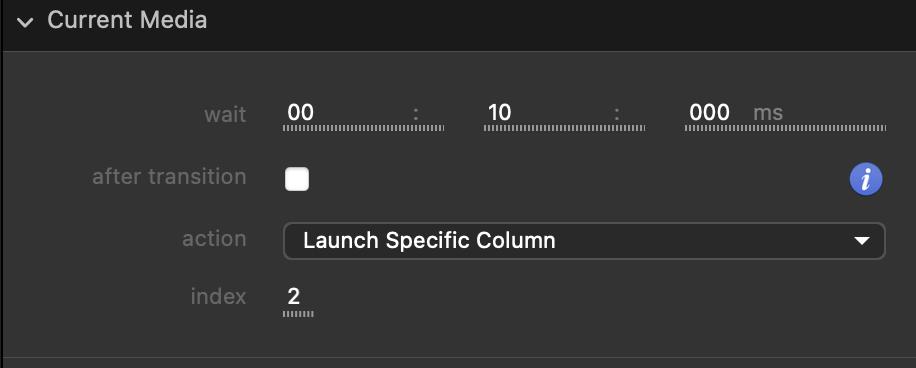
- wait: the amount of time to wait before launching the specific column.
- after transition: if should wait the end of the current transition before launching the countdown.
- action: choose between:
- Launch Next Column: launch the next column.
- Launch Previous Column: launch the previous column.
- Launch Specific Column: launch the column specified by the index property.
- index: if action is Launch Specific Column, specify index of the column to be launched.
Browser
A simple browser to play web content in Millumin:
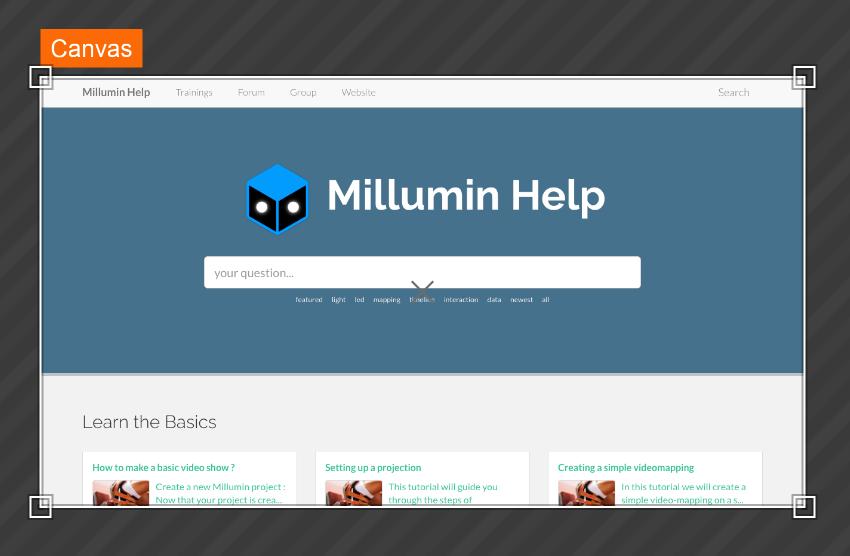
Use the brush tool to interact with the content.
Here are its properties :
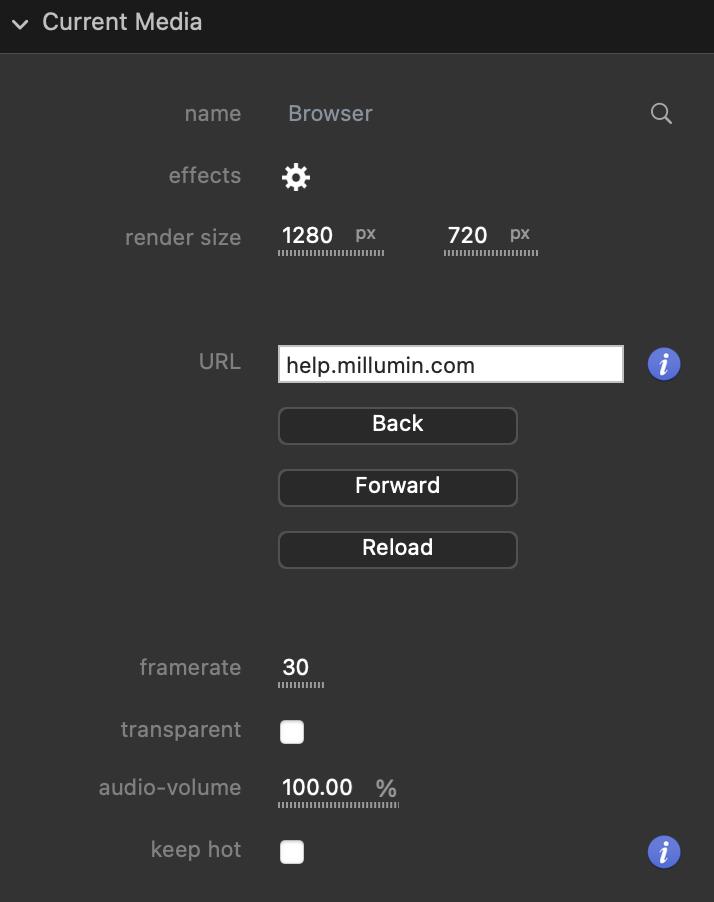
- render size: the resolution of the browser.
- URL: the address of the website to load.
- Back button: ask to load the previous url.
- Forward button: ask to load the next url, if a Back button have been pushed.
- Reload button: ask to reload the current url.
- framerate: adjust how many frames are rendered per second
- transparent: render opacity if alpha pixel.
- audio-volume: the intensity of the audio played by the browser.
- keep hot: not to reload the browser after the media has been stopped
Screen Capture
The screen capture media allows to capture a window from another application to display them in Millumin. It can also capture a whole display.
Here are its properties :

- mode: the method of capture. Depending of it, the next properties change:
- Window with keywords:
- on screen only: only display the windows of the current desktop.
- keyword for application: find the application by its name.
- keyword for window’s title: if the application have many windows, select the window by its name.
- Window from list:
- on screen only: only display the windows of the current desktop.
- window: select a window among all the windows running on the computer.
- Whole screen:
- display: select the display to render.
- hide millumin: hide millumin from the rendering display.
- Window with keywords:
- framerate: the number of frame per second for the rendering of the capture.
- show cursor: show the cursor in the capture.
Slideshow
This media shows all the image files from a specific folder, one after the other :
Please note that Millumin will look for changes in the folder, so if new images are added (or removed), this will be taken into account.
Here are its properties :
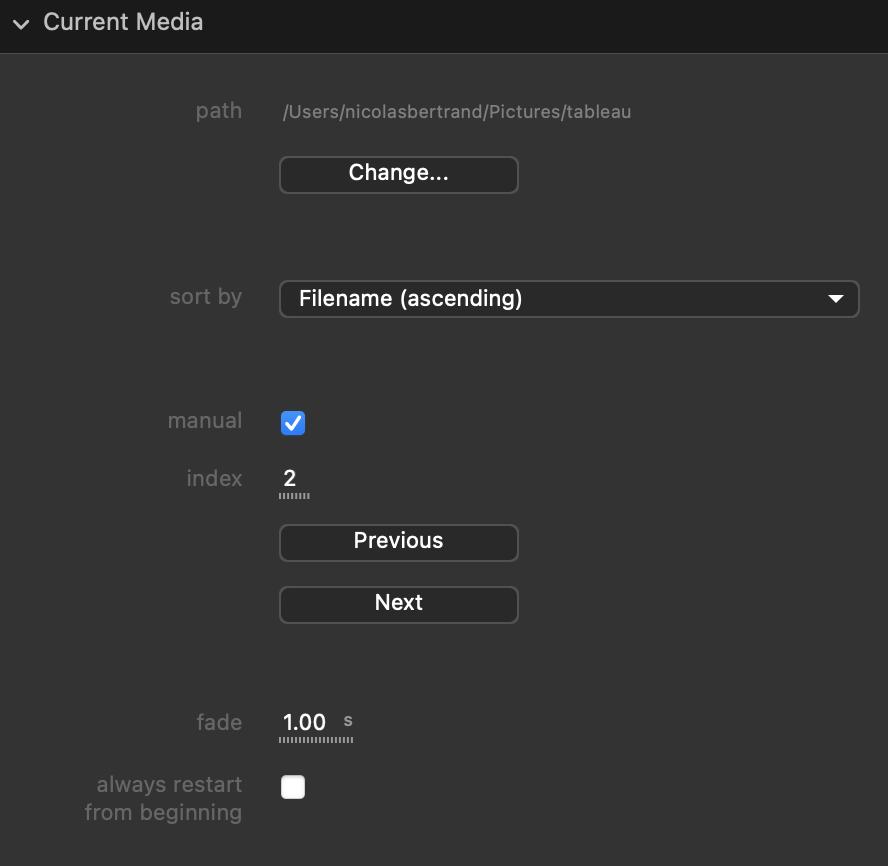
- path: the path of the folder of the slideshow. can be edited with the
Change...button. - sort by: how to sort the file of the slideshow:
- Filename (ascending): by the alphabetical order of the file’s name (A to Z).
- Filename (descending): by the alphabetical reverse order of the file’s name (Z to A).
- Date (ascending): by the date of creation of the file, from the oldest to the newest.
- Date (descending): by the date of creation of the file, from the newest to the oldest.
- manual: define if the iteration should be manually triggered.
- if true: the user choose which file and when it should be played.
- index: the index of the current file.
- Previous button: launch the previous file.
- Next: launch the next file.
- if false: the media will automatically launch the file in the specified order.
- interval: the interval of time in second before launching the next file.
- if true: the user choose which file and when it should be played.
- fade: the duration of the fade between two file in second.
- always restart from the beginning: if should restart, after iterate through all media, or stop.
Text
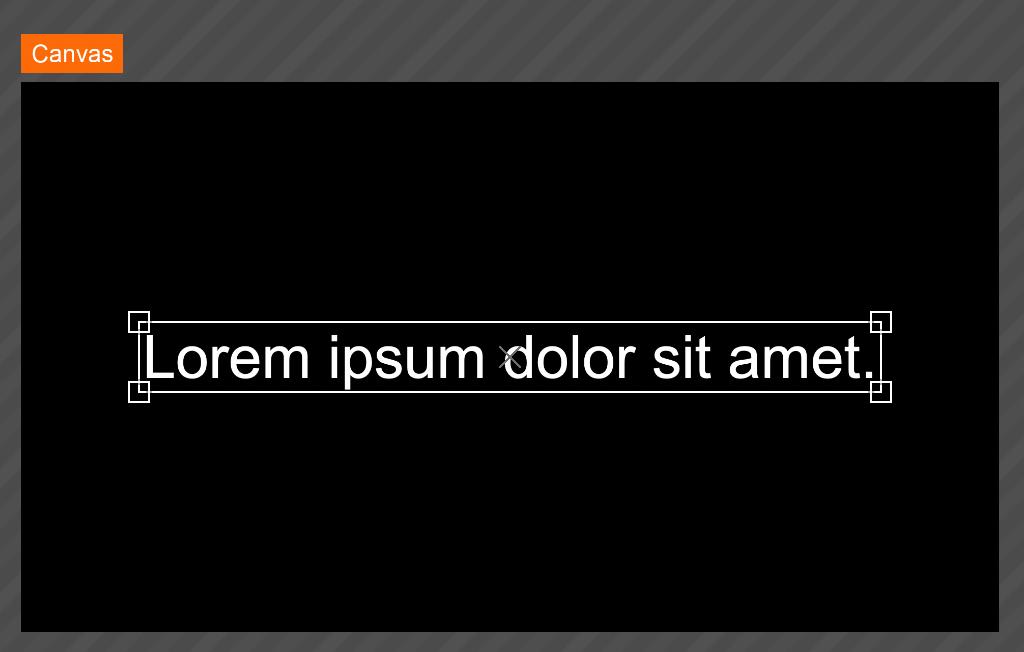
The text media allows to display text in the canvas :
Please note that a dynamic text can be generated from a .txt file. In this case, Millumin will check every 2 seconds for a change in the file, so it can update the text automatically.
More info in this tutorial : How to use Dynamic Text ?
Here are its properties :
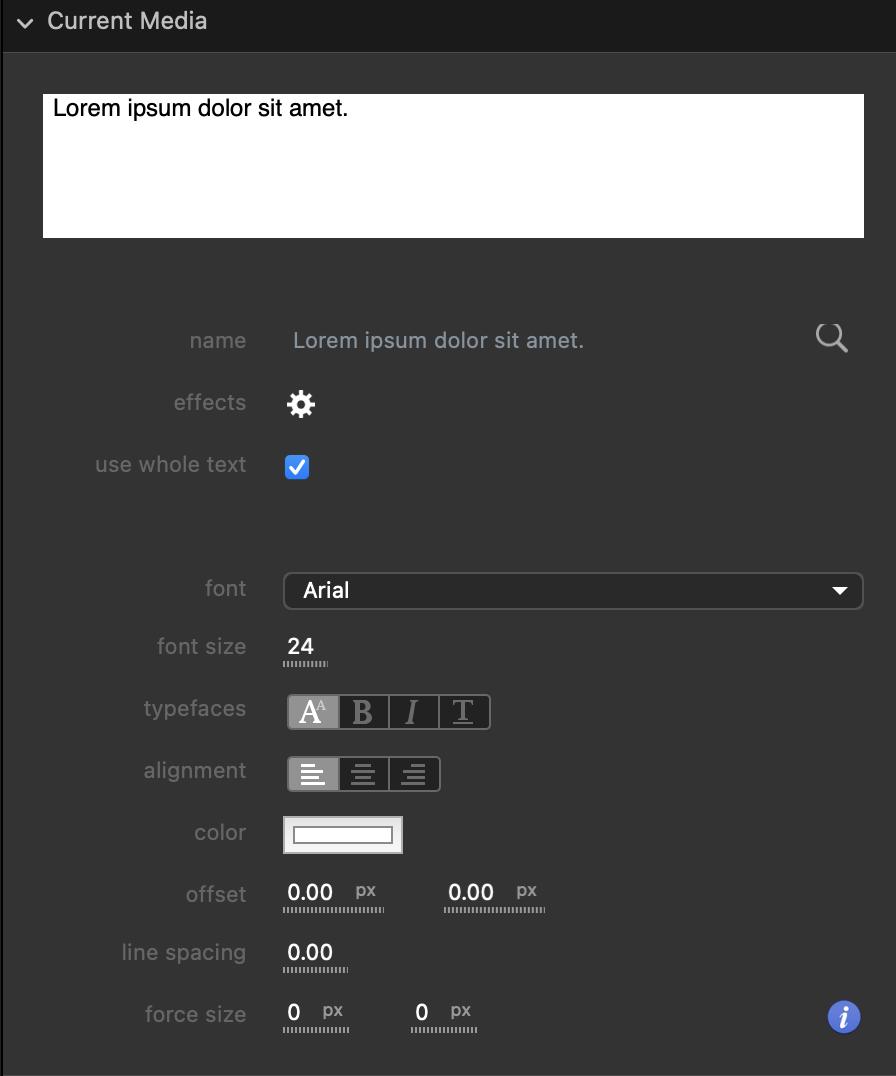
- Text view: where to edit the content of the text media.
- use whole text: display all the text at once or just some lines. If false, those properties can be edited:
- first line: the first line of the text to be displayed.
- number of line: the number of line to displayed.
- Previous button: display the previous lines.
- Next button: display the next lines.
- font: choose the text font.
- font size: choose the font size.
- typefaces: choose if the text should be bold, italic, underlined, or normal.
- alignment: choose if the text should be aligned to the left, to the right or centered.
- color: choose text color.
- offset: translate the text in pixels.
- line spacing: the space between two lines.
- force size: force the media size in pixels (text will wrap automatically).
Timecodes
This media can generate a timecode.
More info in the dedicated page : Timecodes
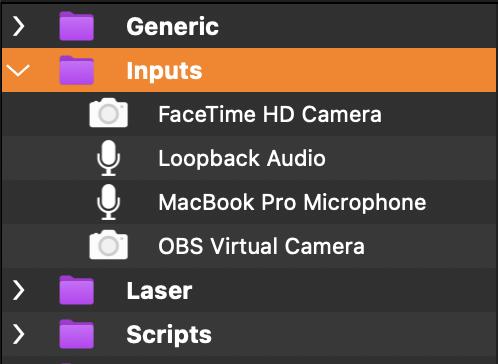
📁 Inputs
Inputs medias can be found in the inputs group of the library. This is where all the video and audio inputs device, such as camera, microphone, video capture (BlackMagic, AJA, Epiphan, …), NDI or Syphon streams, handled by Millumin will appear.
Here are the default properties for video inputs :
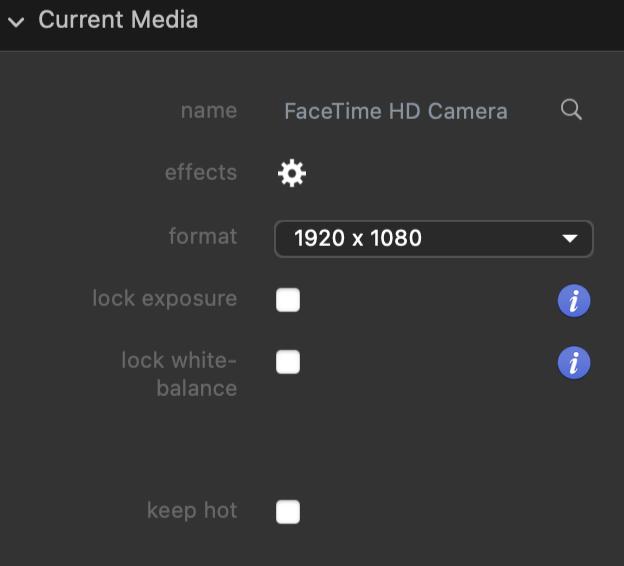
- format: if the device allows it, change format of the video stream.
- lock exposure: if the camera allows it, deactivate auto-exposure.
- lock white-balance: if the camera allows it, deactivate auto-white-balance.
- keep hot: ask to not close the camera or the video stream if the media is not played.
Here are the default properties for audio inputs :
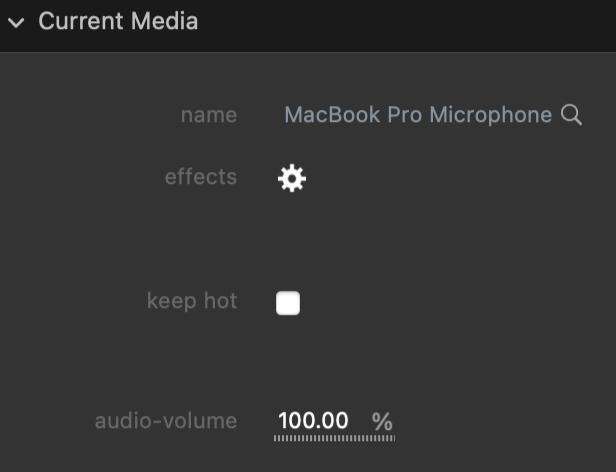
- keep hot: do not close the audio stream when the media is not playing (only mute it).
- audio-volume: adjust the volume of the audio-device.
More info about inputs media can be found in the dedicated article : Capture
📁 Scripts
The scripts group contains JavaScript templates and your own scripts :

These are short programs to automate tasks on the computer. Millumin can handle them as media (to execute them from the dashboard for example).
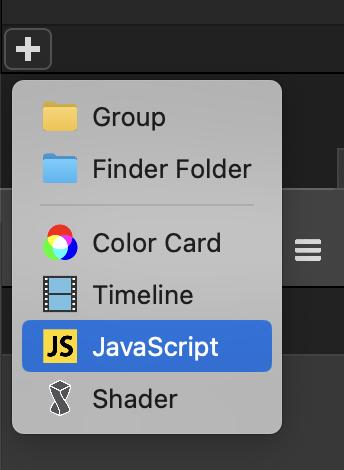
Script medias can be created from the + button at the bottom left of the library:
More information in the dedicated article : Scripts
📁 Shaders
Shaders are little programs executed on the graphic card to generate, compute and modify images. Millumin supports ISF format that is very useful to generate realtime effects.
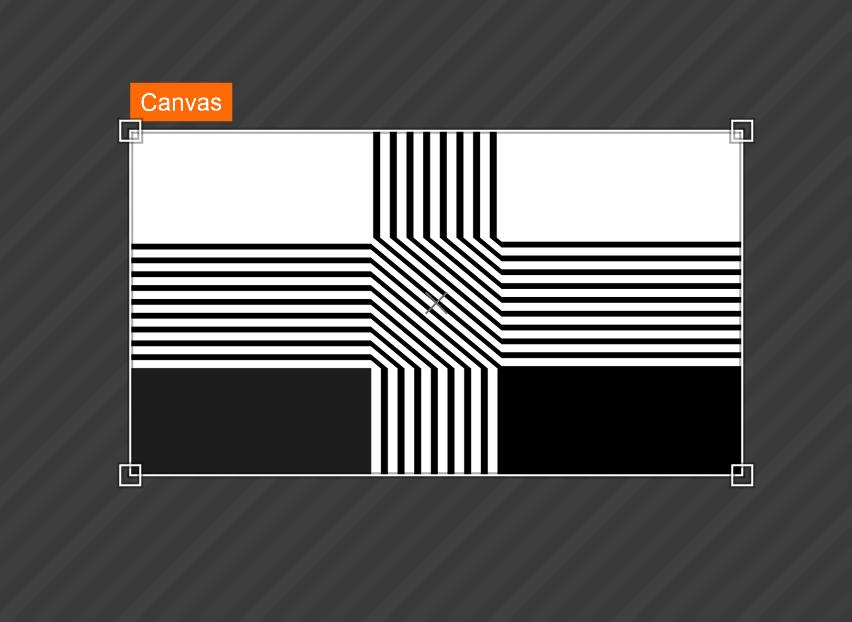
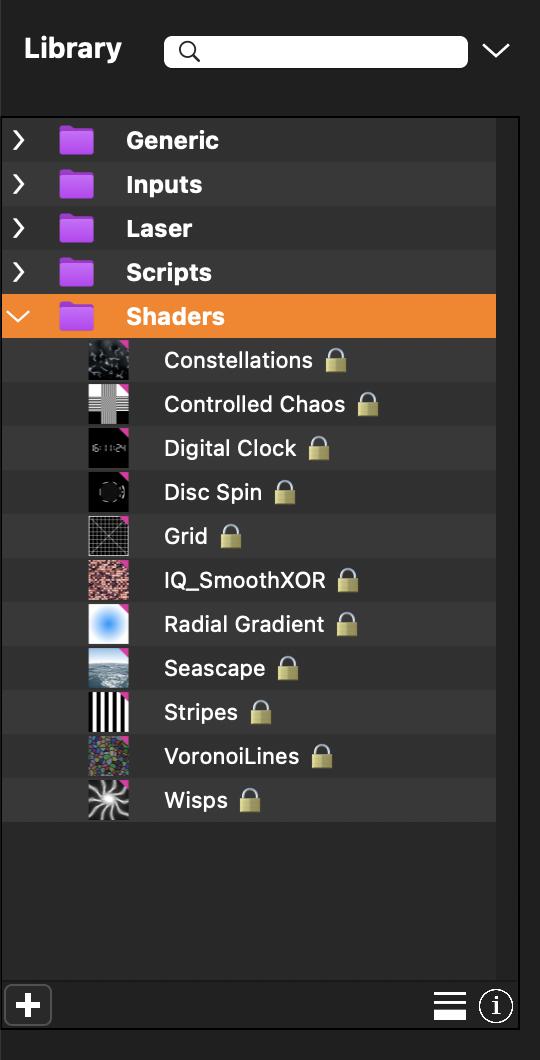
Shader medias can be found in the shaders group of the library:
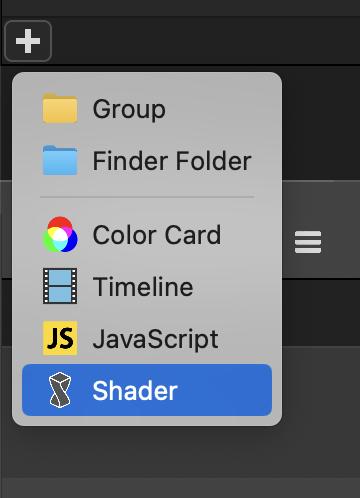
New shaders medias can be created from the + button at the bottom left of the library:
Shaders media are highly customizable:
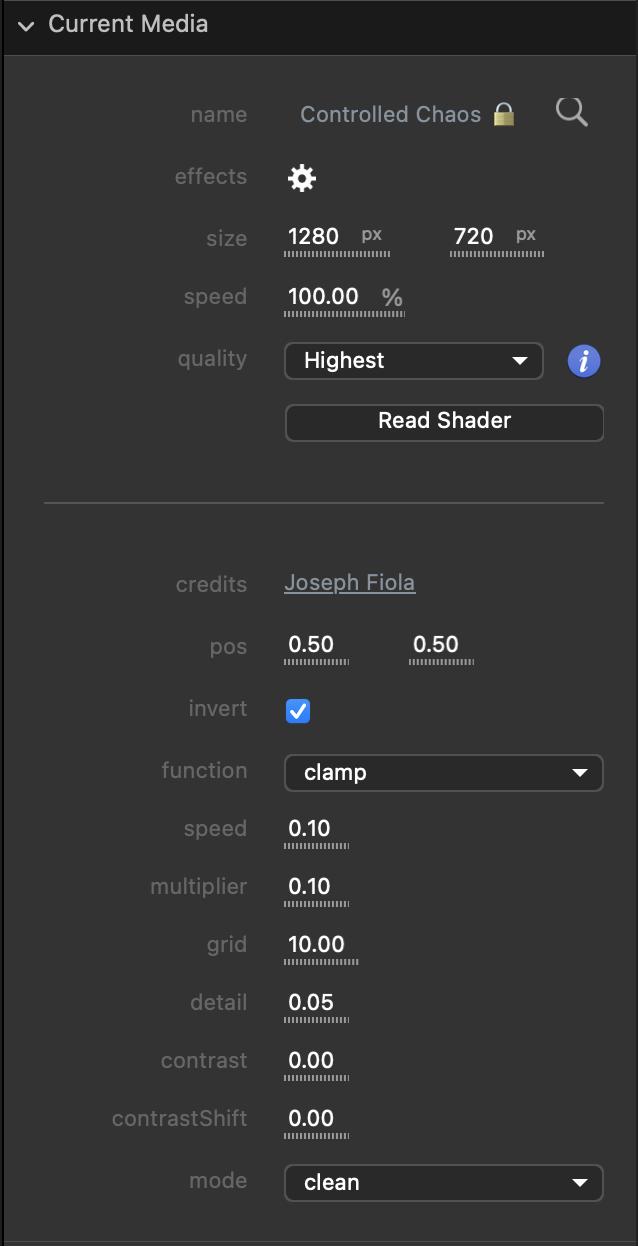
- size: the resolution of the shader.
- speed: the speed of time for the shader.
- quality: from
hightesttodraft, adjust the number of pixel to render to balance between quality of the rendering and performances. - read shader button: open a text editor to read and edit the shader code. That allows a more in depth customization of the rendering of the shader.
- following properties…: custom properties of the shader.
More information about shaders can be found in this tutorial : Create Images and Effects with Shaders