Canvas
A canvas contains all your layers.
Its content is sent to one or more outputs.
Setup a Canvas
For canvas management open the Output Panel. :
- use the shortcut
⌘ ; - or click on
Outputbutton
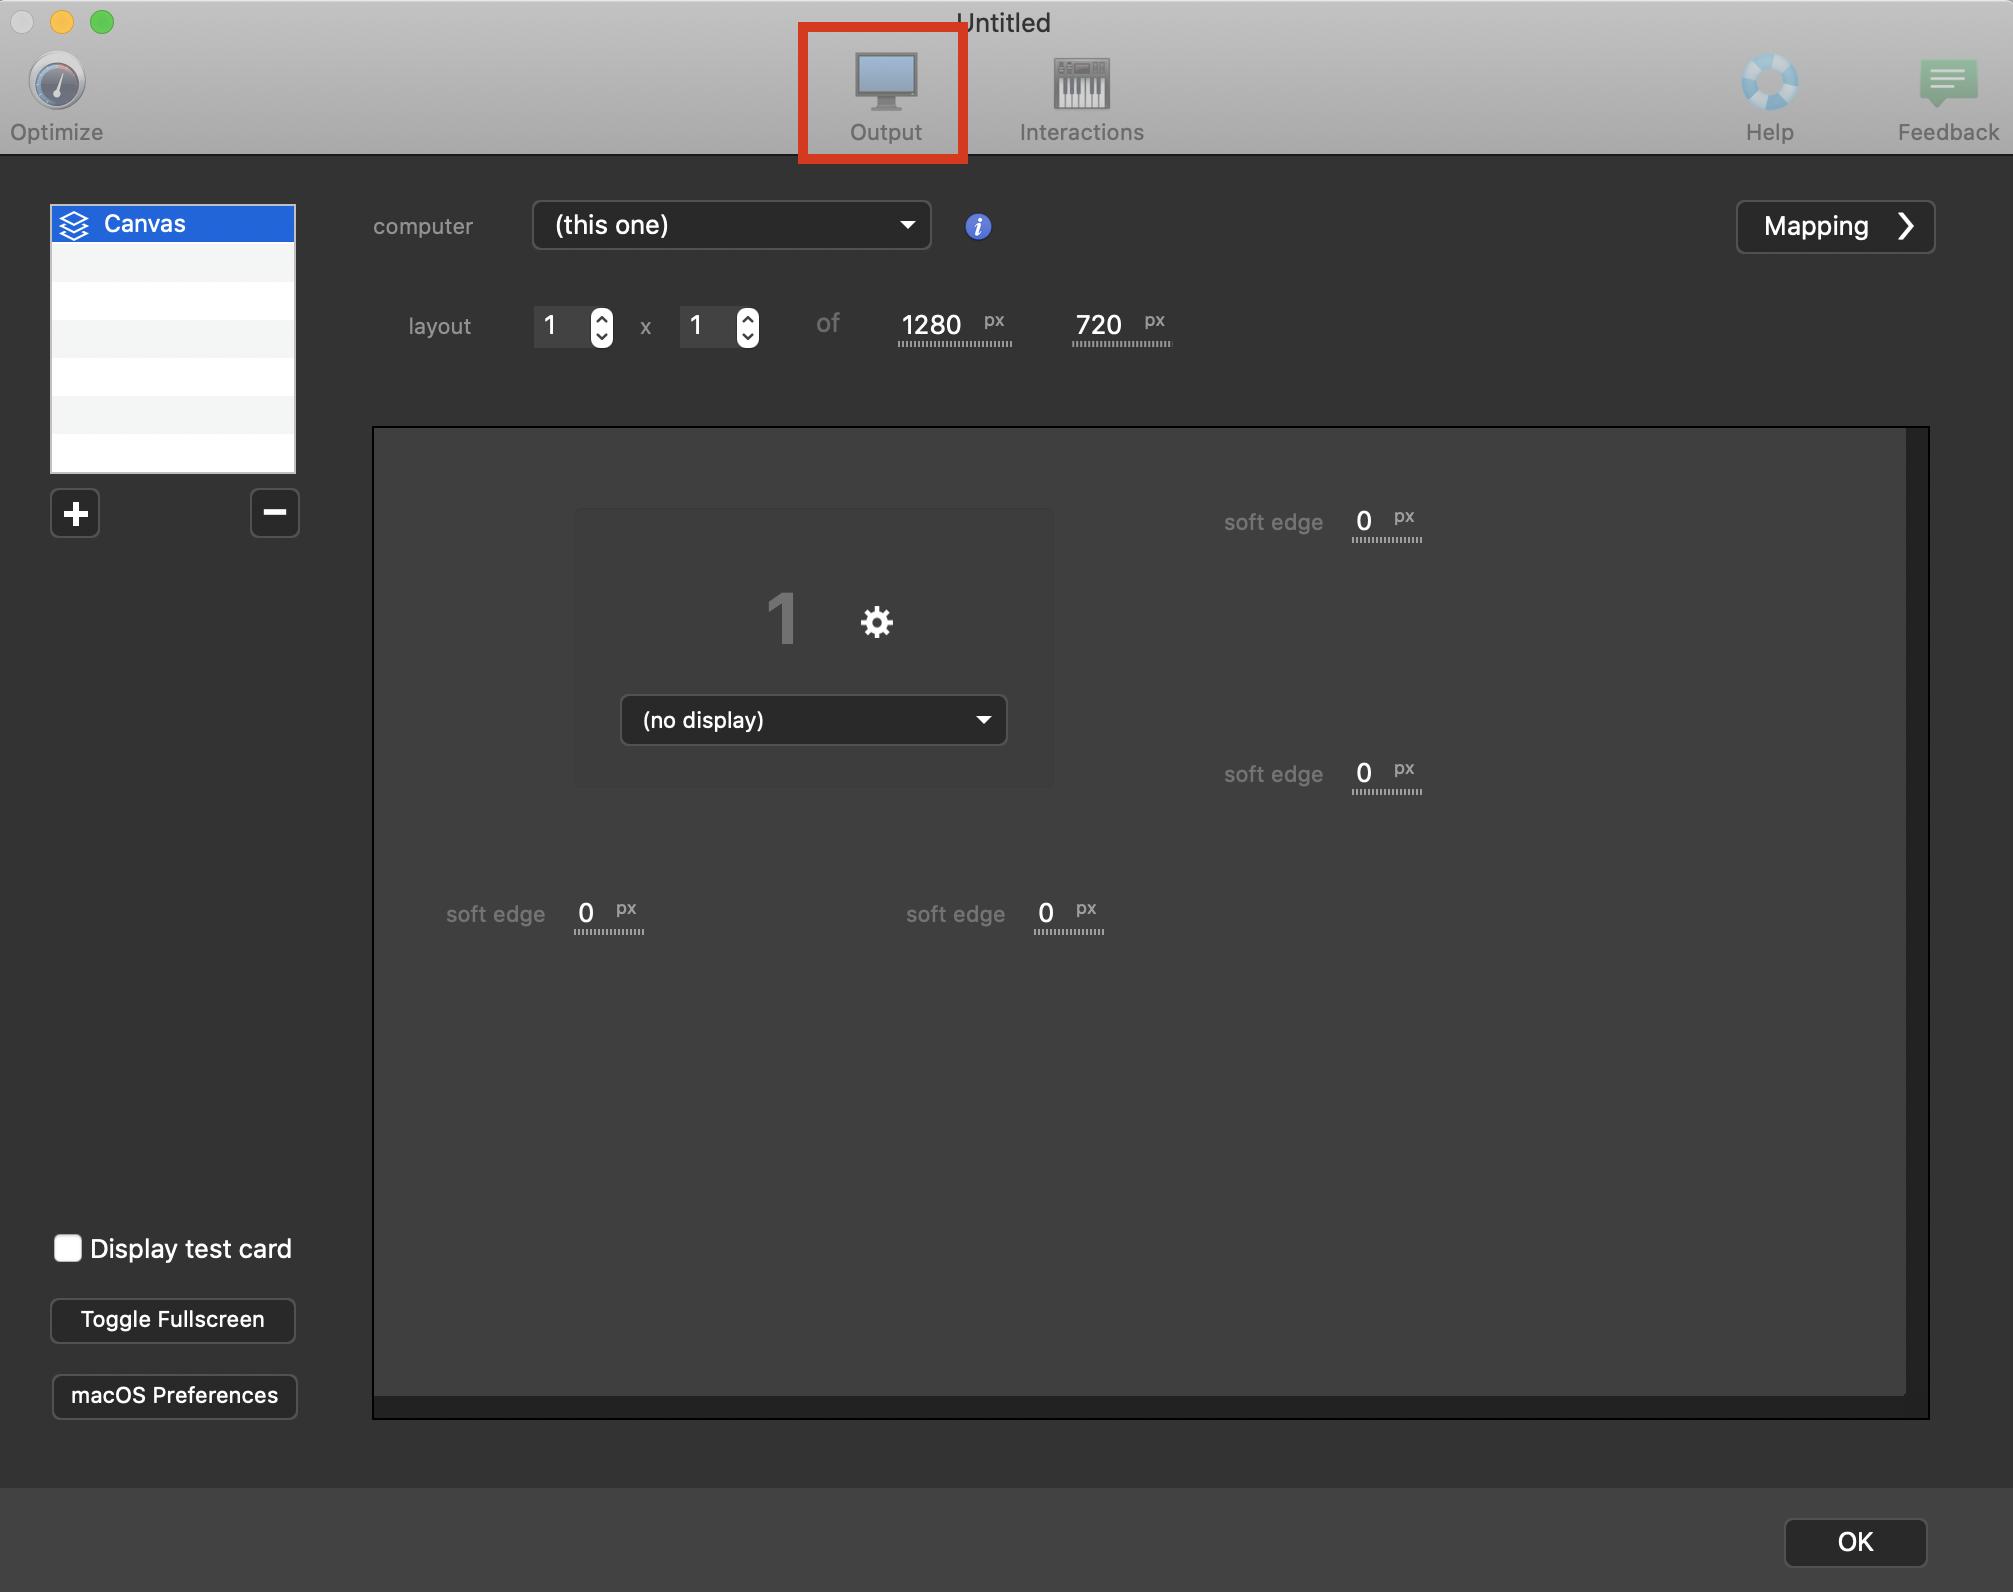
From this panel you can create as many canvases as you want.
Here are the properties of a canvas :
- computer
Choose the computer on which you want to play your canvas. Use this option only if you are using aMilluNode. Default value it(this one).
Learn more about MilluNode, please refer to dedicated article : Getting Started
- layout
Set the number of outputs you want for your canvas.
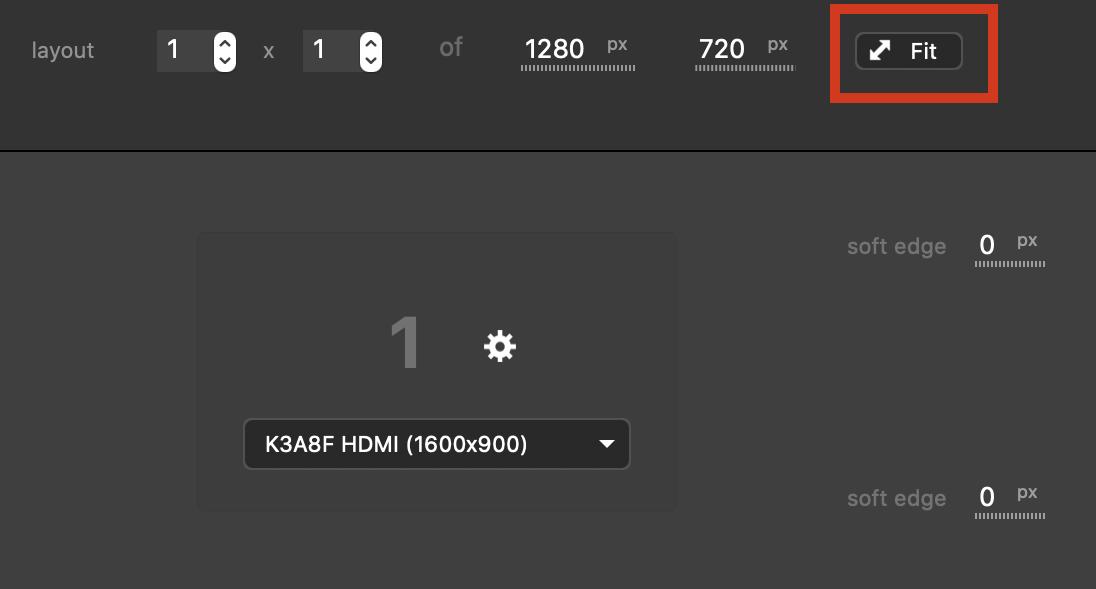
Format is :number of horizontal outputsxnumber of vertical outputs
ofresolution for each outputpx
= effective size of canvas
If your canvas resolution does not match your display resolution, you can use theFitbutton to use the same resolution for both.![]()
When you change the layout, the outputs appears in the central zone below, so you can configure each output in details.
Please read this article to learn details about output configuration : Outputs
For info, the effective size of the canvas is the addition of the size of all the outputs. It takes soft-edge into account. Learn more about Soft-edge : Soft-edge
And if you need a more advanced setup, please refer to this article : Video Routing .
Manage Canvases
By default, a new project comes with one canvas, but you can create several ones.
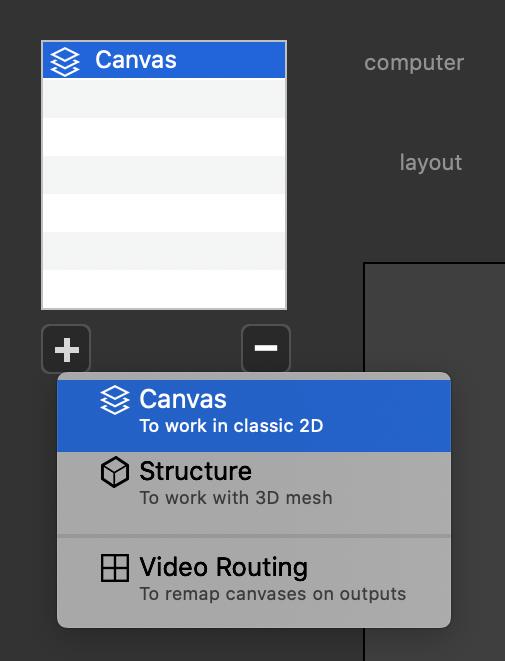
Add a Canvas
To add another one, click on + at the bottom of the canvas list. Select Canvas from the submenu.
Remove a Canvas
To remove a canvas, select if from the list and click on -.
Rename a Canvas
- Double click on a canvas name to edit it.
- or select targeted canvas from canvas list and press
ENTER
Organize a Canvases
Drag and drop a canvas from your canvas in the list to rearrange their order.
The canvas at the top of the list will be shown on the left of the workspace, whereas the last canvas will be shown on the right.
Mapping
For advanced mapping settings, click on the Mapping button on the top-right corner of the Output panel :
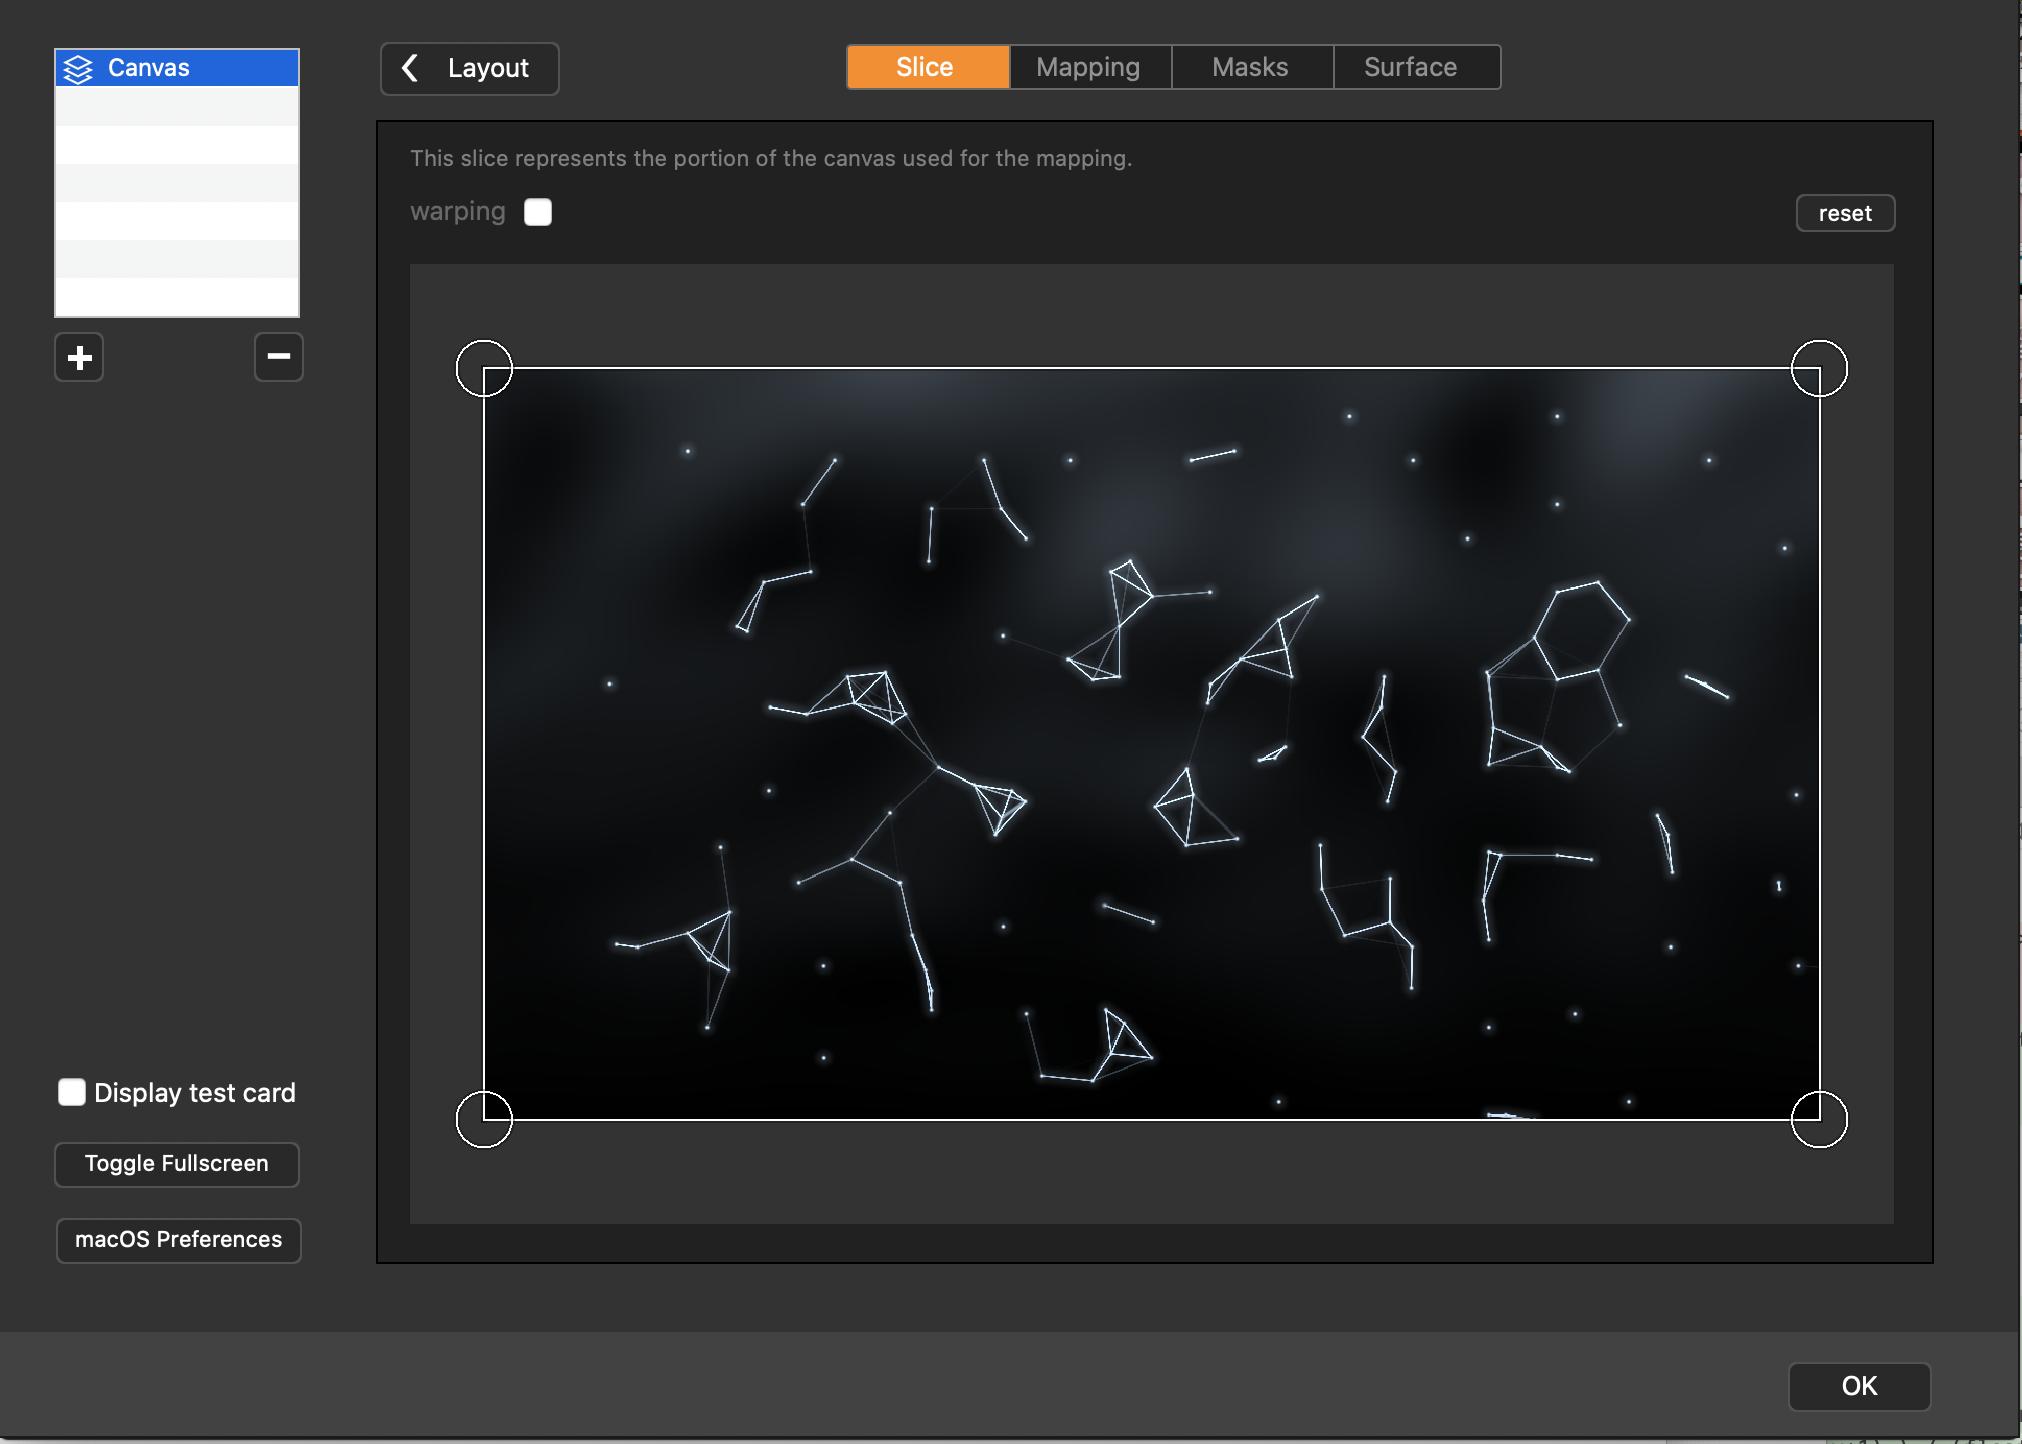
Mapping your canvas from here can make your work more comfortable, so you could stay focus on content while working in the workspace (because your content will be not be distorded by mapping).
Learn more about mapping in this article : Mapping
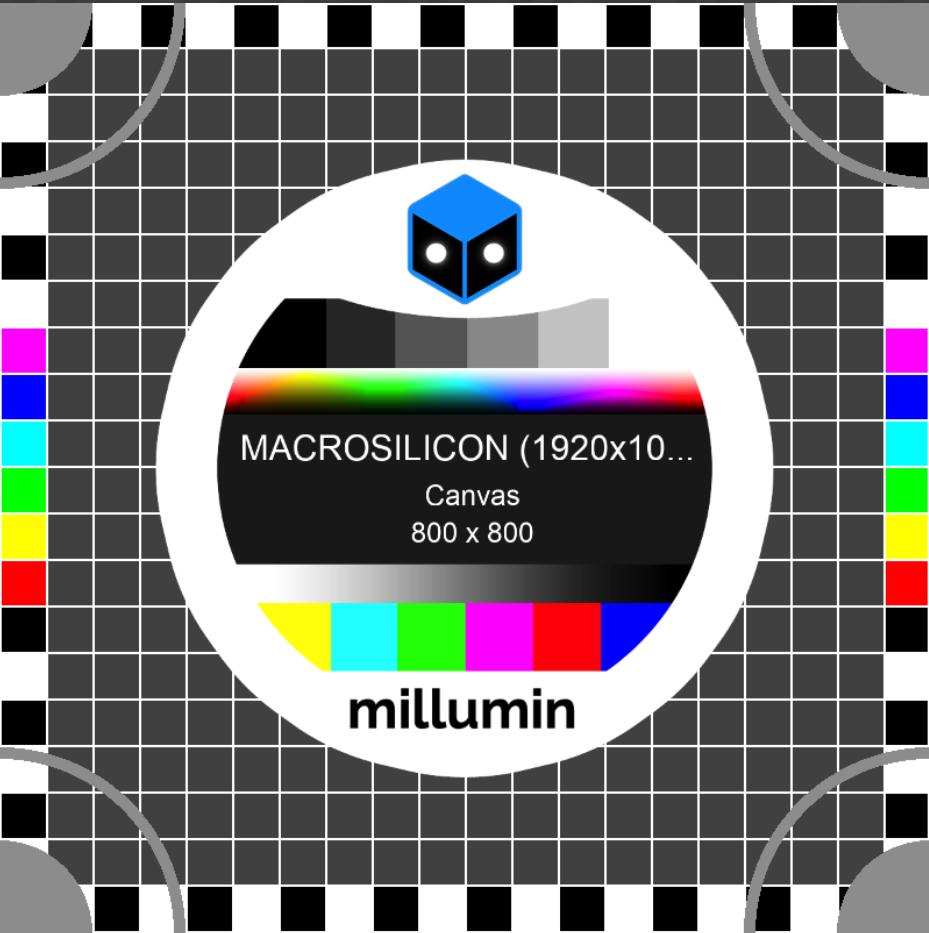
Test card
To test how your canvas is ouput, use the Test Card :
- from the
Outputmenubar, click onDisplay Test Card - or from the
Outputpopup, check thedisplay Test Cardoption
Test card will appear on all your outputs, with the resolution and transforms applied :